FD3s 
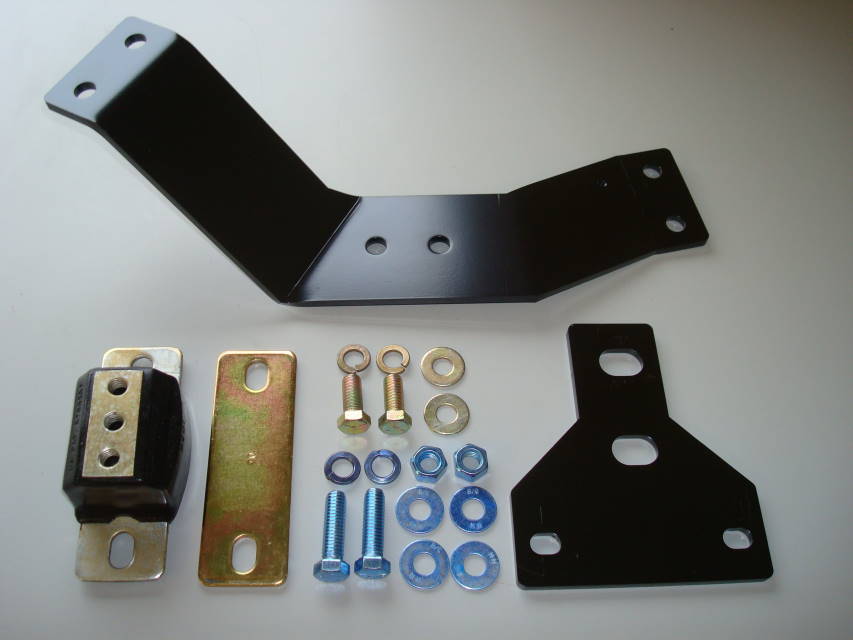
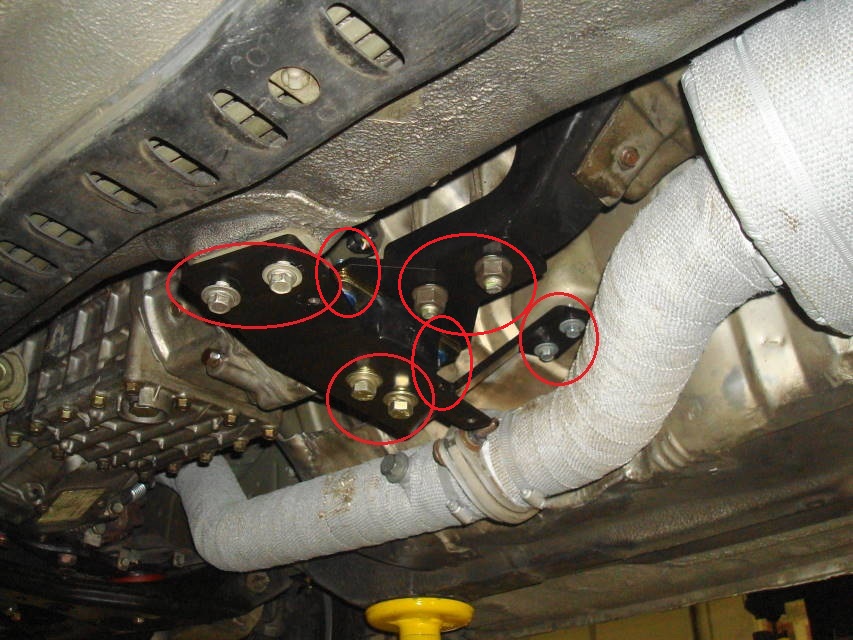
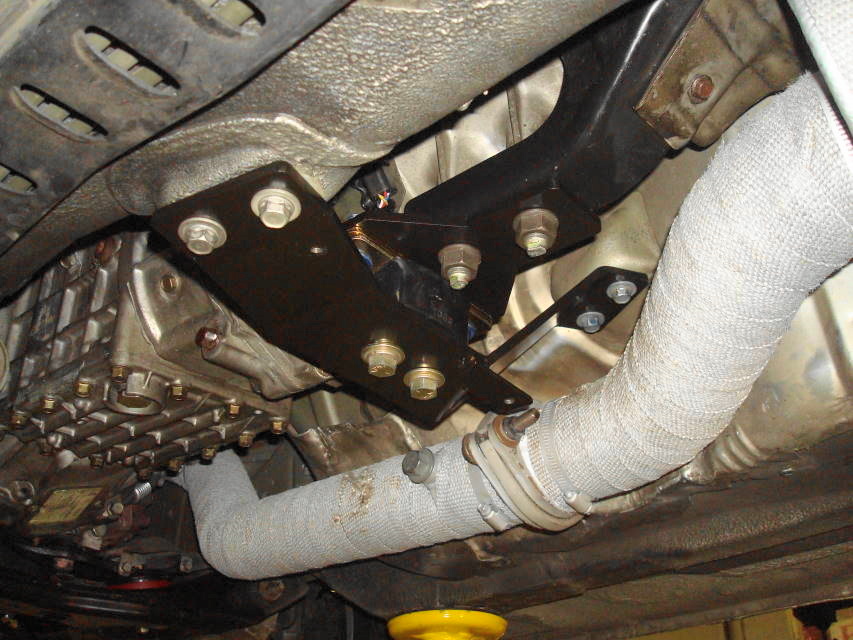
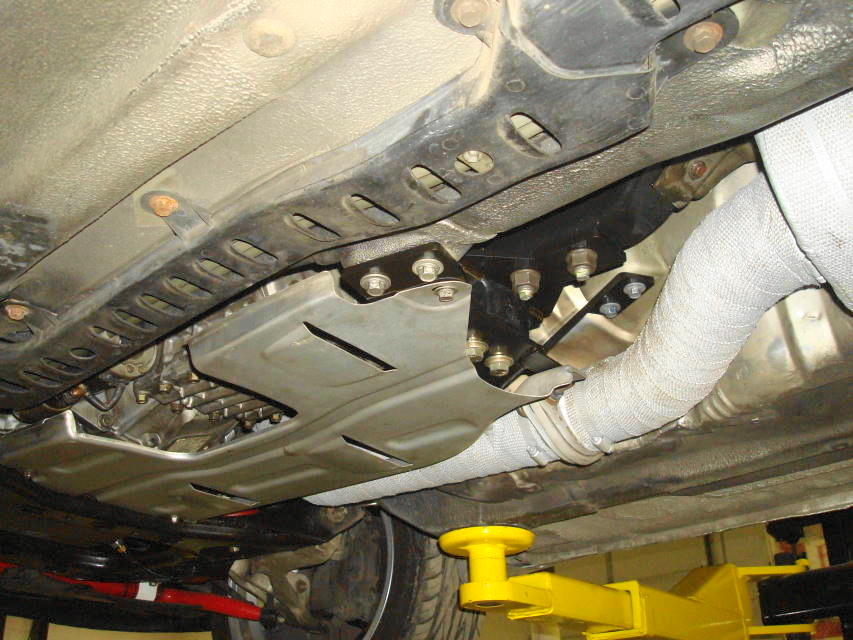
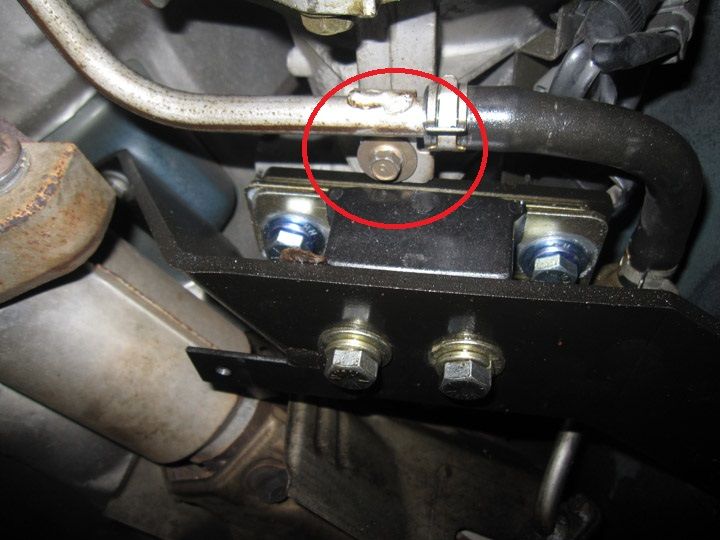
Transmission Crossmember Installation Instructions


Please read and follow instructions carefully to ensure correct installation


Tools Required

 
Parts
Installation Pic #1
Installation Pic #2
Installation Pic #3
Installation Pic #4
Installation Pic #5
Installation Pic #6
Installation Pic #7

Click on images for larger view

Transmission Crossmember Contents:


Procedure

  1. Raise the car and support securely on jack stands. Failure to do so can result in injury or death. DO NOT place any part of your body under the car when only supported by a jack.
  2. Using 10mm socket, remove the aluminum transmission underbelly tray, if applicable (pic #1)
  3. Using 12mm socket, remove aluminum transmission tunnel brace; keep hardware for installation (pic #2)
  4. Using 21mm socket, remove 2 lower transmission / PPF nuts; keep for installation (pic #3).
  5. Install Transmission Mount Bracket assembly as pictured (pic #4), using 21mm nuts Do not tighten.
  6. Install Transmission Tunnel Bracket using 4 - 12mm bolts and 2 - 7/16" x 1" bolts, flat washers and lock washers (pic #5). Do not tighten.
  7. Trim Split Air Pipe Mounting Tab if car is equipped (see picture below)
  8. Once all hardware is installed tighten in the following order (pic #5 & 6);
      • 12mm Bolts
      •  7/16" Bolts
      • 21mm Nuts
  9. Reinstall aluminum underbelly tray, if applicable (pic #7).
  10. Lower car and enjoy your new transmission crossmember.

NOTE: If your transmission geometry has been changed it may be necessary to remove the Preload Plate from the Transmission Mount Bracket assembly. When you remove the ES mount from the bracket, ensure that the radius points to the rear of the car when re-installing.

NOTE: Trim Split Air Pipe Mounting Tab if equipped

Split Air Mounting Tab

Disclaimer: Depending on the vehicle modifications and age of the transmission there may be a slight increase in noise.

Printable PDF Version