RX-8
13B-REW Engine Crossmember Installation Instructions

Please read and follow instructions carefully to ensure correct installation
Tools
Required
- Ratchet
- 14mm, 17mm & 19mm Socket
- 8mm Allen Wrench
RX-8
13B-REW Engine Crossmember Installation Instructions
Please read and follow instructions carefully to ensure correct installation
Tools
Required
 |
 |
 |
 |
 |
|
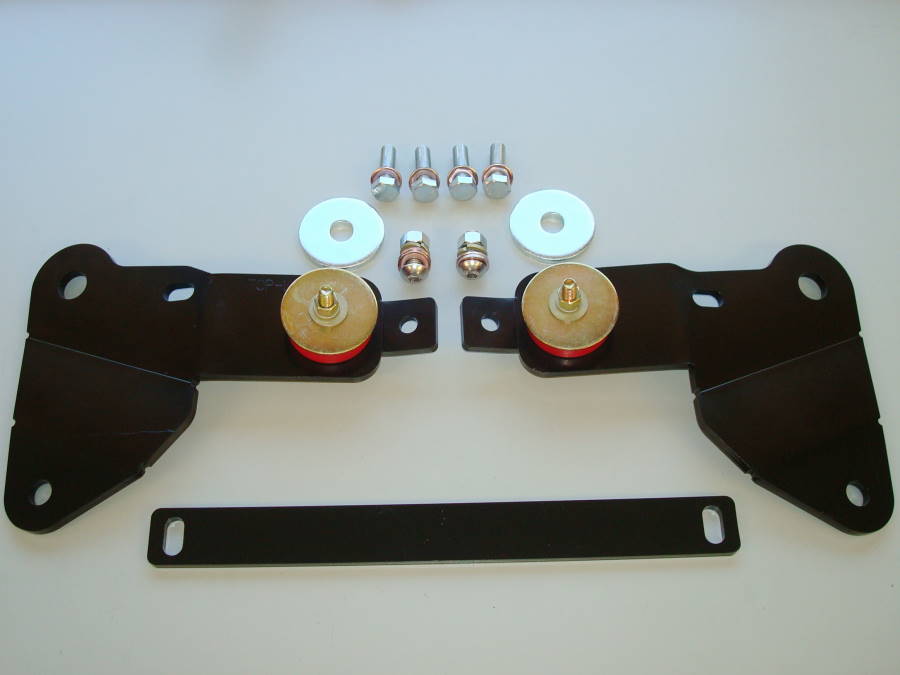
Components
|
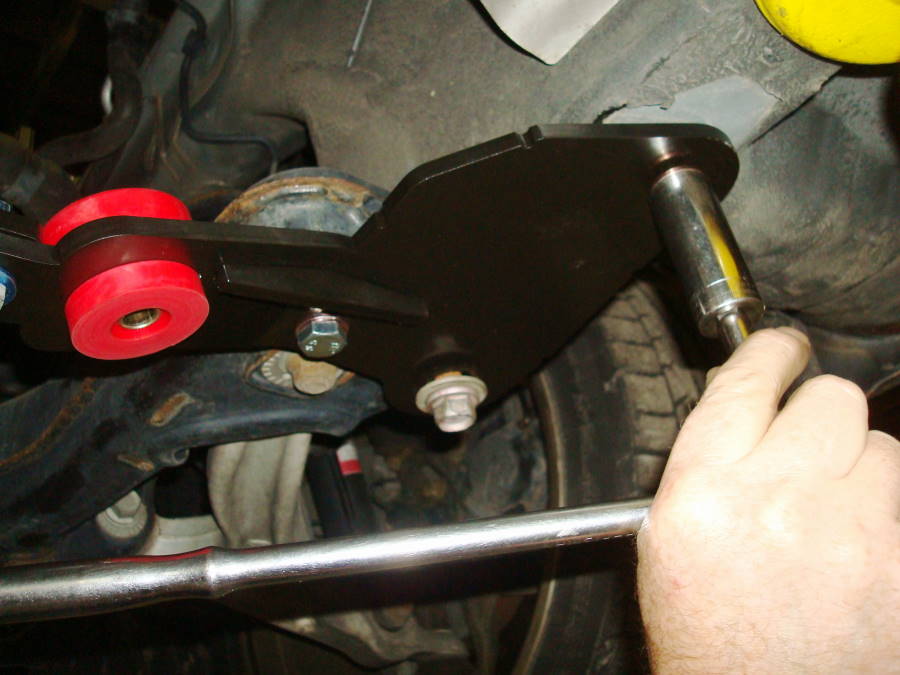
Installation
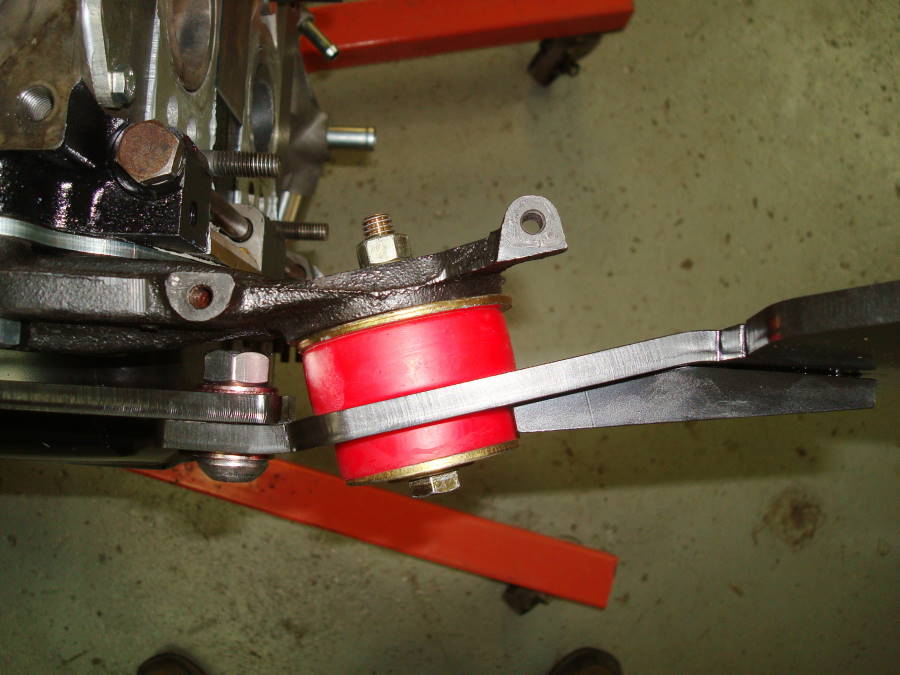
Pic #1
|
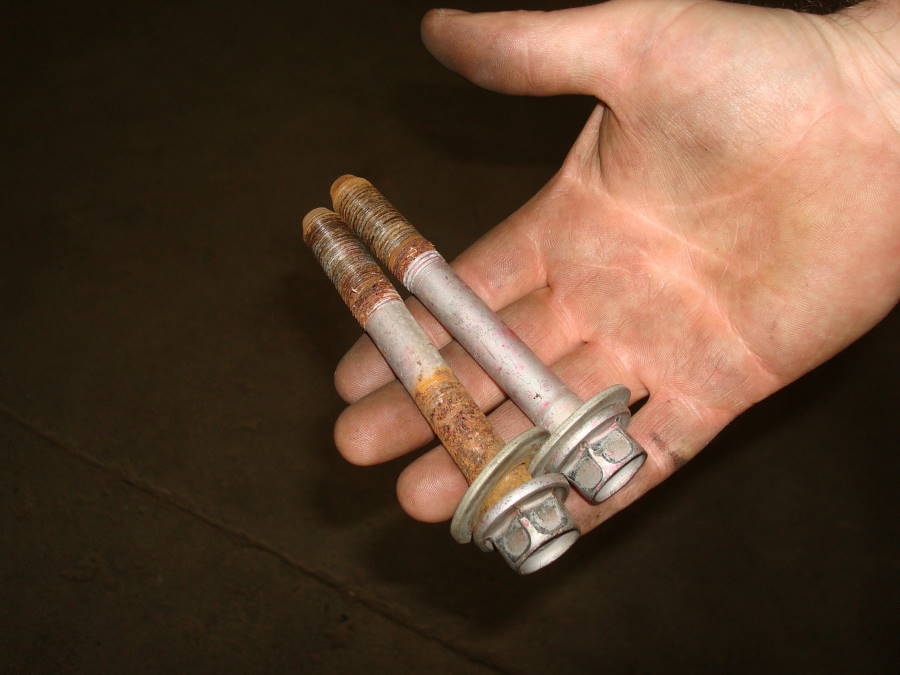
Installation
Pic #2
|
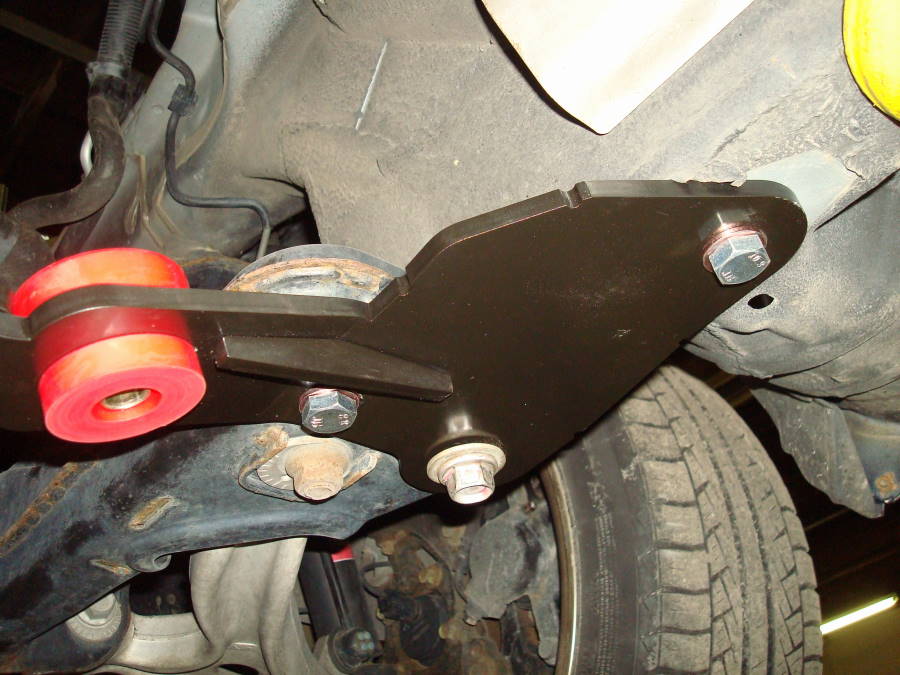
Installation
Pic #3
|
Installation
Pic #4
|
 |
 |
 |
 |
 |
|
Installation
Pic #5
|
Installation
Pic #6
|
Installation
Pic #7
|
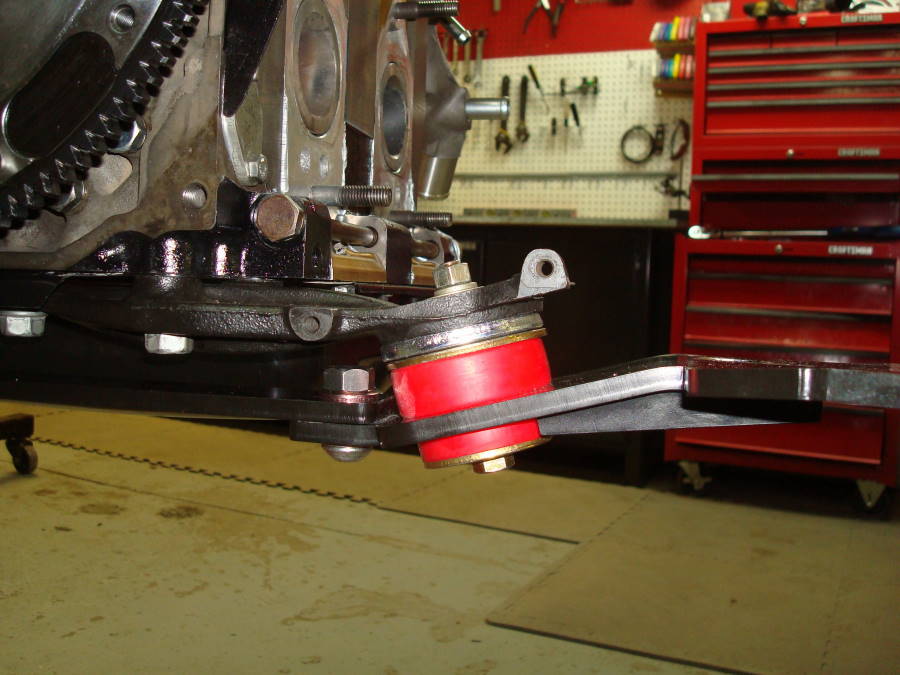
Spacer
Pic #8
|
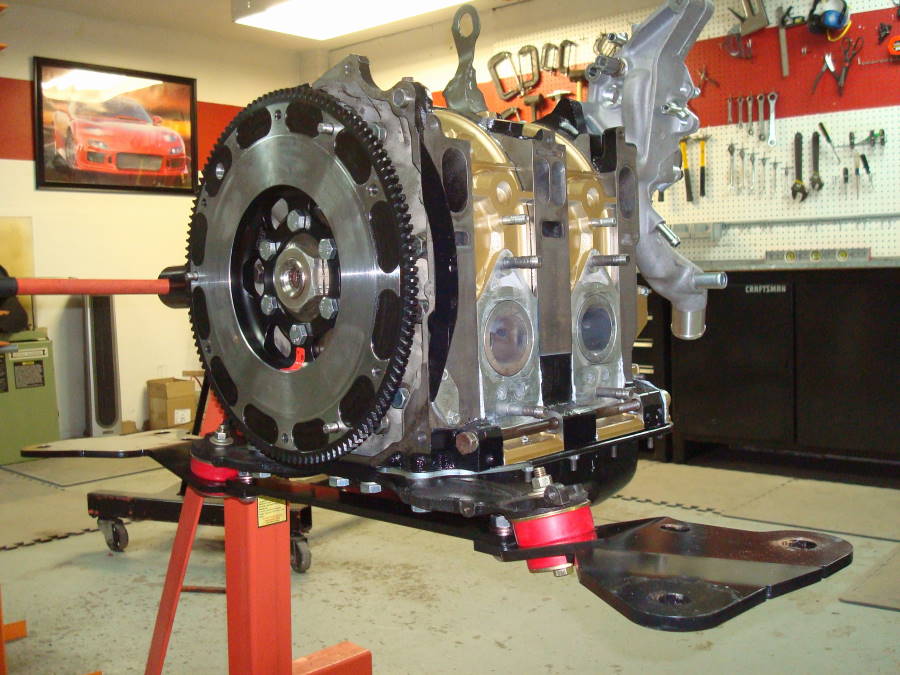
Engine
Installed Pic #9
|
Click on images for larger view
Procedure
NOTE: We have designed the crossmember for installation of the engine with our Banzai Racing Oil Pan Brace. Depending on your application you may need to install or remove supplied 1/4" thick spacers for engine height adjustment.
![]()