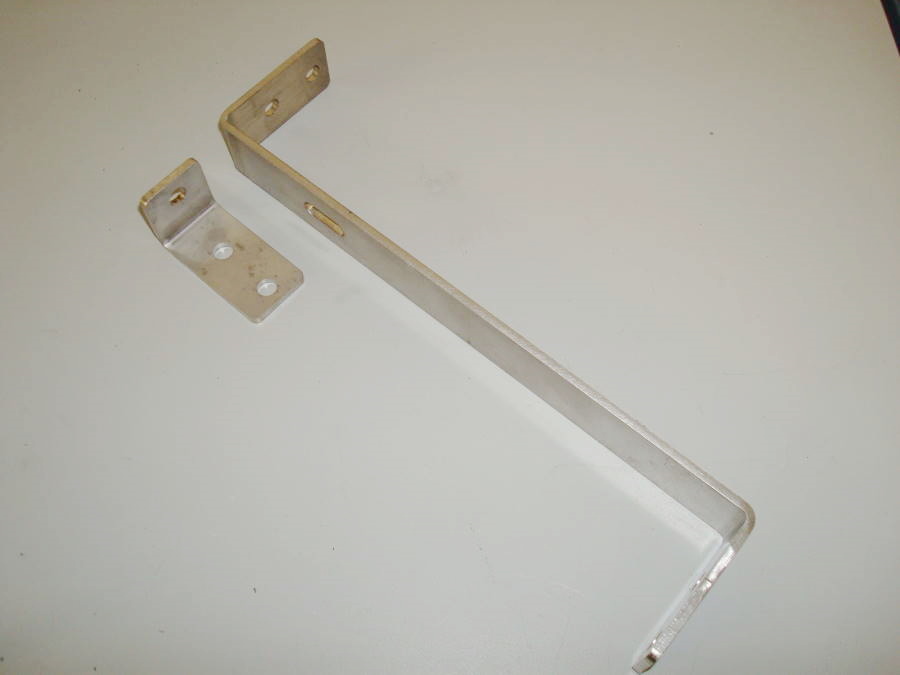
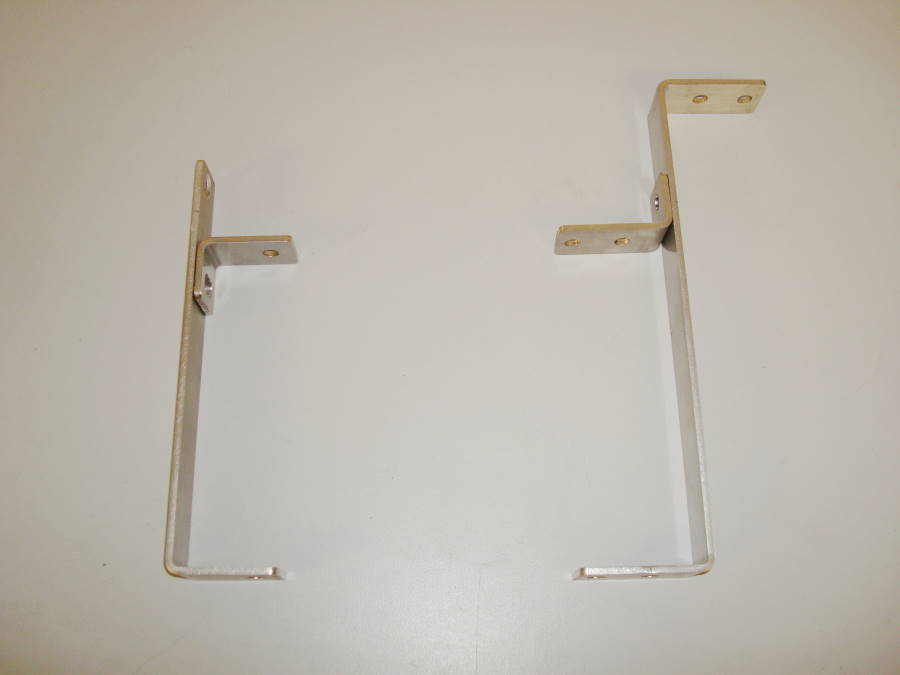
Brackets
Kit
FD
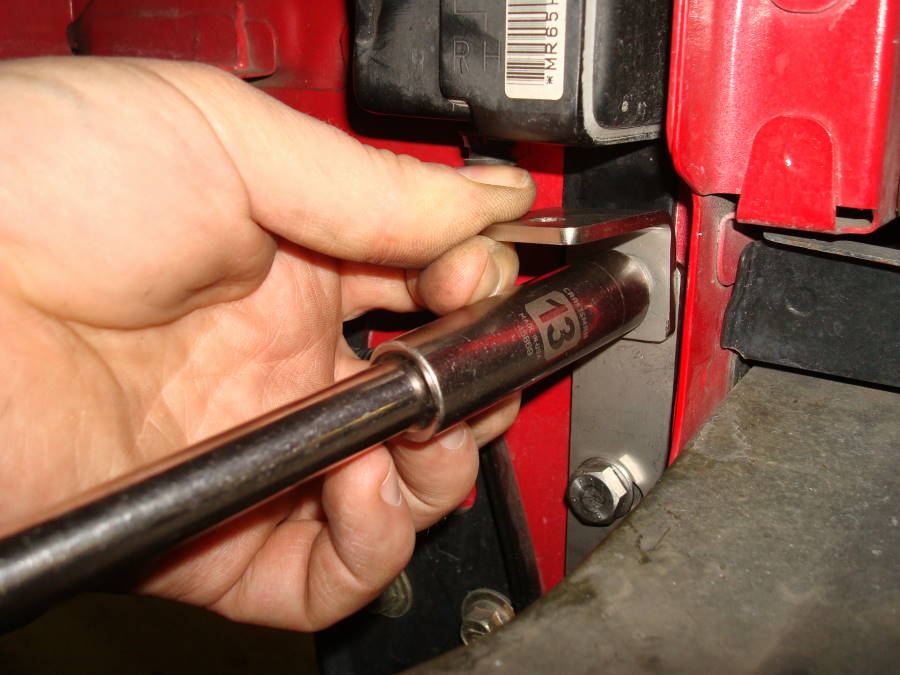
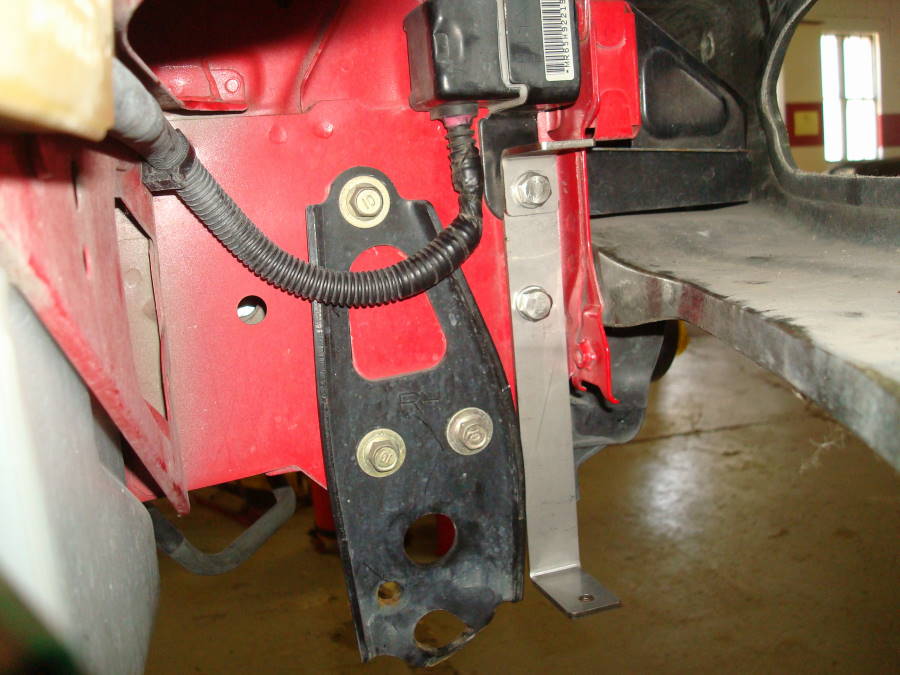
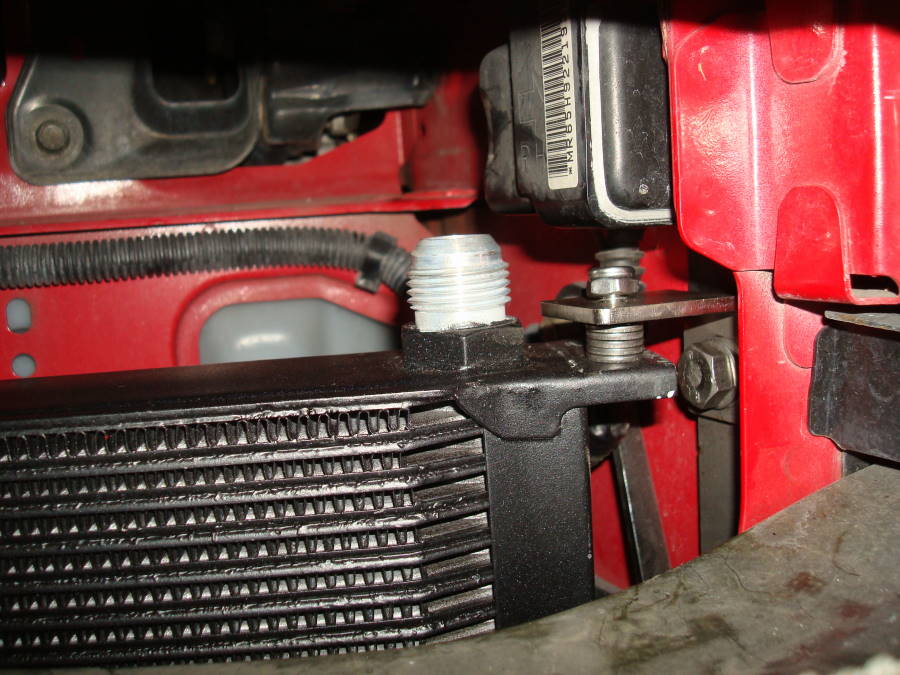
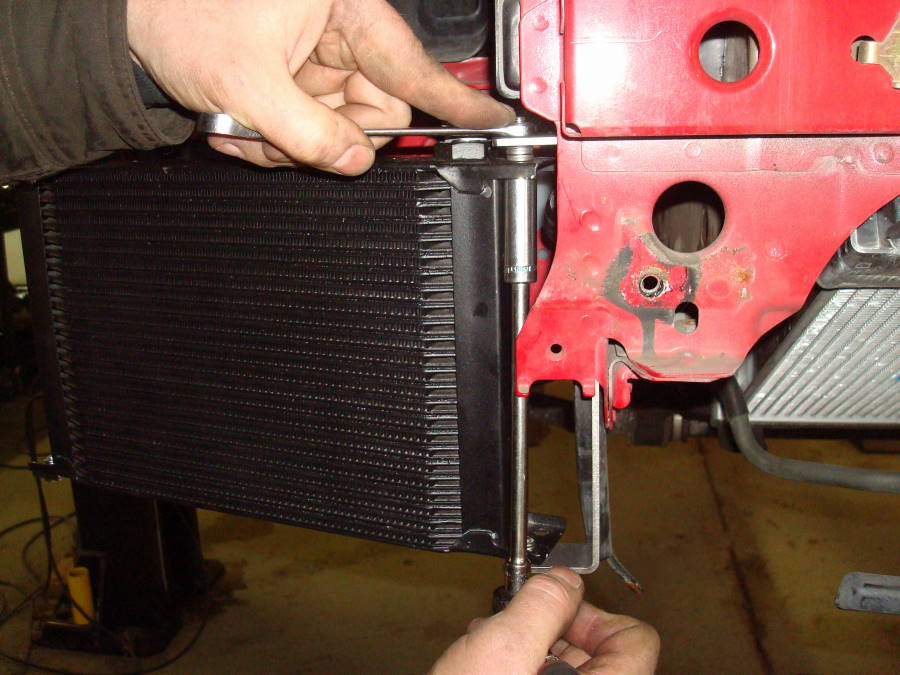
Oil Cooler Brackets Installation Instructions
|
|
|
Brackets
Kit
|
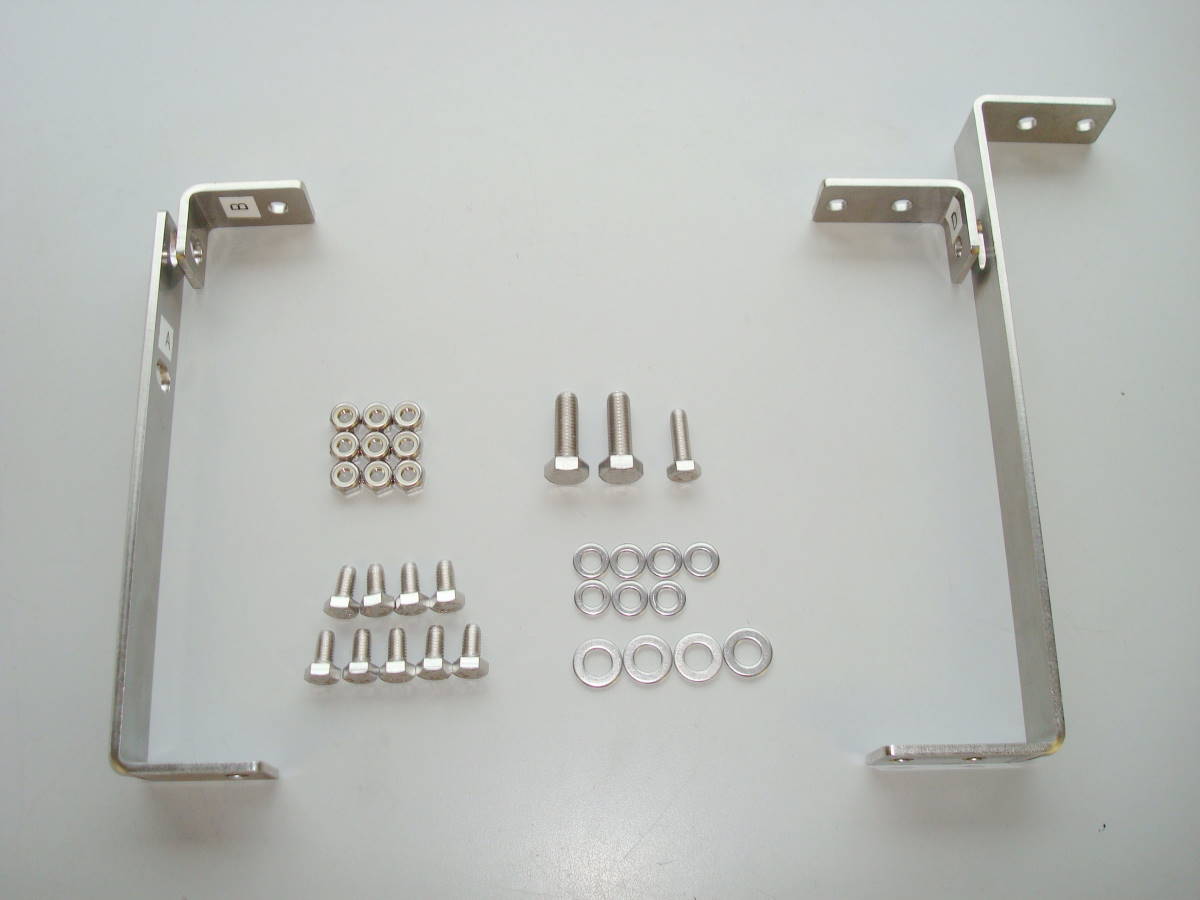
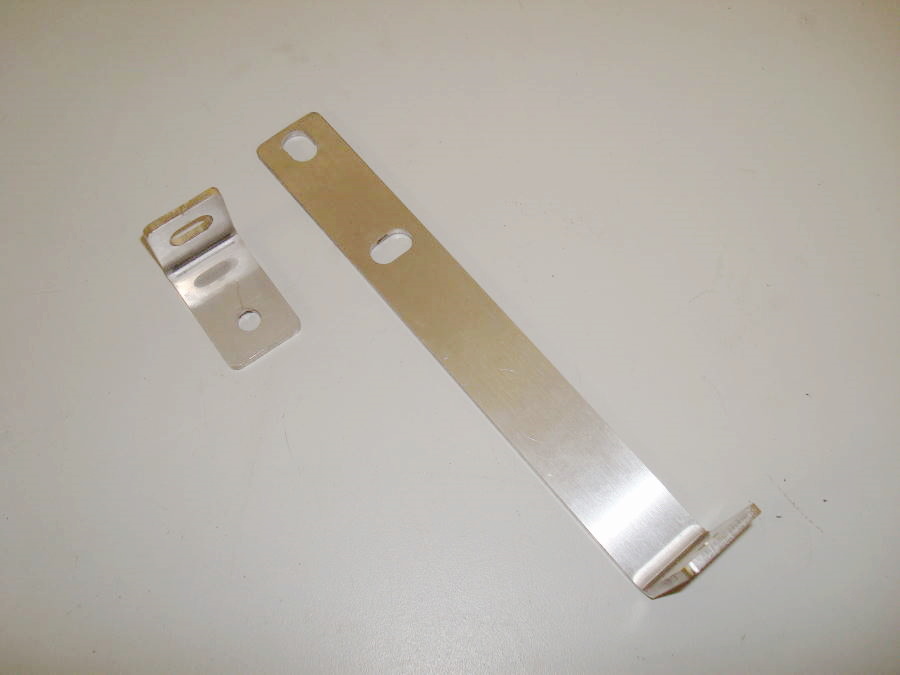
Kit Contents
Tools Required
 |
 |
 |
 |
 |
|
Pic
#1
|
Pic
#2
|
Pic
#3
|
Pic
#4
|
Pic
#5
|
 |
 |
 |
 |
 |
|
Pic
#6
|
Pic
#7
|
Pic
#8
|
Pic
#9
|
Pic
#10
|
 |
 |
 |
 |
 |
|
Pic
#11
|
Pic
#12
|
Pic
#13
|
Pic
#14
|
Pic
#15
|
 |
 |
 |
 |
 |
|
Pic
#16
|
Passenger
Side
|
Driver
Side
|
Pic
#19
|
Pic
#20
|
 |
 |
|
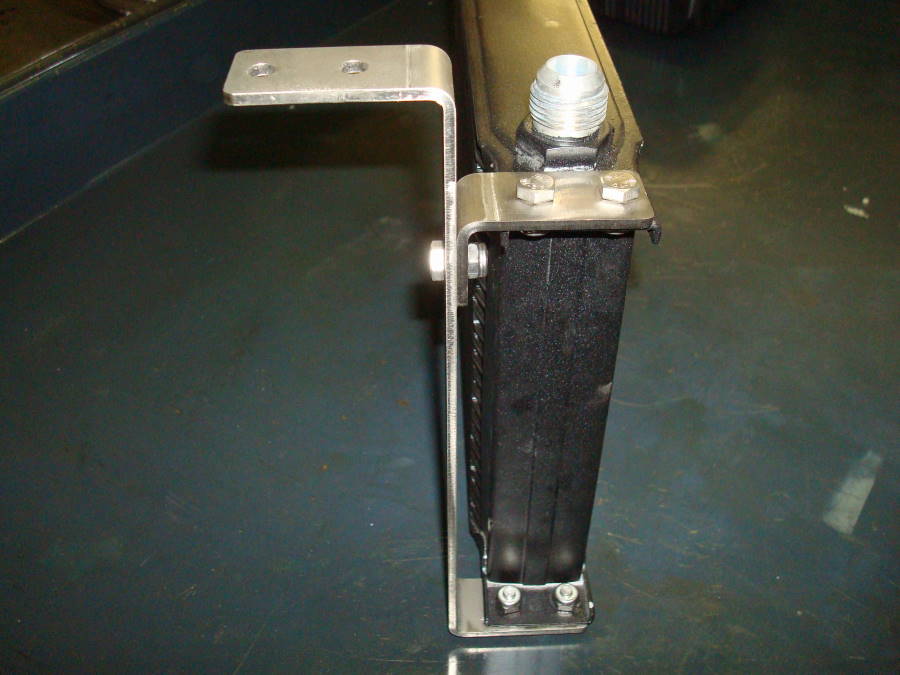
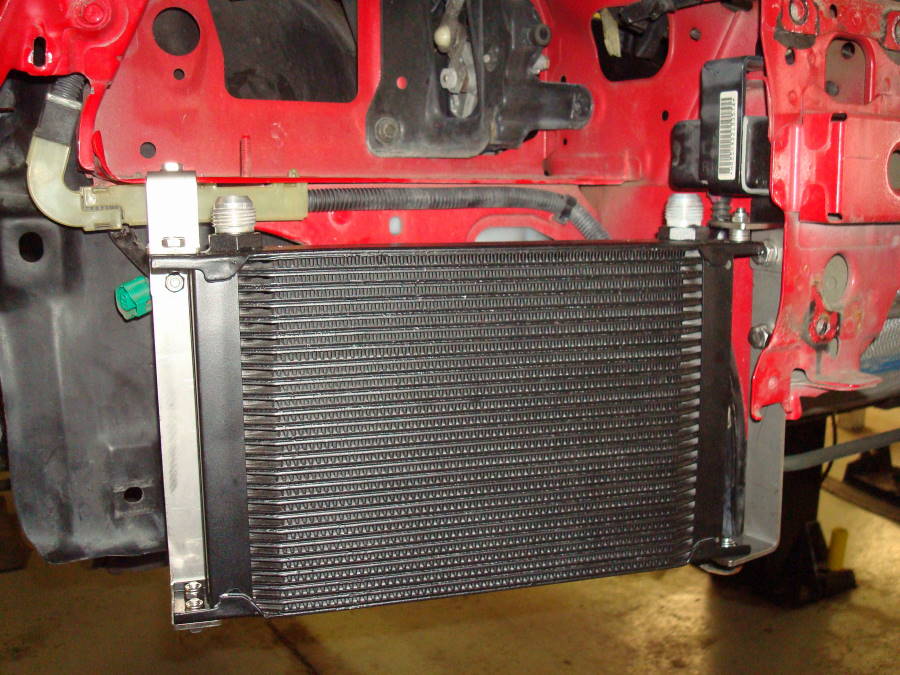
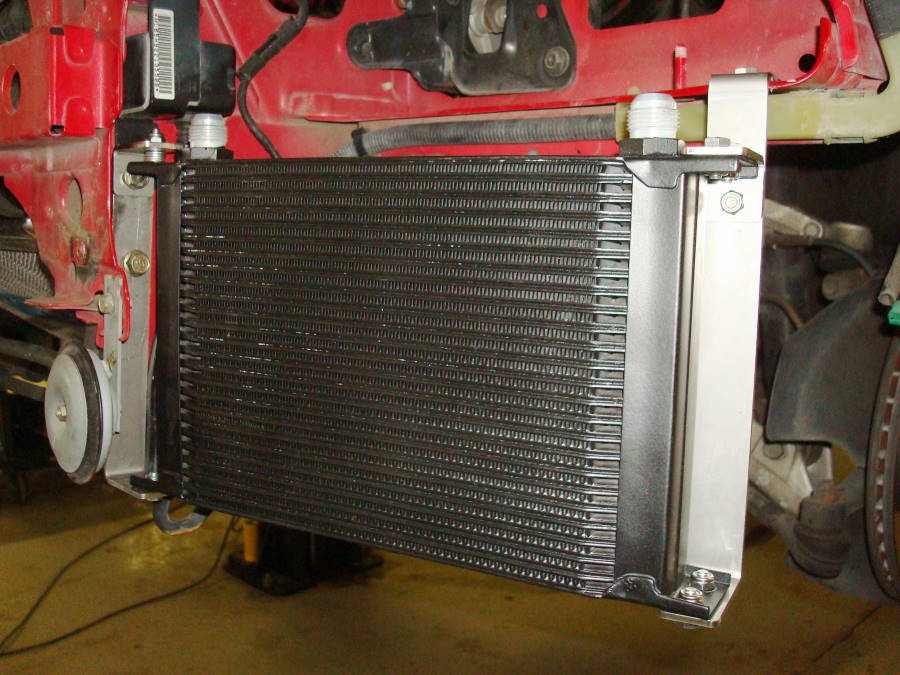
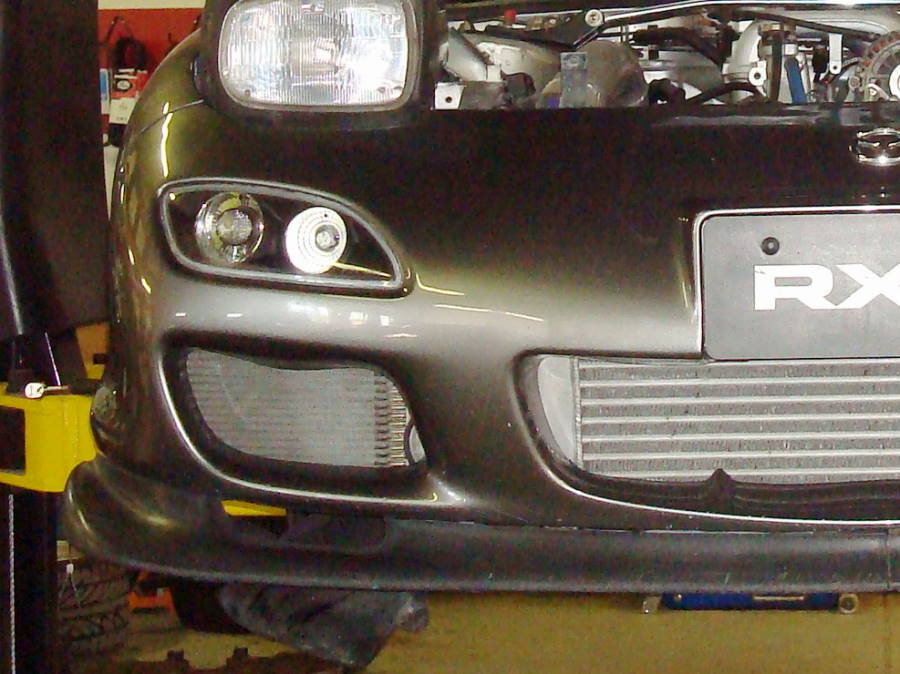
19-Row
Configuration
|
Installed
on 99-Spec Bumper
|
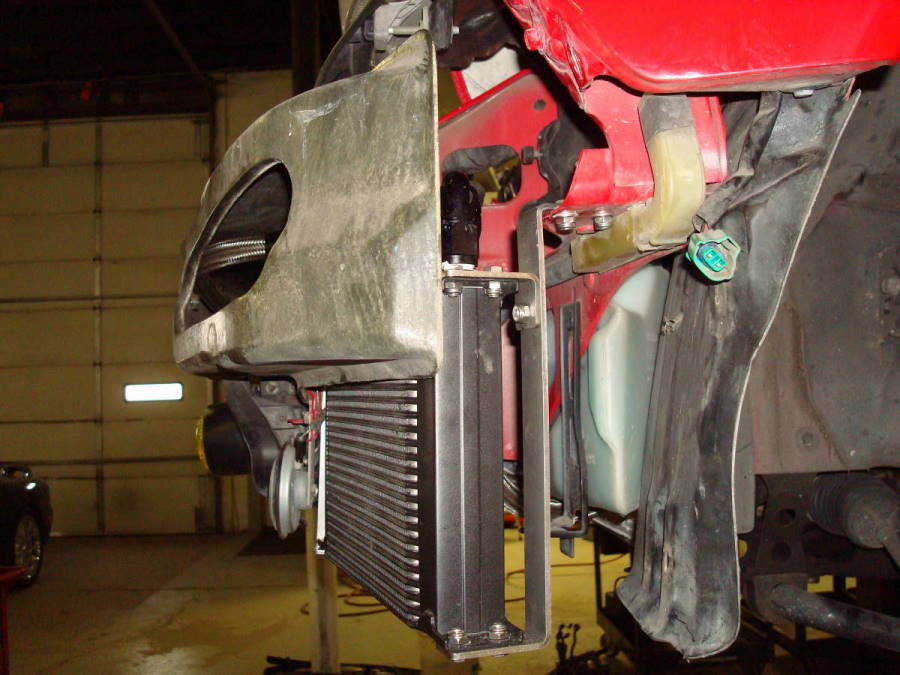
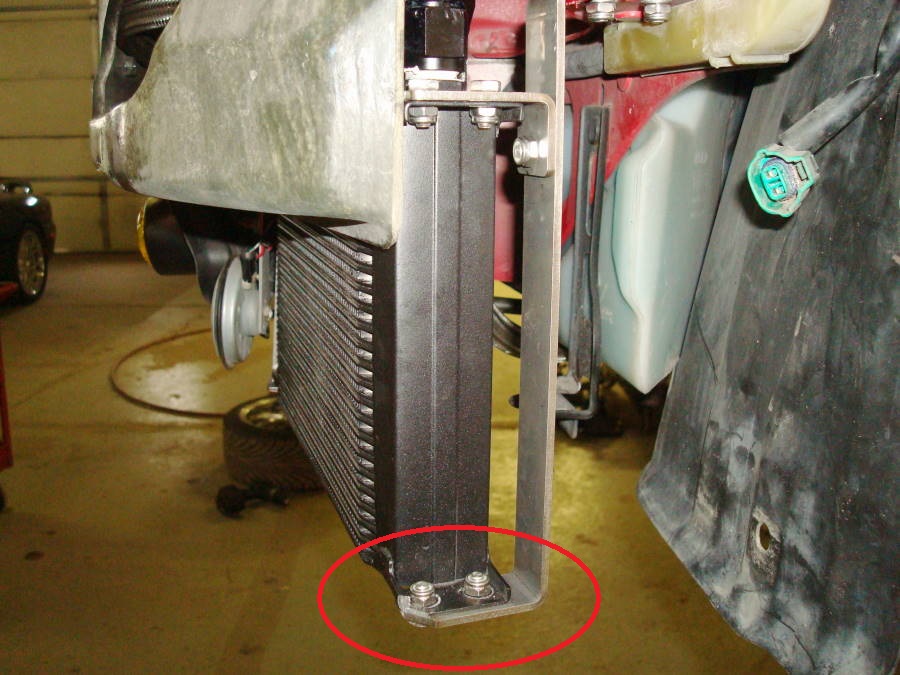
Please note that these brackets have not been tested on all brands of oil collers in all configurations, so some modifications may be required for installation
If you have any questions or concerns regarding installation of this product please contact us via email: tech@banzai-racing.com
Click on images for larger view
Banzai Racing Inc. & Associates are not responsible for any adverse effects arising from application of this procedure.
Contact Us if you have any questions about this How To
If necessary, click Home button to visit Banzai Racing's Website
![]()