FC3s
Oil Pan Brace Installation Instructions
Procedure
for installation while engine is still in vehicle
Tools
& Materials Required
- Jack and Jack Stands
- Engine Hoist or wooden block
- Oil drain pan
- Safety Glasses
- Screwdriver
- M6 x 1.0 Tap (recommended) or
Pick
- 3mm Allen Wrench
- Torque Wrench
- Ratchet & extension
- 10mm Socket
- 17mm Socket
- RTV Silicone Gasket Maker
- Oil & filter
Directions
for removing the Oil Pan while engine is in vehicle; (Please refer to Haynes
Manual 1986 - 1991, Chapter 2, Part A, Page 64).
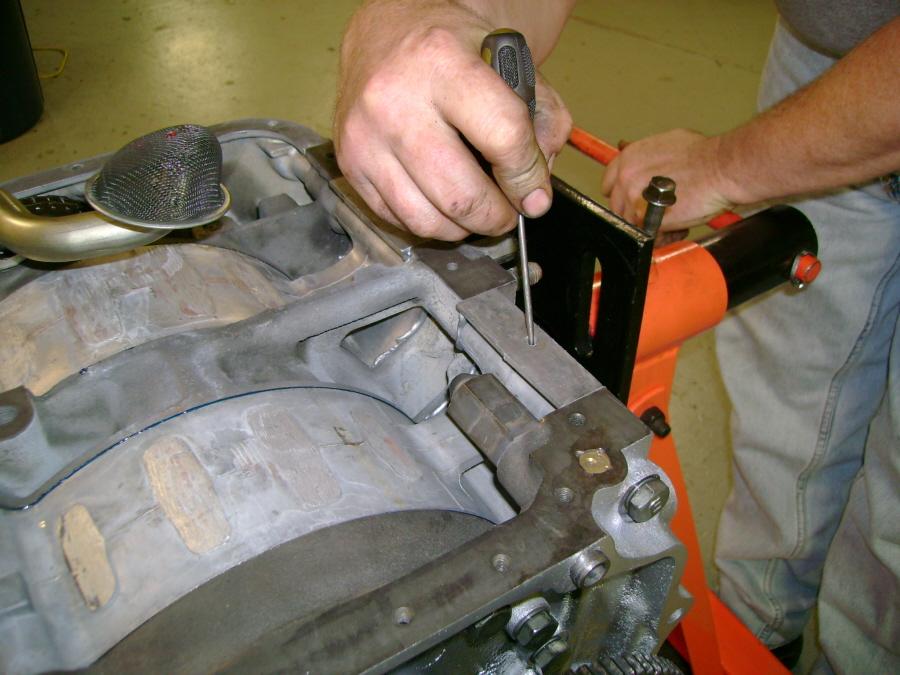
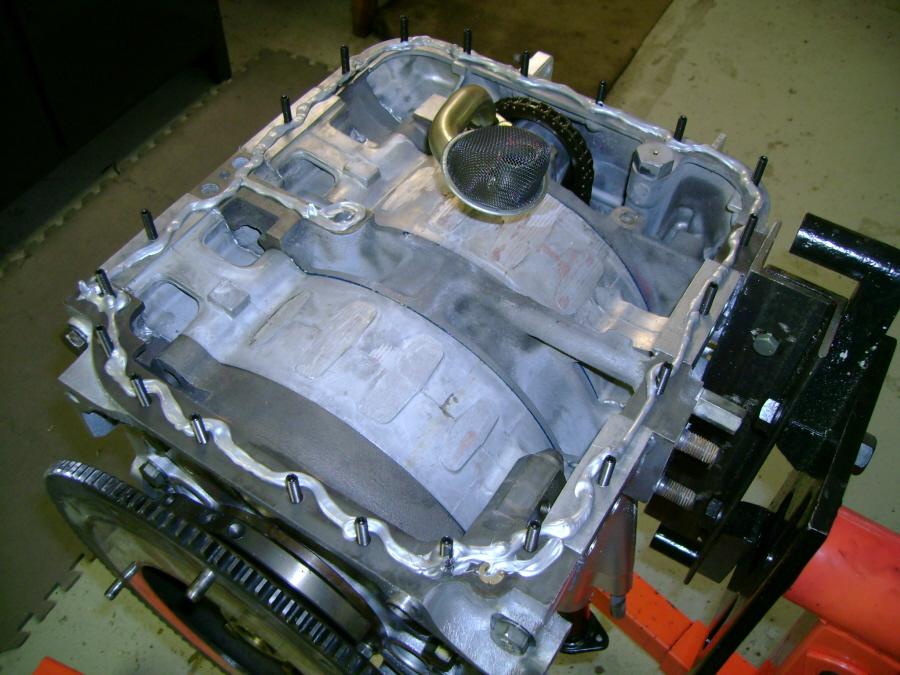
- Clean out oil pan stud
holes completely, ensuring that there is NO sealant, dirt, etc.
at base of holes. Failure to do so may result in cracking of plates. We
recommend using a M6 x 1.0 Tap (pic #1) , but you may use a pick if necessary
(pic #2).
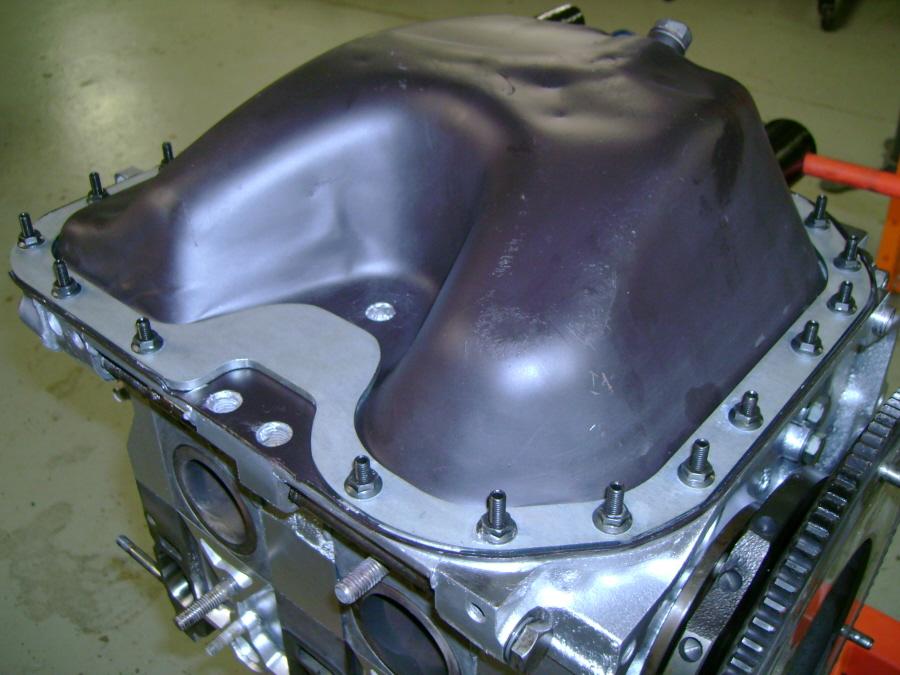
- Remove any traces of oil
with lacquer thinner or acetone and clean cloth. Ensure that the contact
surface of all parts are clean.
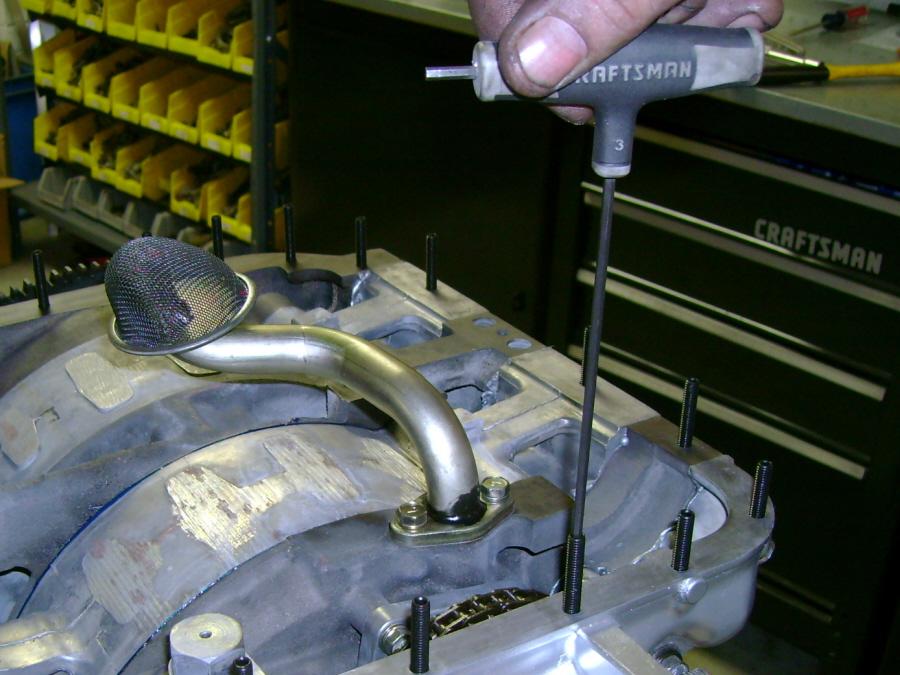
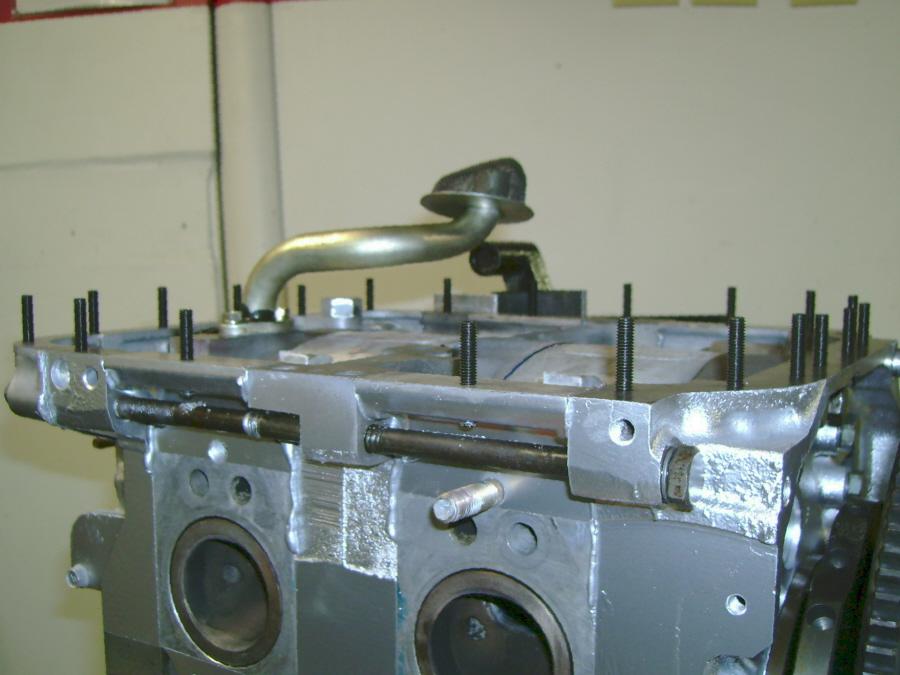
- Using 3mm Allen wrench,
thread studs into oil pan mounting holes (pic #3).
- If you experience difficulty
inserting the studs, please ensure that the holes are thoroughly clean
and re-tap threads if stripped.
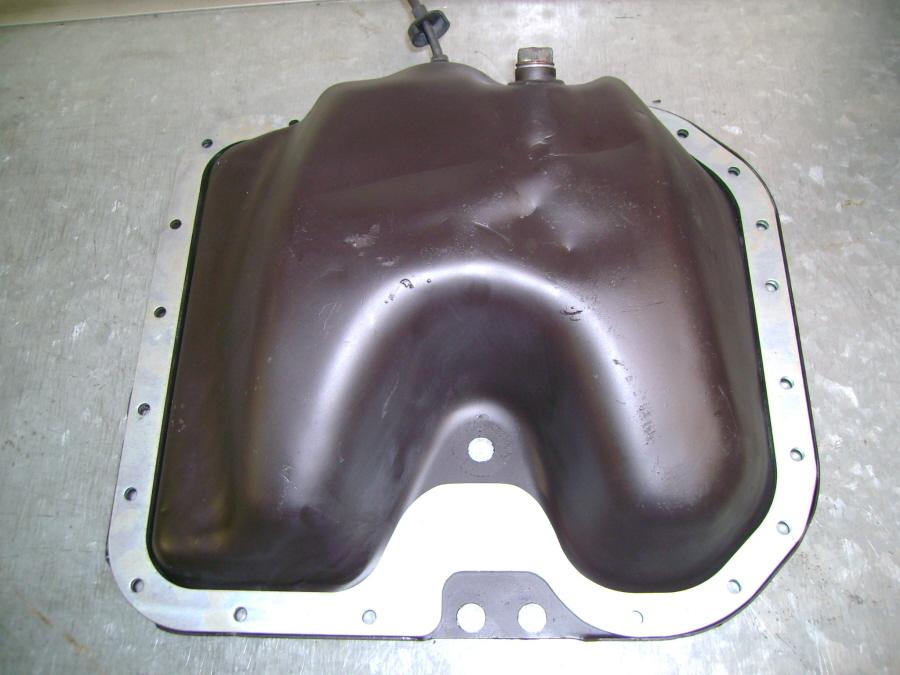
-
Check
oil pan for rim defects. If necessary, use pliers to straighten edges
(pic #5).
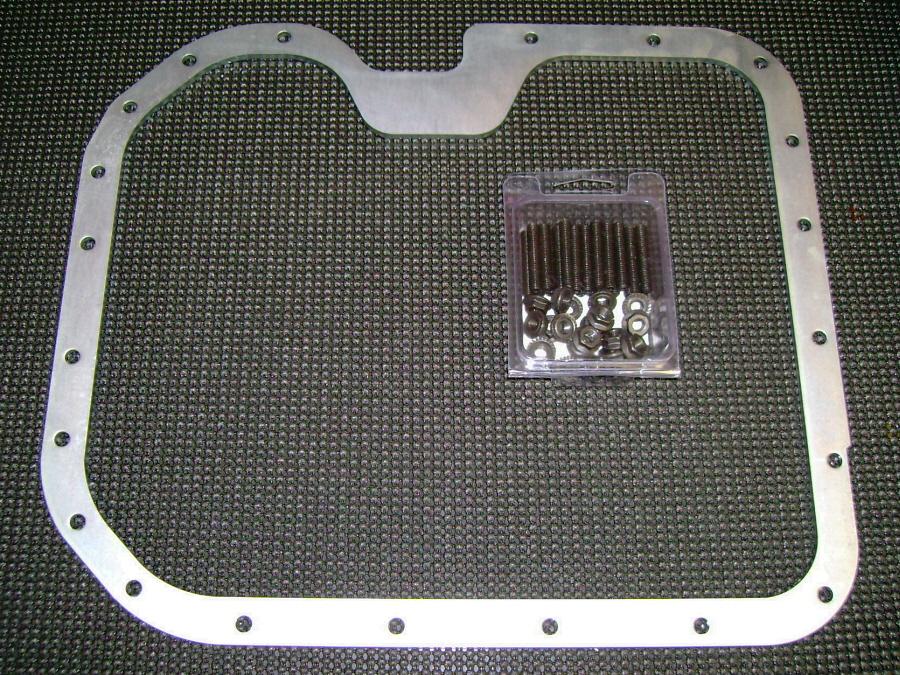
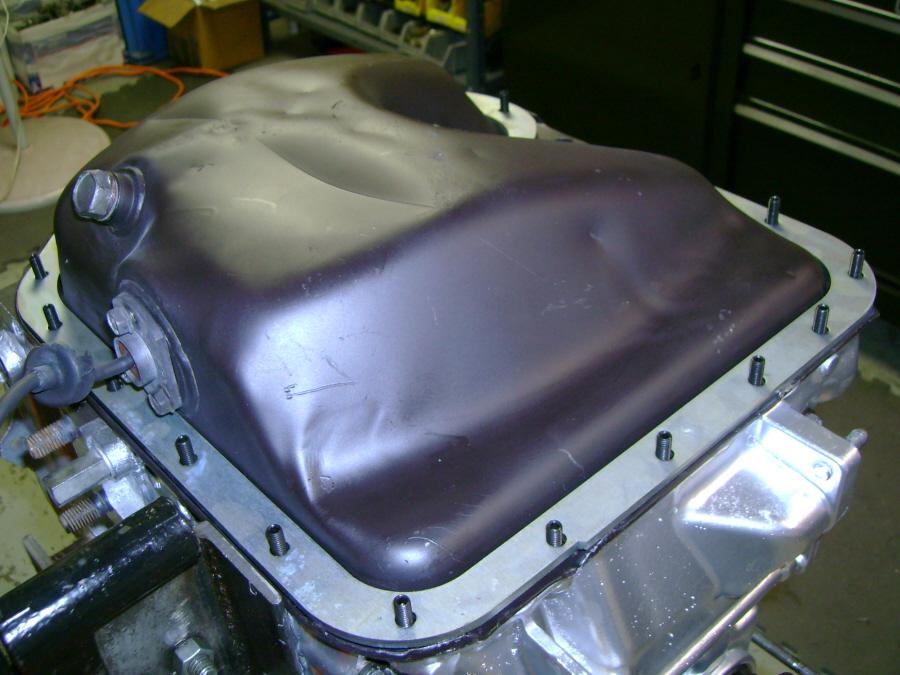
- Place Banzai Racing Oil
Pan Brace on oil pan (pic #6).
- Apply a 4 - 6mm continuous
bead of RTV Silicone Gasket Maker to the bottom of the engine components
along the inside of the studs and around bolt holes (pic #7). NOTE:
Install oil pan within 5 minutes.
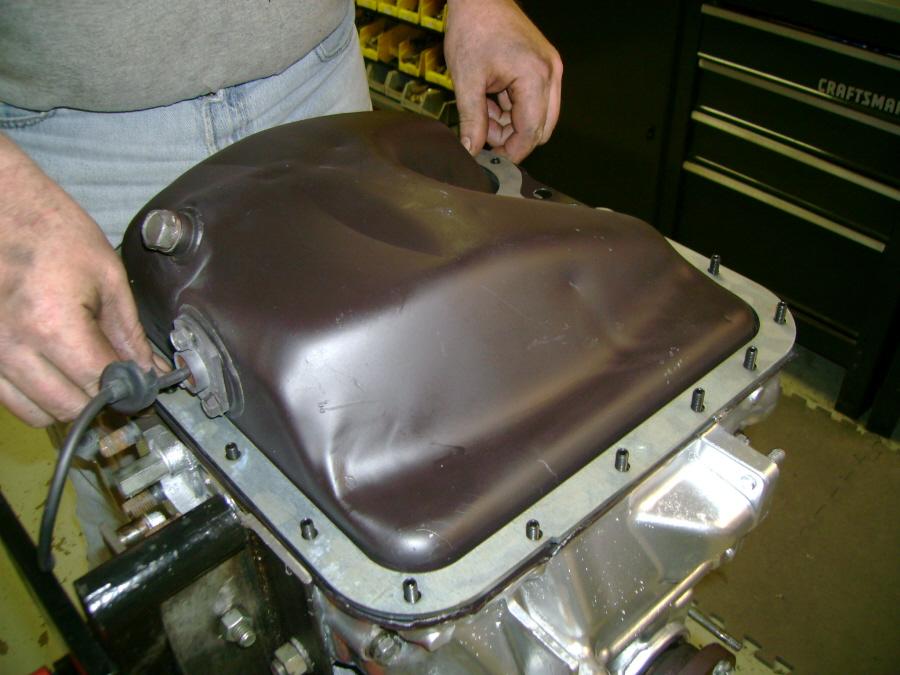
- Install oil pan and brace
as pictured, lowering onto the studs (pic #8).
- Thread hex nuts onto oil
pan studs (pic #10).
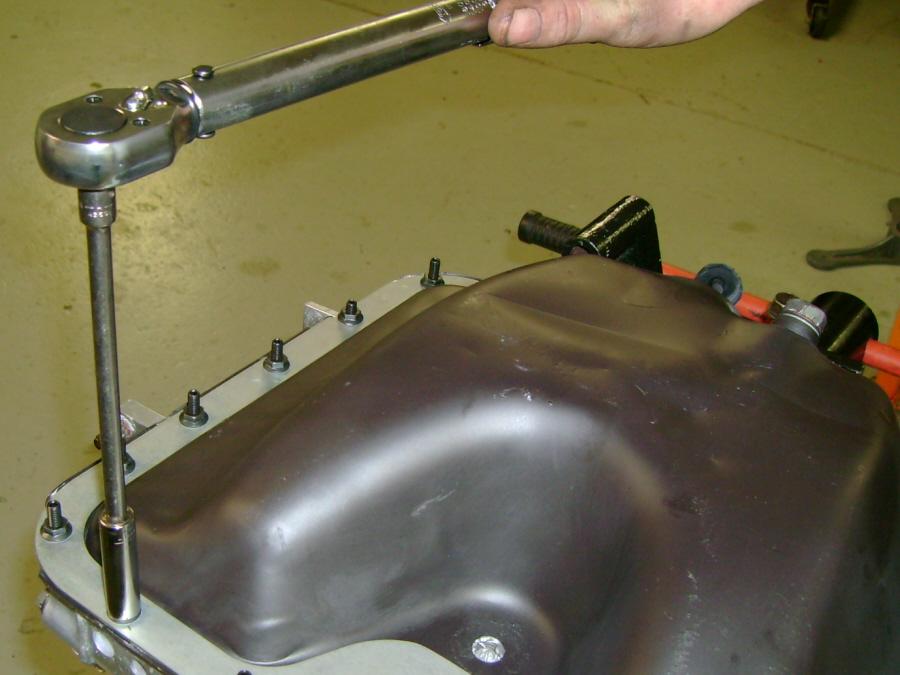
- Torque nuts gradually and
evenly to 8.9 - 11 N-m {79 - 104 in-lbf} (pic #11).
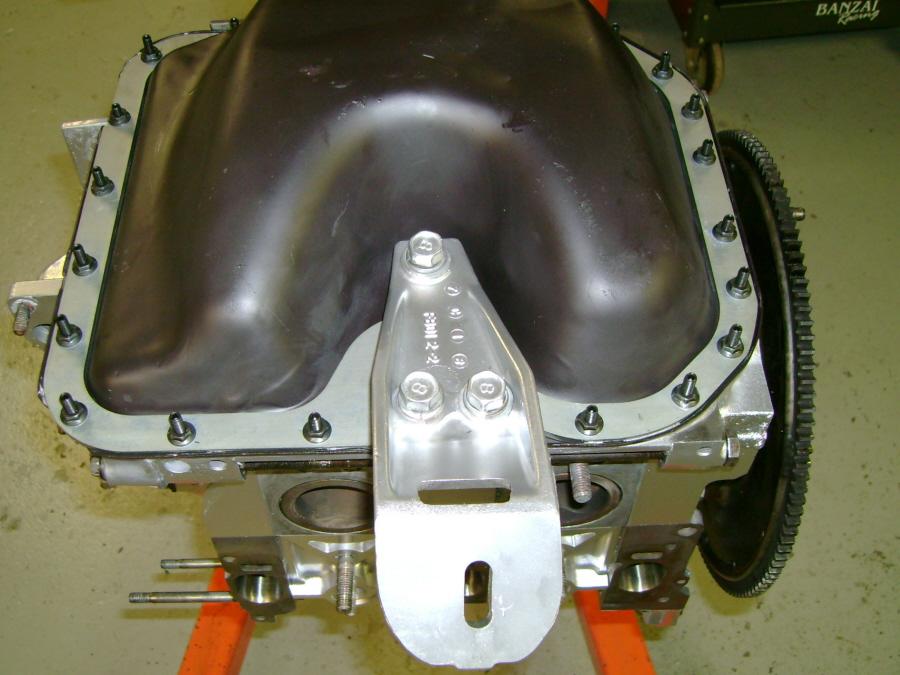
- Using stock hardware (17mm
bolts & washers), install right (passenger-side) engine
bracket (pic #12).
- Torque engine mount bolts
to 75 - 93 N-m (55 - 68 ft-lbf).
- Reinstall / reconnect the
remaining parts in the reverse order of removal.
- Allow a minimum of 24 hours
for RTV to cure.
- Add engine oil, start the
engine and check for leaks and correct oil pressure.
- Turn the engine off and
recheck the oil level with vehicle on level surface.
Note: Convertible owners may
find it easier to remove the rear crossmember.
Banzai
Racing Inc. is not liable for any accidents or damage due to application of
this procedure.