FD3s
Differential Brace Installation Instructions
Please read and follow instructions carefully to ensure correct installation
Tools
Required
- Ratchet
- 21mm Socket
- 12mm Socket
- 10mm Socket
- Jack & Stands
- Torque Wrench
 |
 |
 |
 |
|
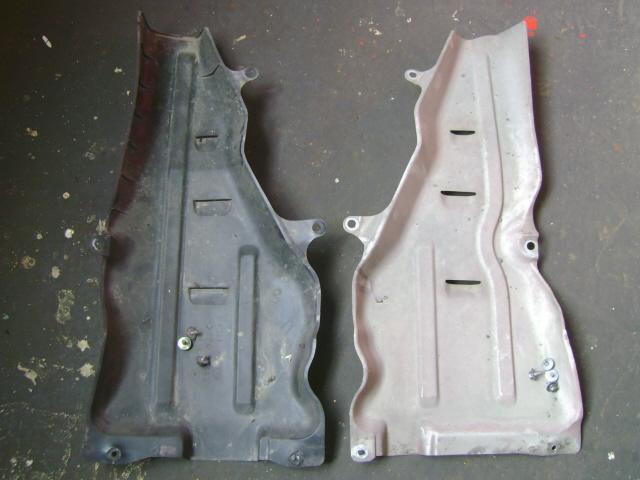
Pic
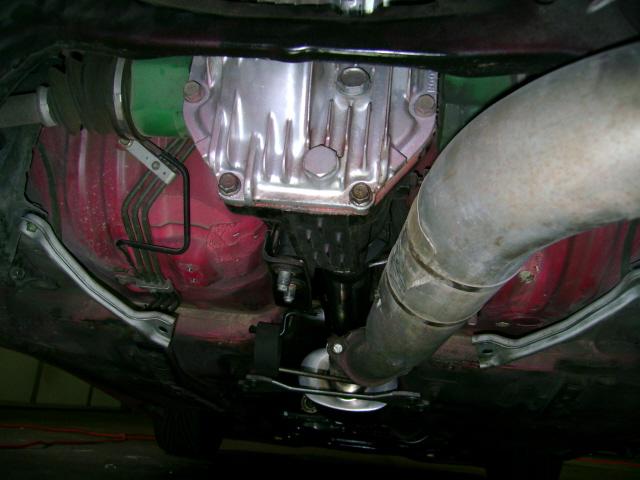
#1 Shields
|
Pic
#2 Brackets
|
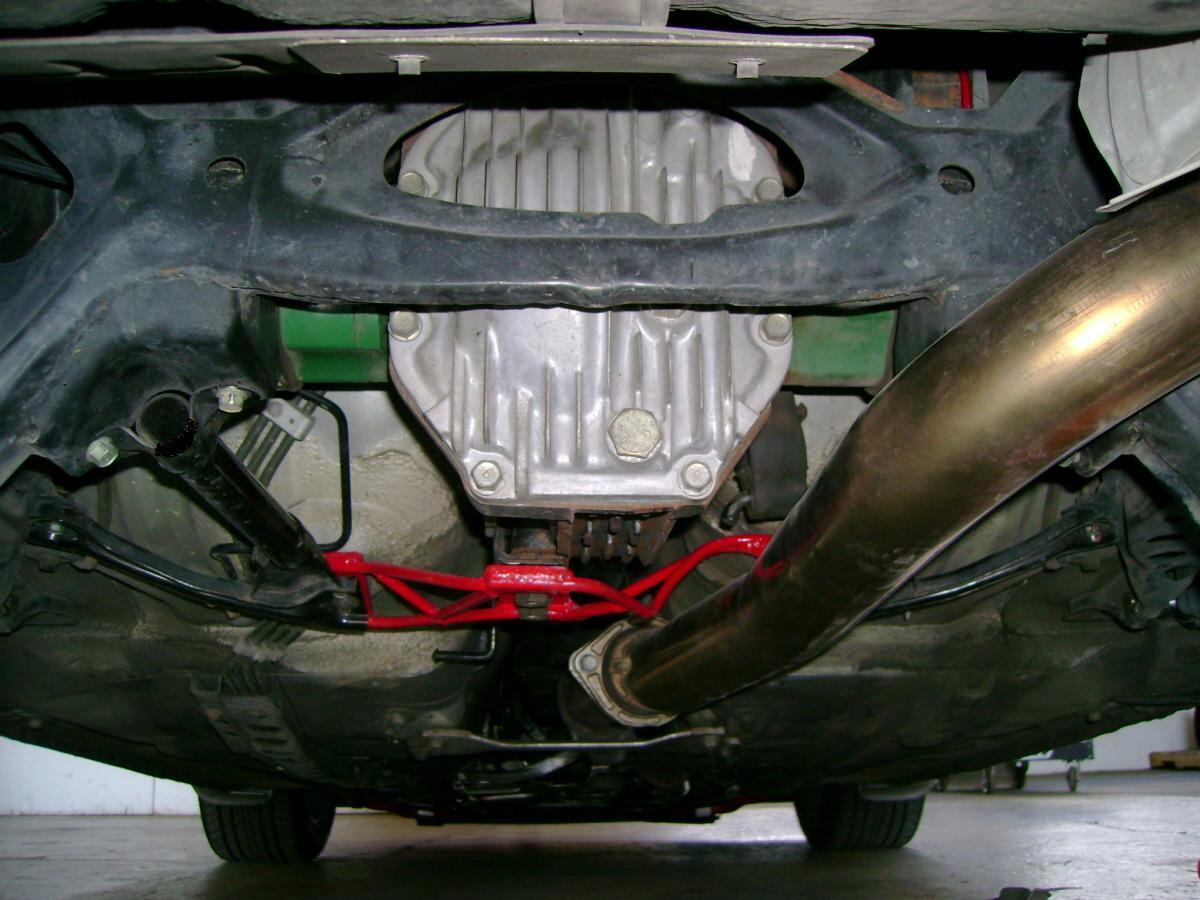
Pic
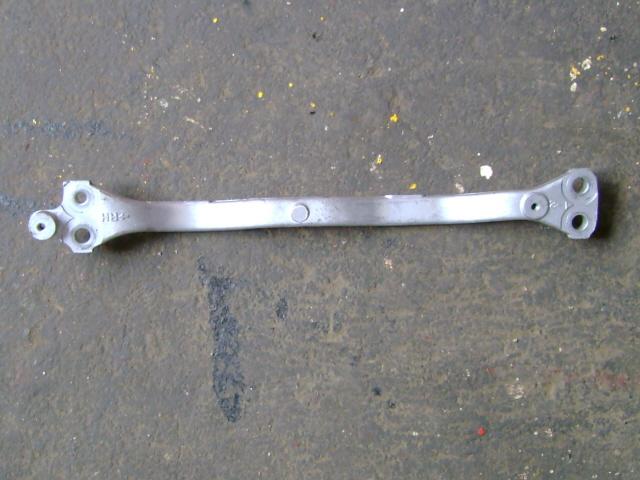
#3 Remove Bar
|
Pic
#4 Bar Removed
|
 |
 |
 |
 |
|
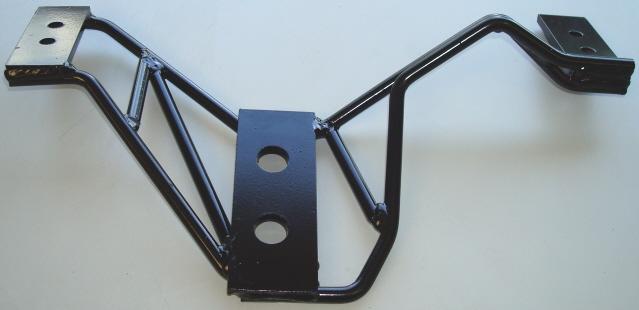
Pic
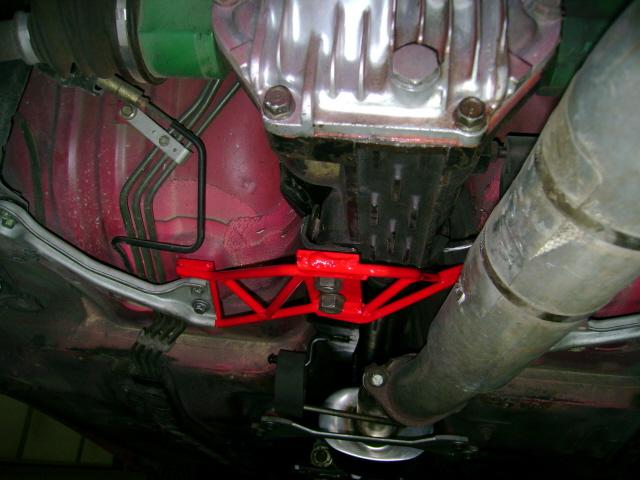
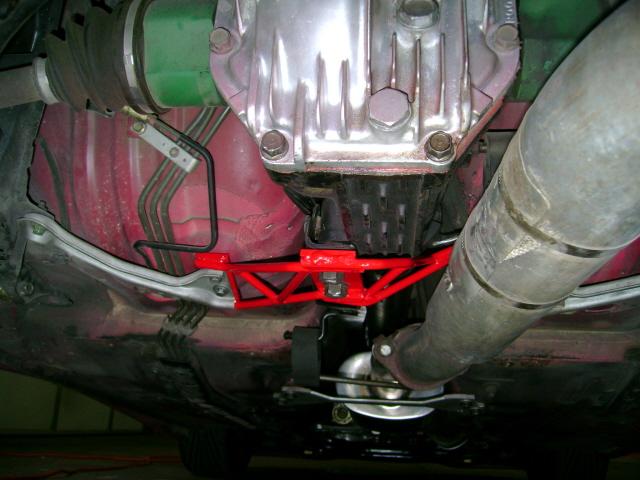
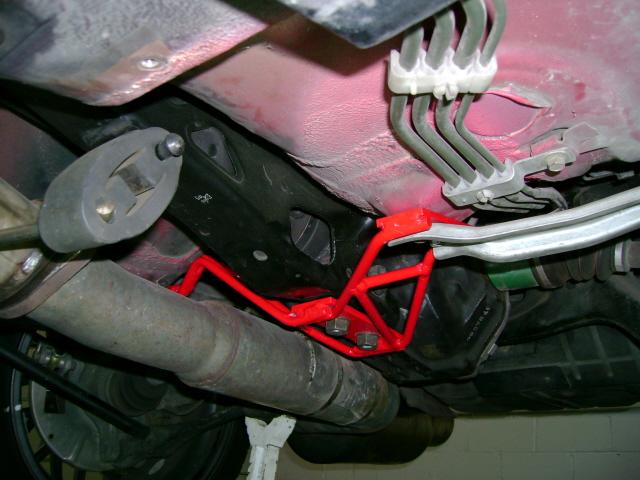
#5 Install Brace
|
Pic
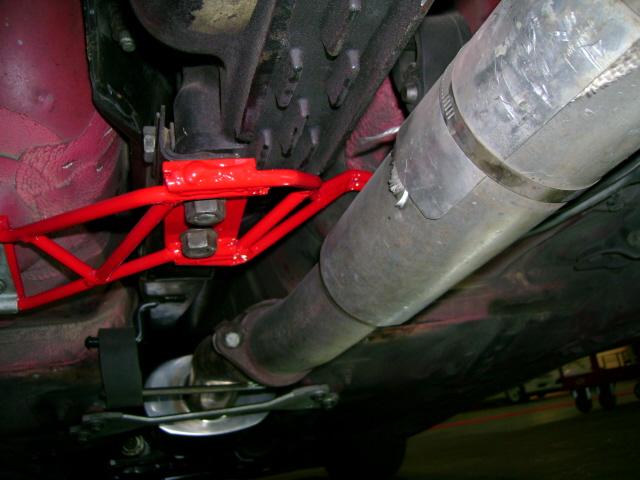
#6 Tighten Nuts
|
Pic
#7 Tighten Bolts
|
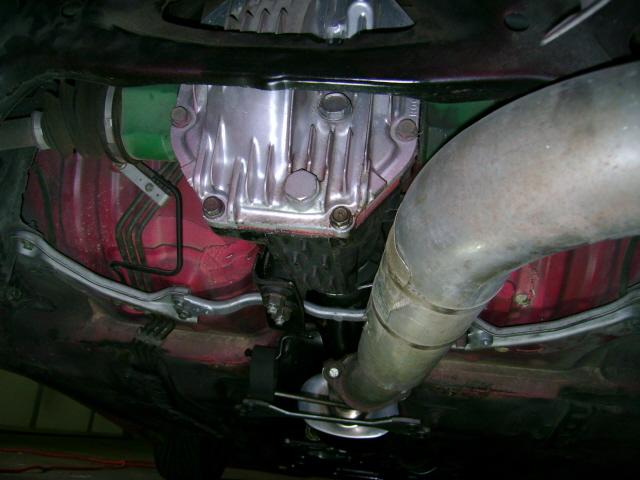
Pic
#8 Brace Installed
|
Procedure