Alternator
Bracket Kit Installation Instructions
 |
|
Alternator
Bracket Kit
|
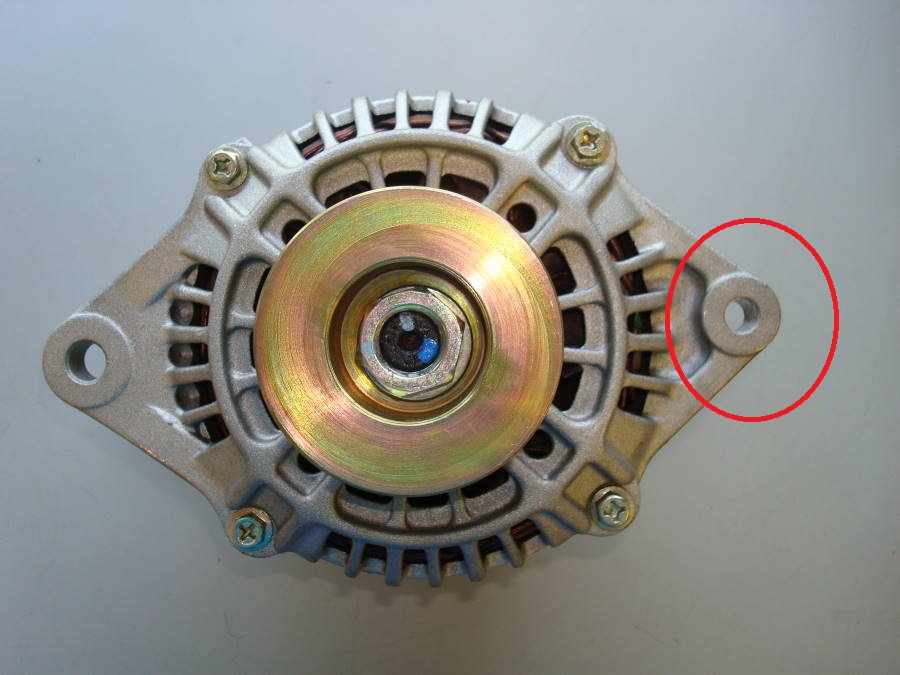
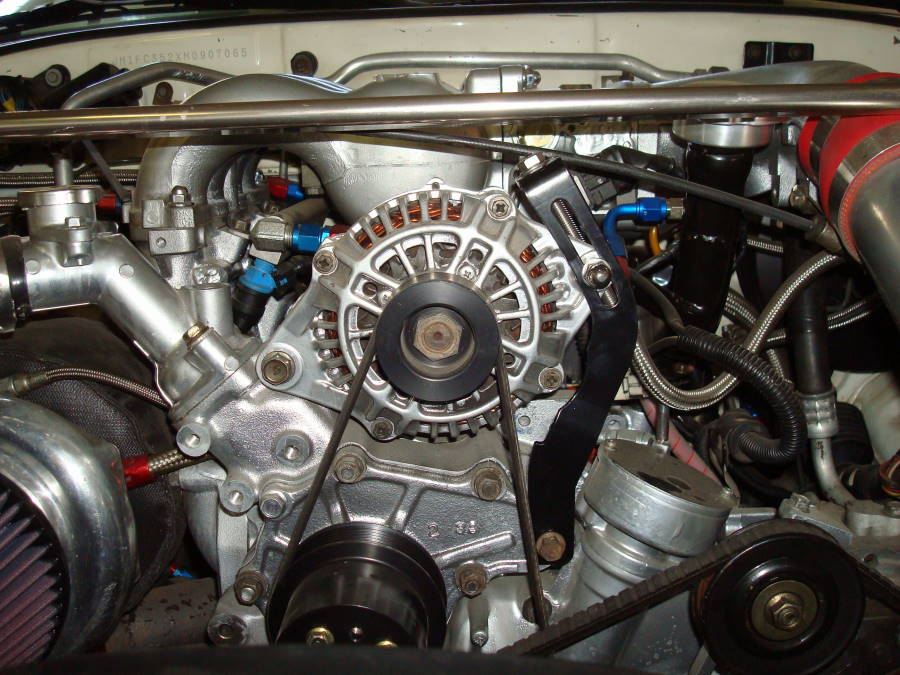
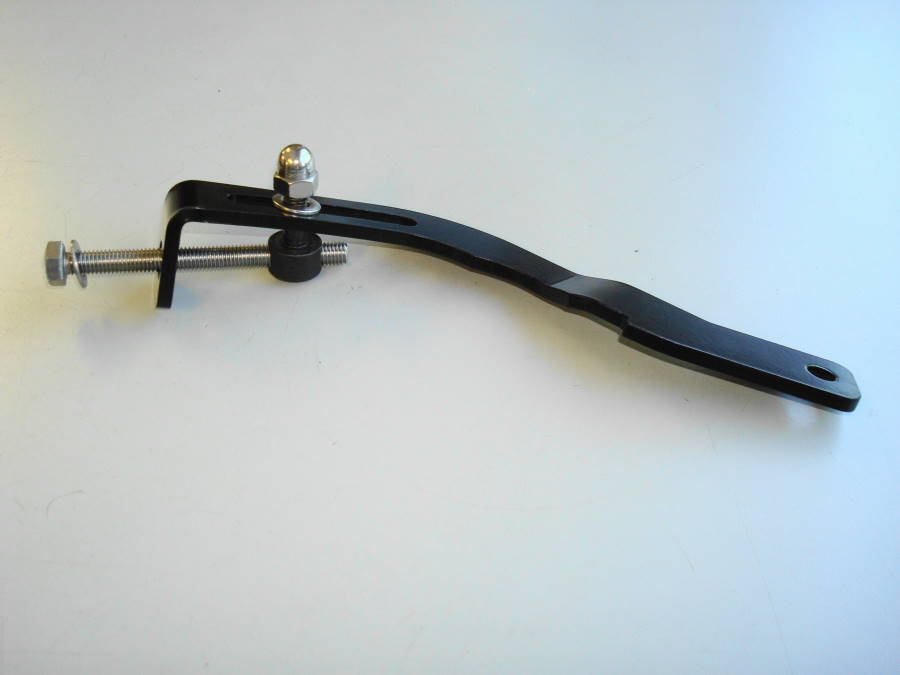
We have developed our Adjustable Tension Alternator Bracket kit for use on 79-91 12A & 13B engines. The purpose is to allow users to achieve the correct level of belt deflection.
For years we have had engines come in to the shop with aggressive front/rear stationary gear bearing wear. One of the main causes of this wear is over-tightened belts. When the alternator belt is too tight it actually pulls on the e-shaft leading to excessive wear on one side on the bearings.
Having proper belt tension also reduces waterpump and alternator bearing failures, as well as increasing belt life.
Our
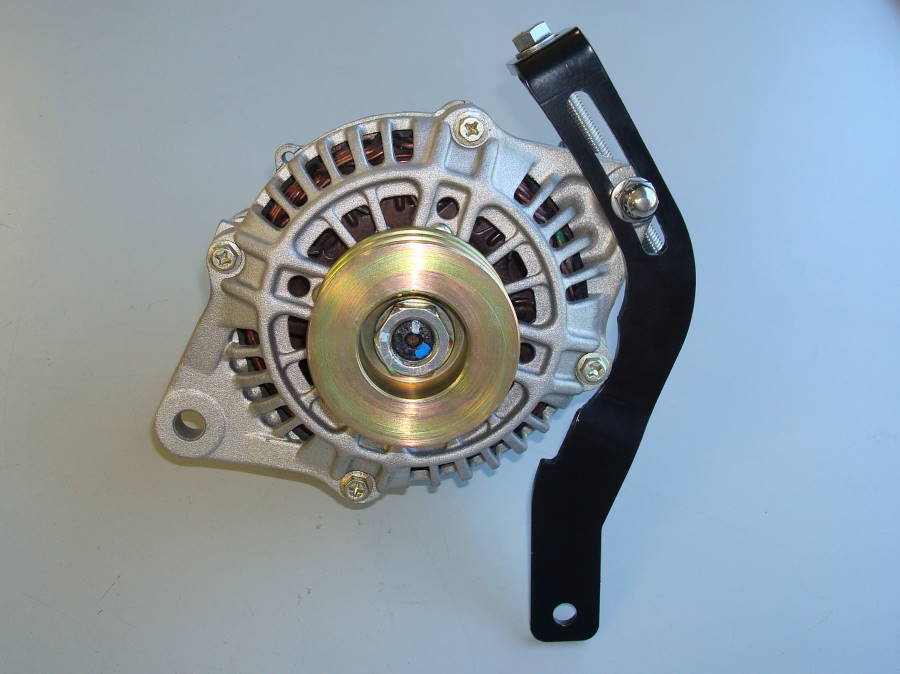
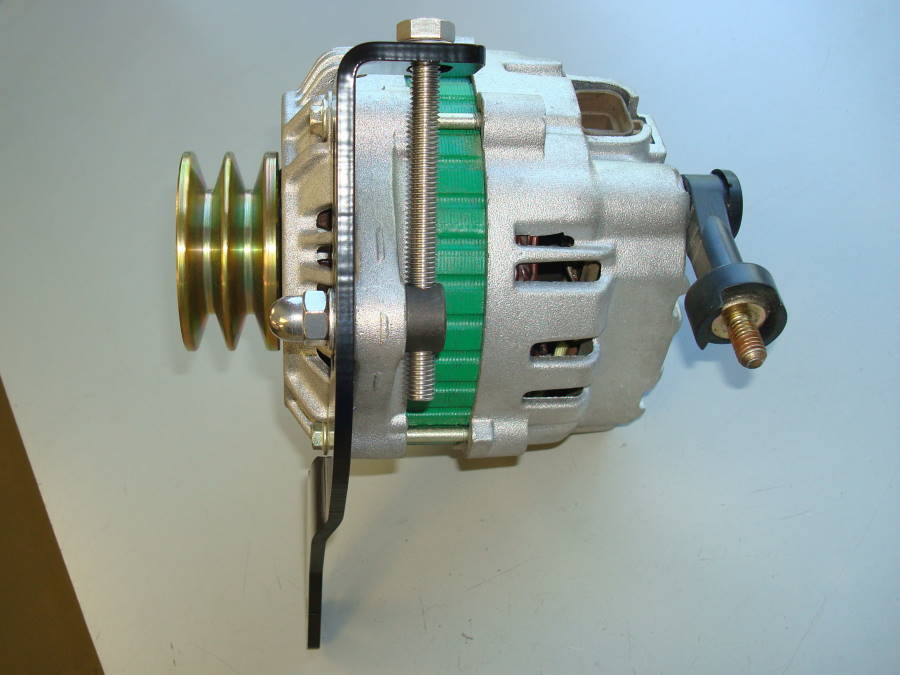
Adjustable Tension Alternator Bracket is fabricated from 3/16" laser
cut steel, it is then Powder Coated Black to prevent corrosion. The kit comes
with stainless steel hardware.
Please
read and follow instructions carefully to ensure correct installation
Tools
Required