Low
Profile 13B-REW Oil Pan Installation Instructions
 |
 |
|
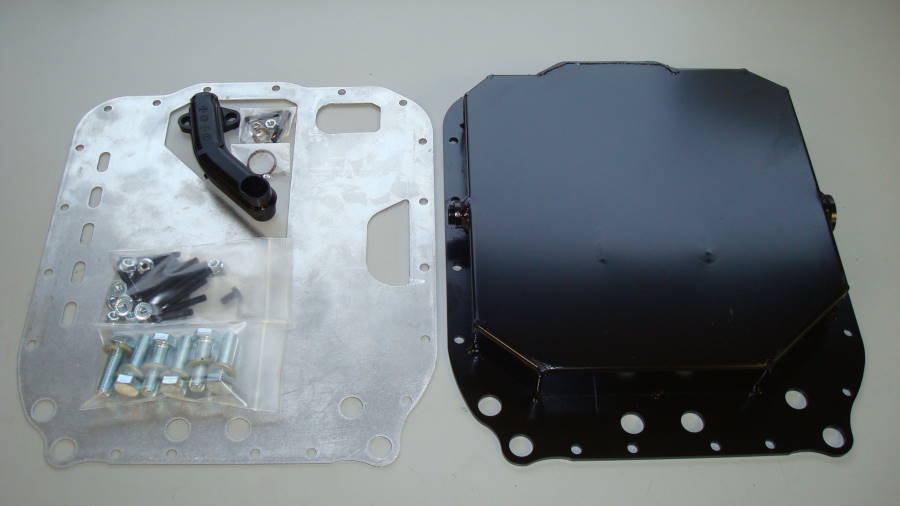
Oil
Pan Kit
|
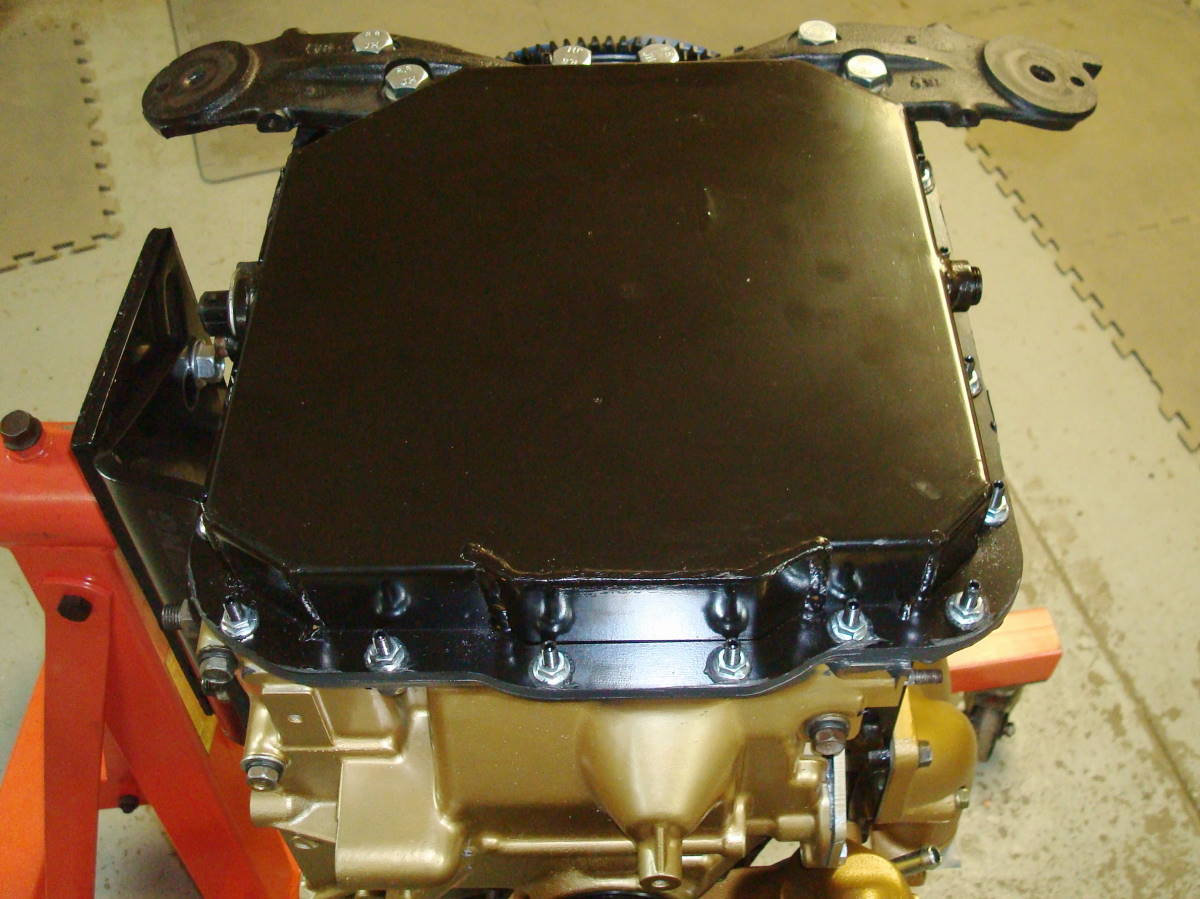
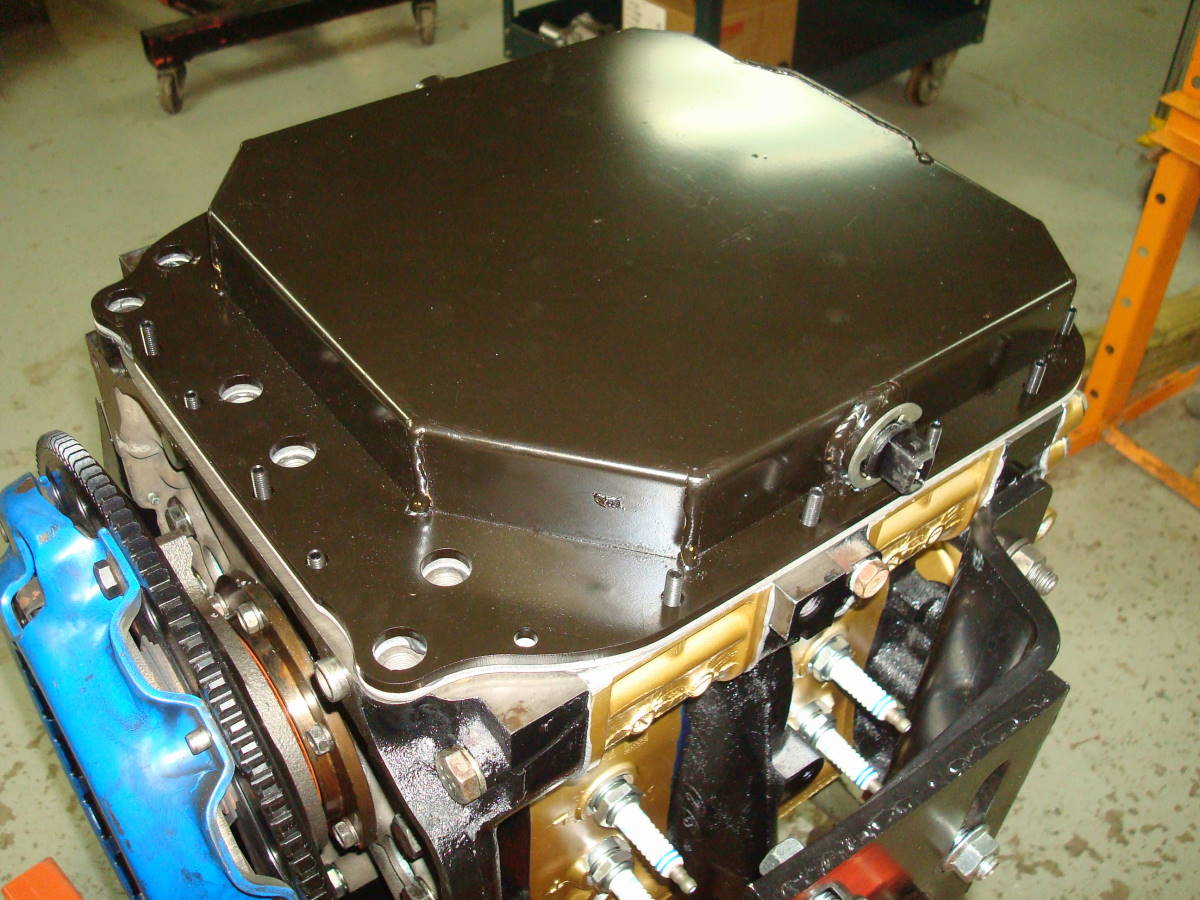
Oil
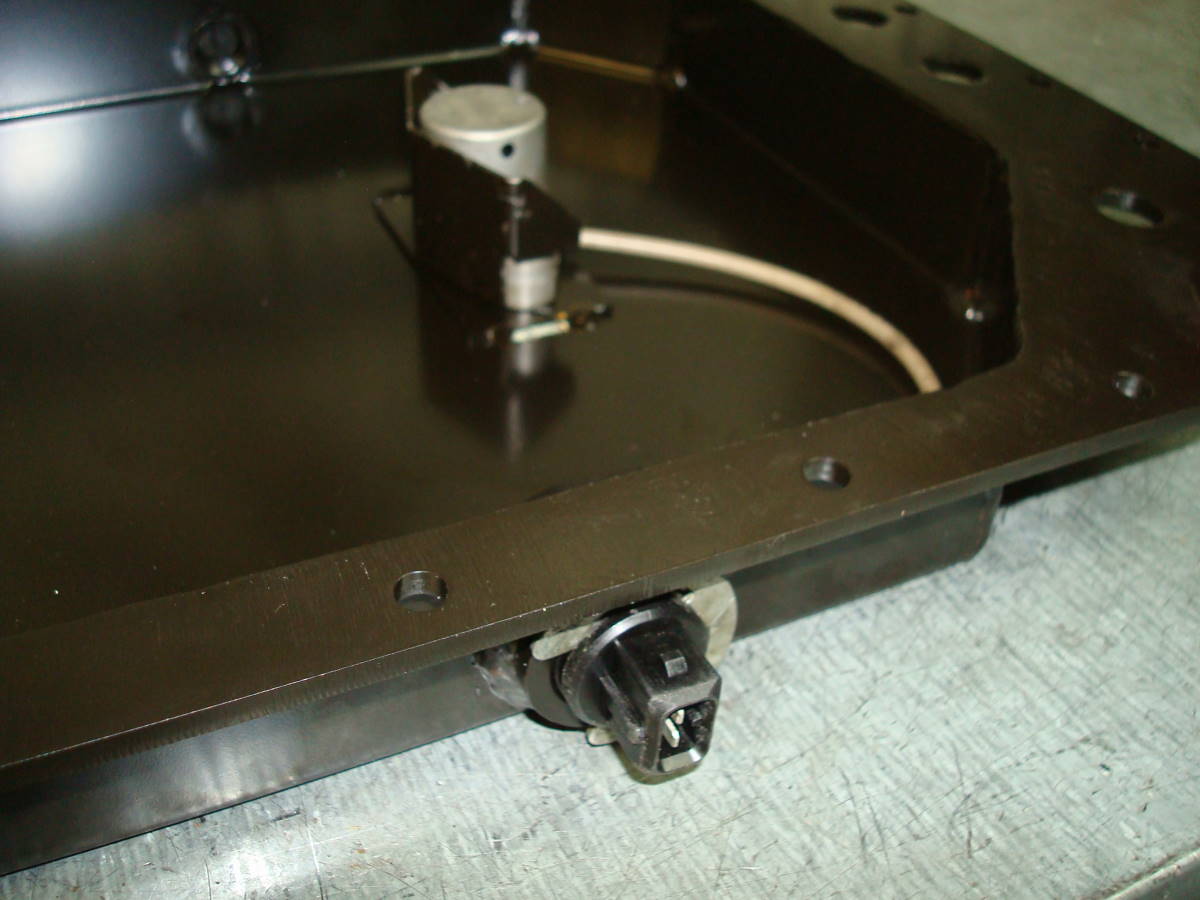
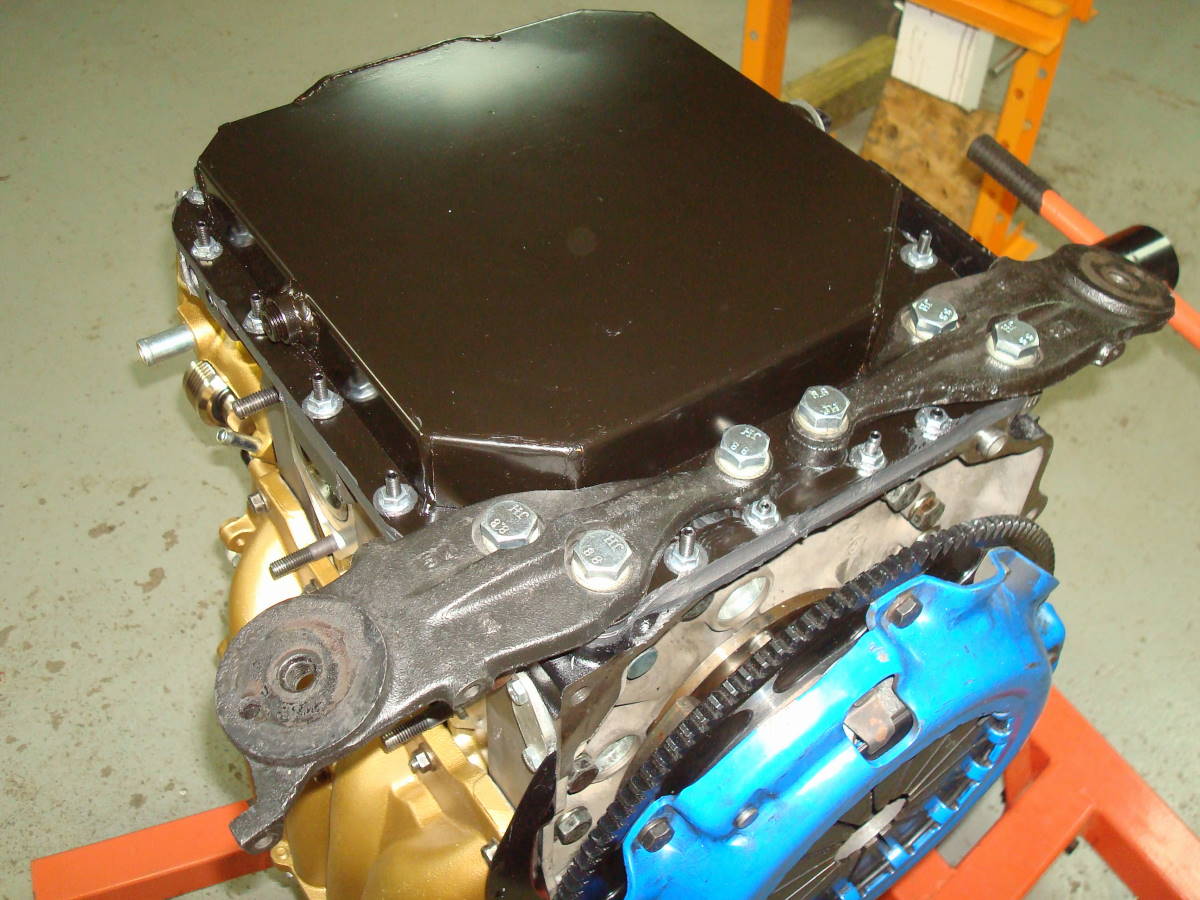
Pan Installed
|
Tools
& Materials Required
- M6 x 1.0 Thread Chaser (recommended) or Pick
- 3mm, 4mm & 5/16" Allen Wrenches
- Torque Wrench
- 10mm Socket
- 19mm Socket & Ratchet
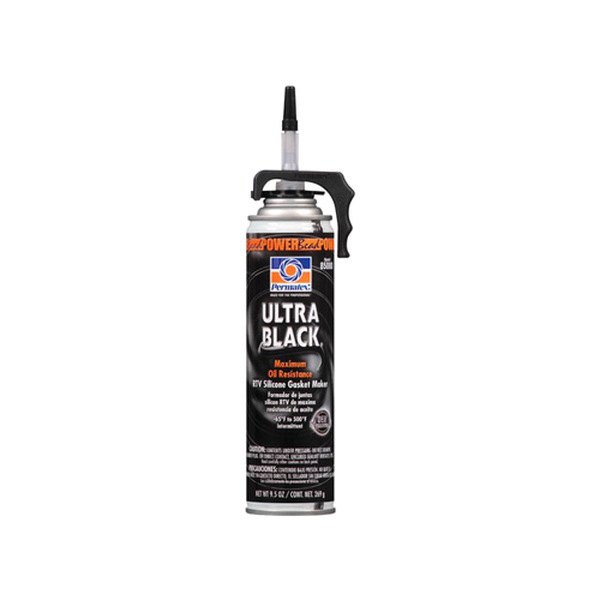
- Permatex Ultra Black Gasket Maker / RTV (recommended)
 |
 |
 |
 |
|
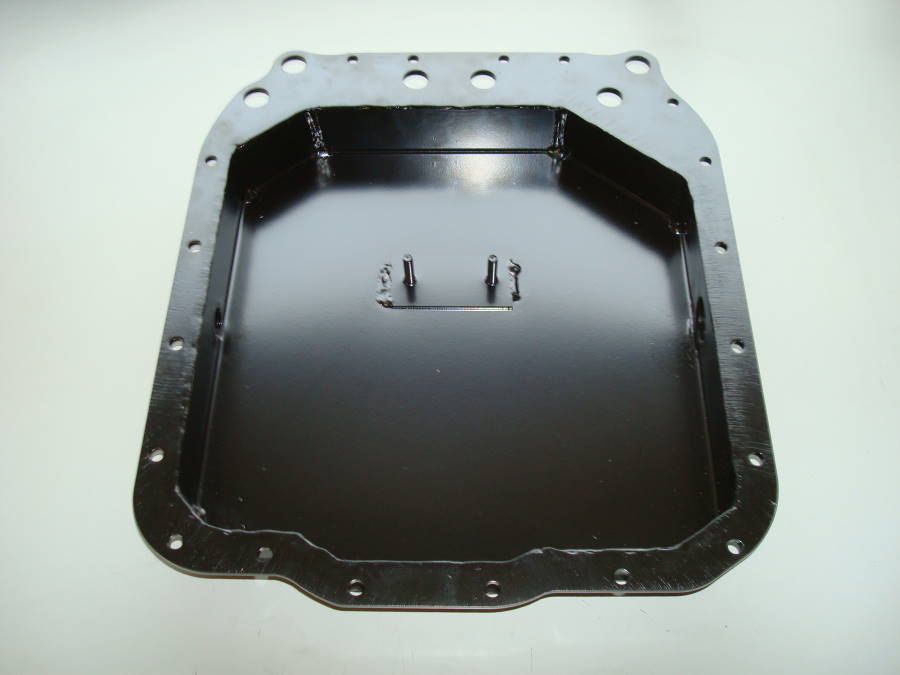
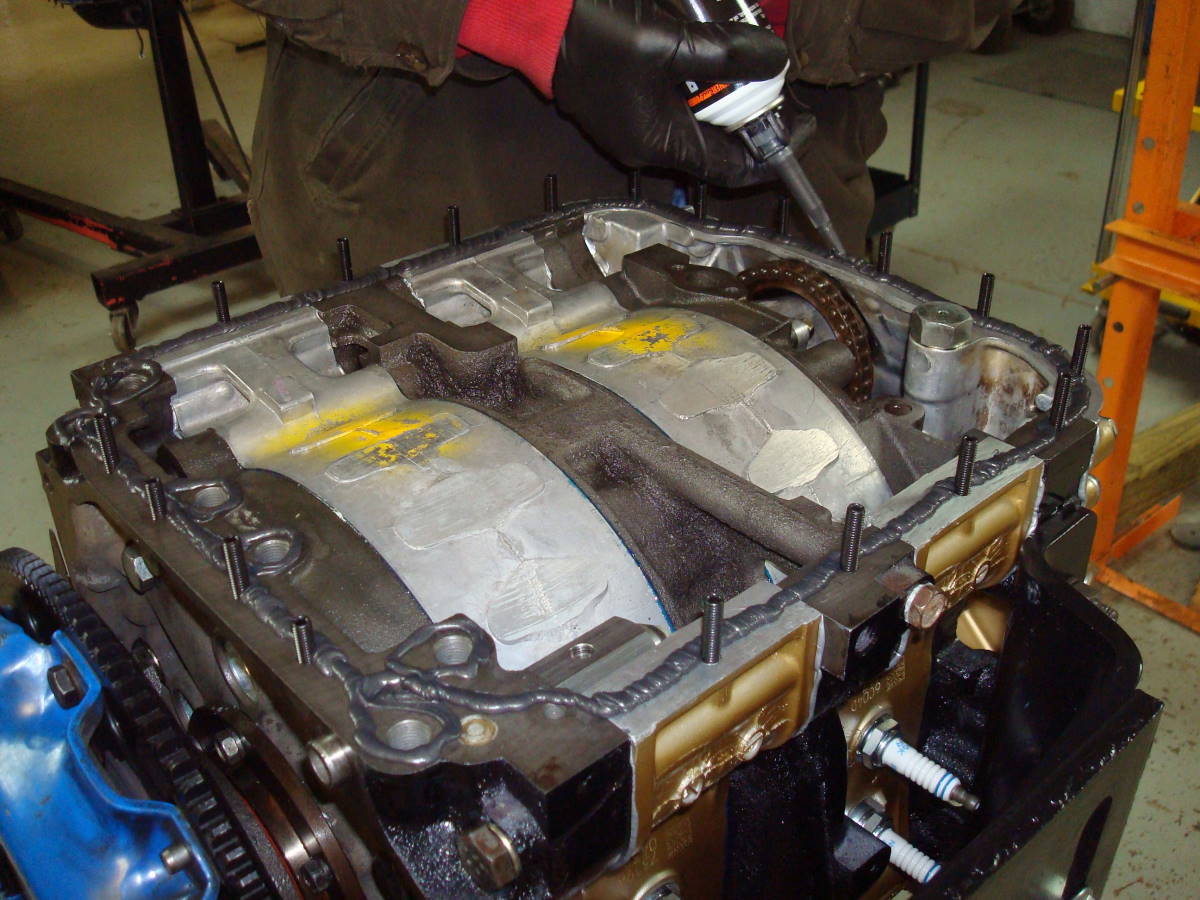
Oil
Pan
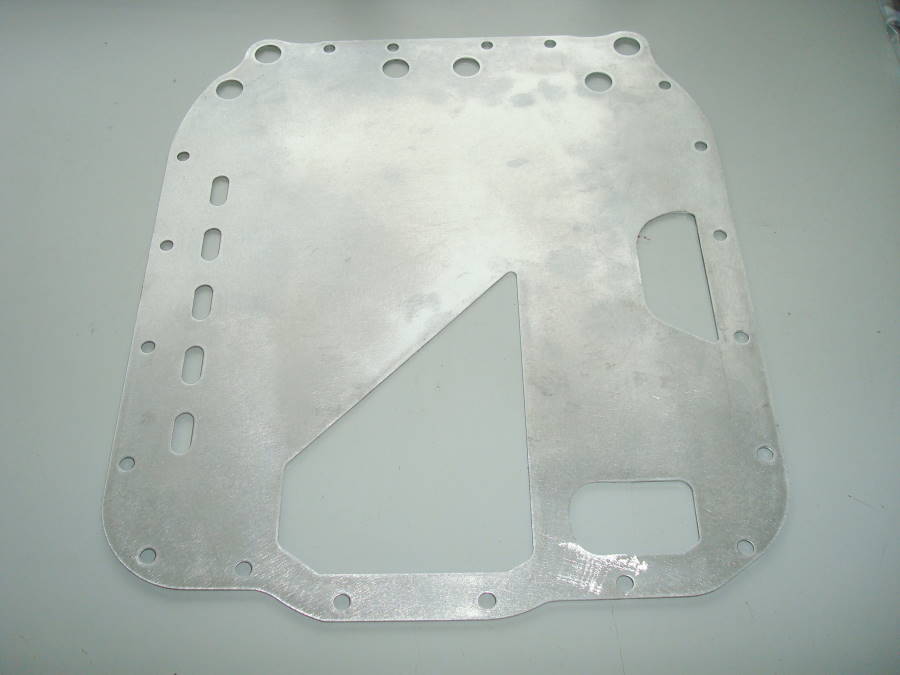
|
Baffle
|
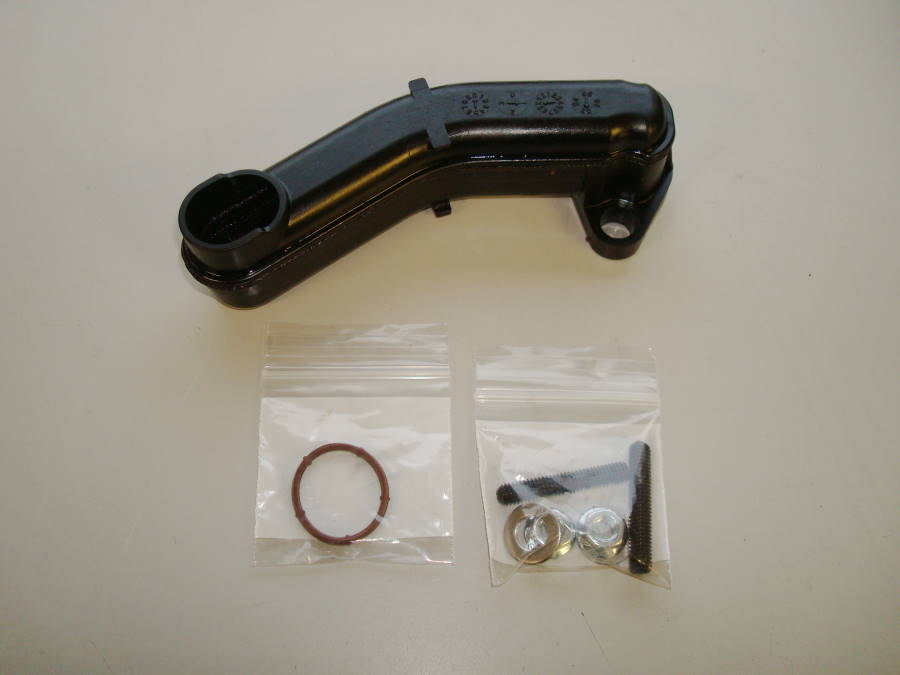
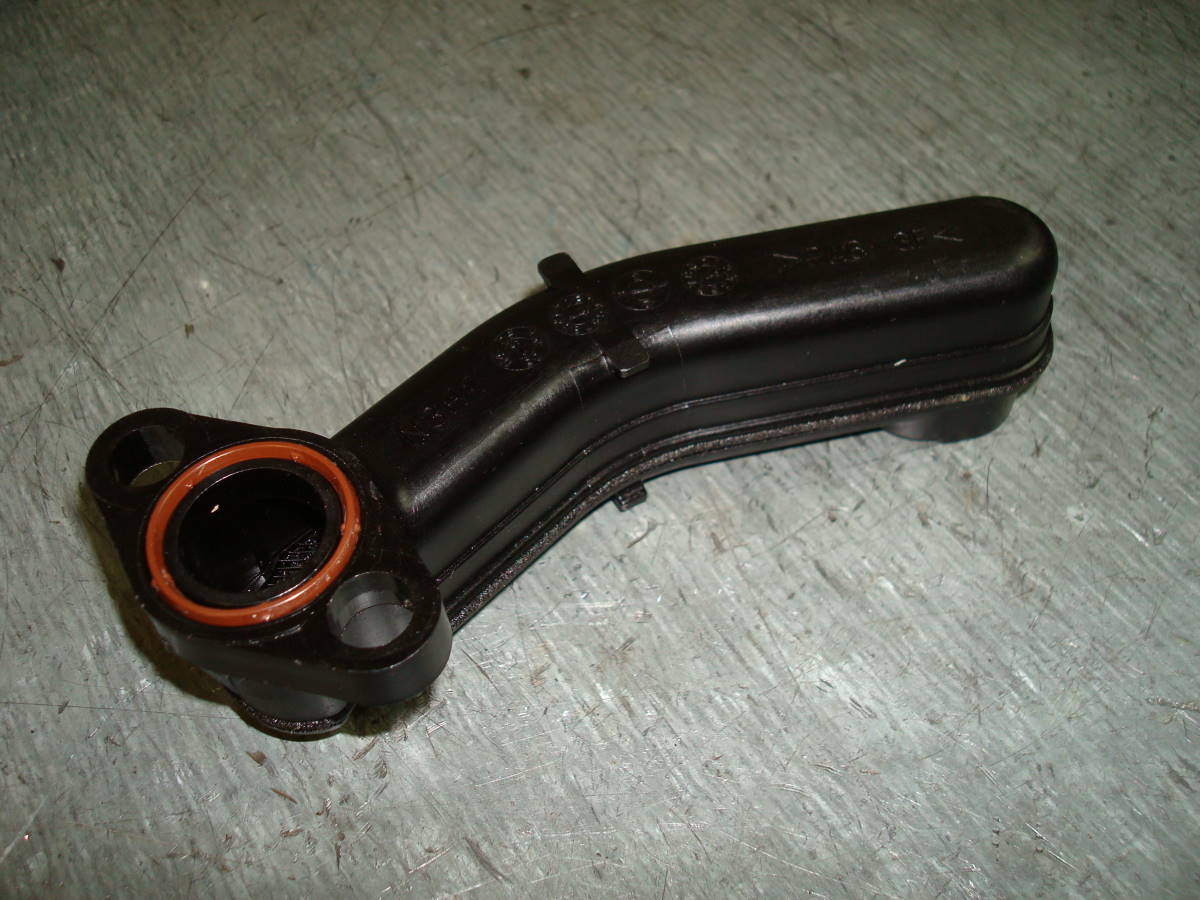
Oil
Pick-Up Tube & O-Ring
|
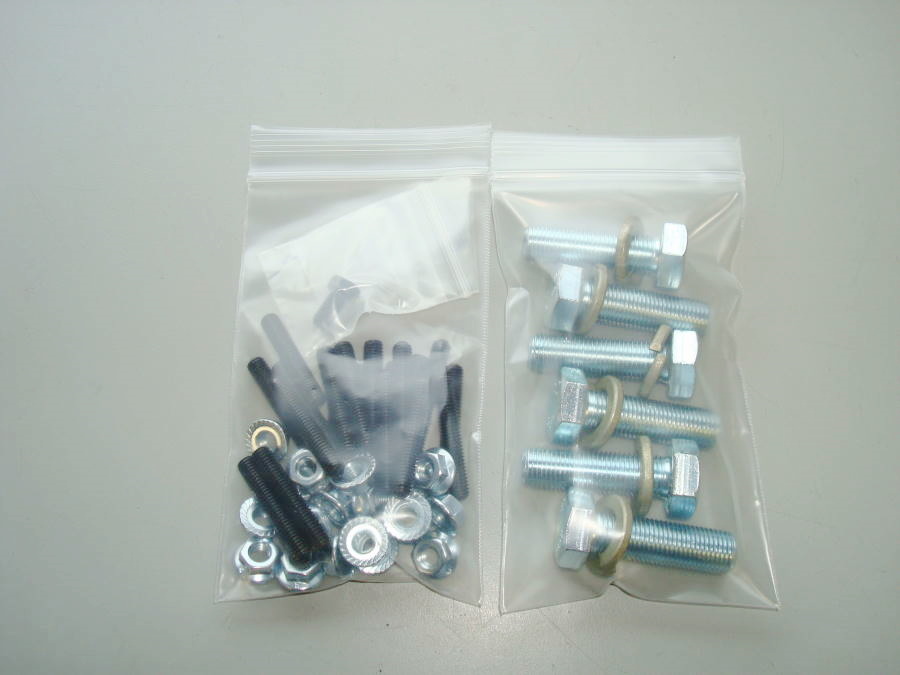
Hardware
|
Instructions
 |
 |
 |
 |
 |
|
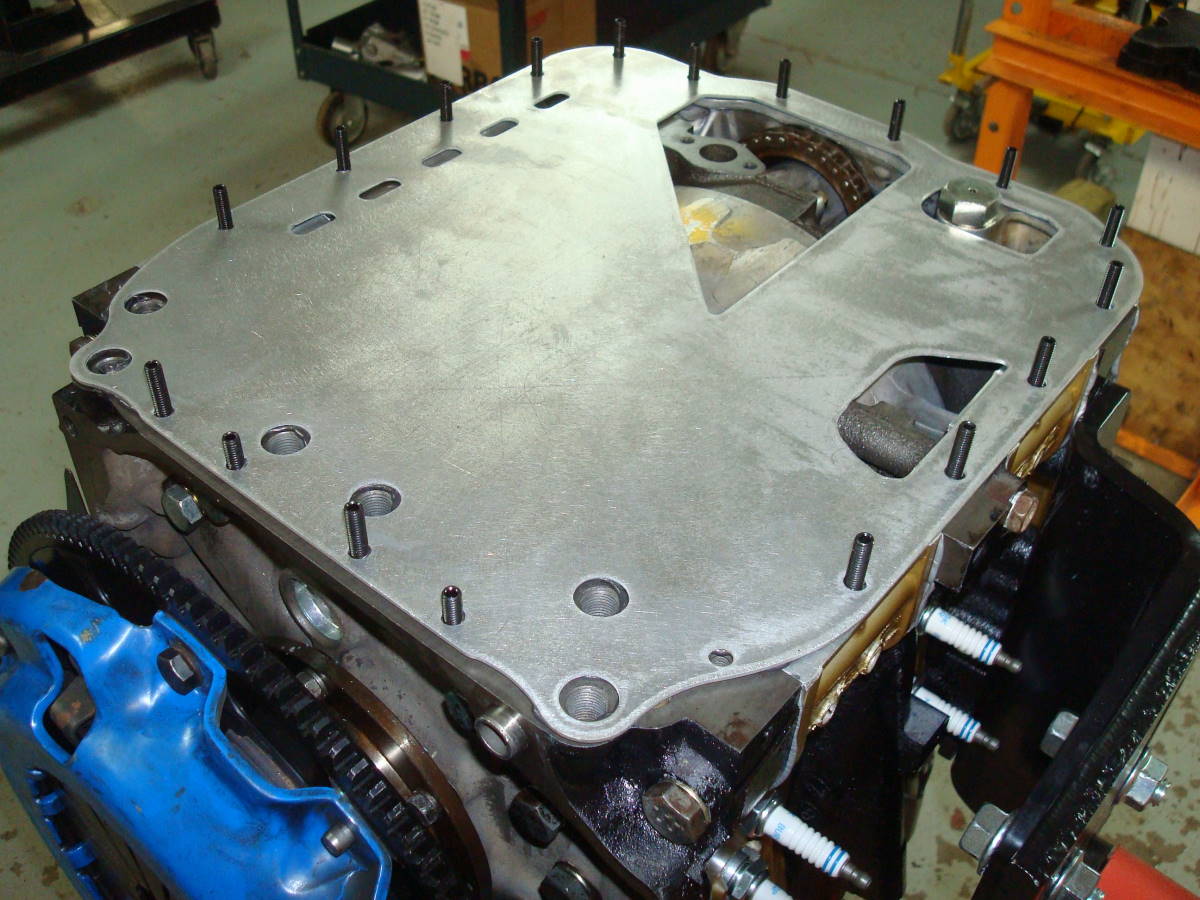
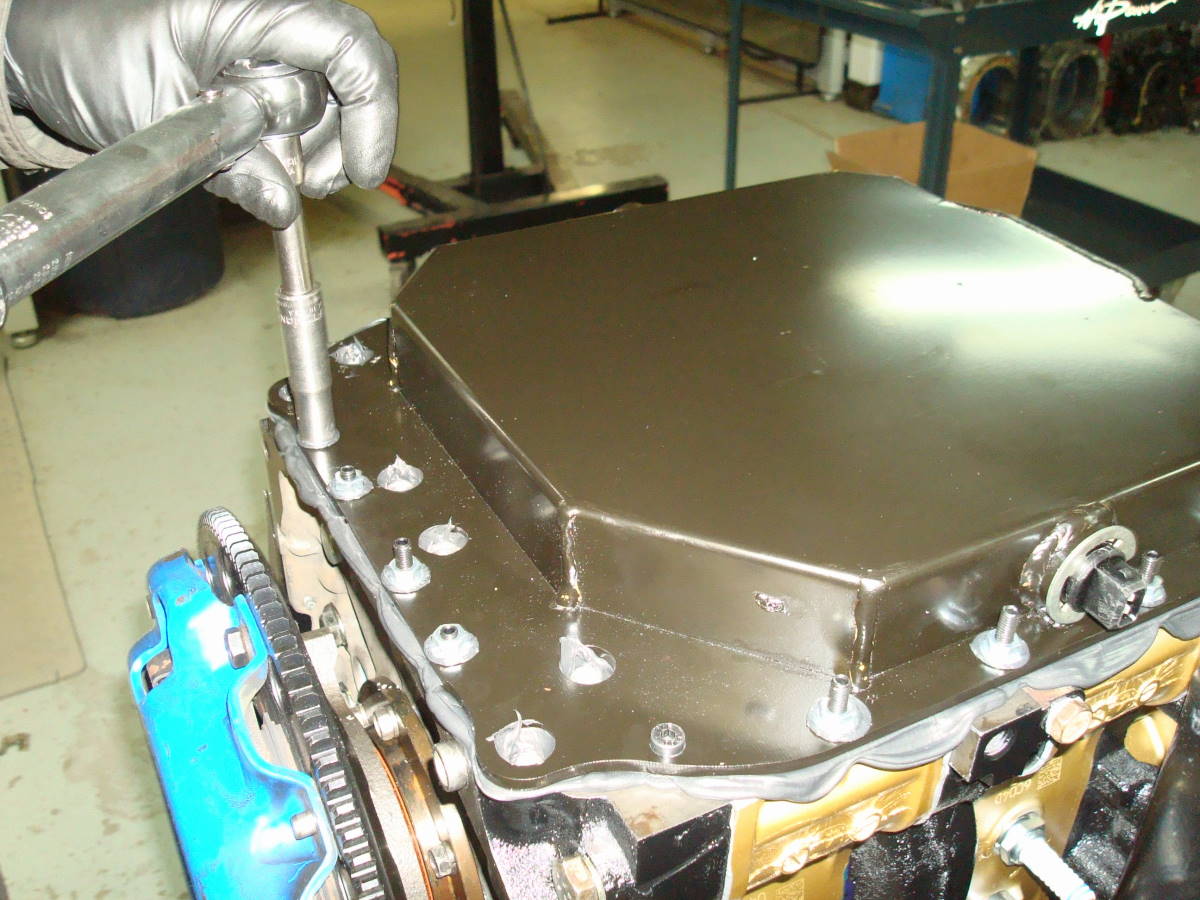
Installation
#1
|
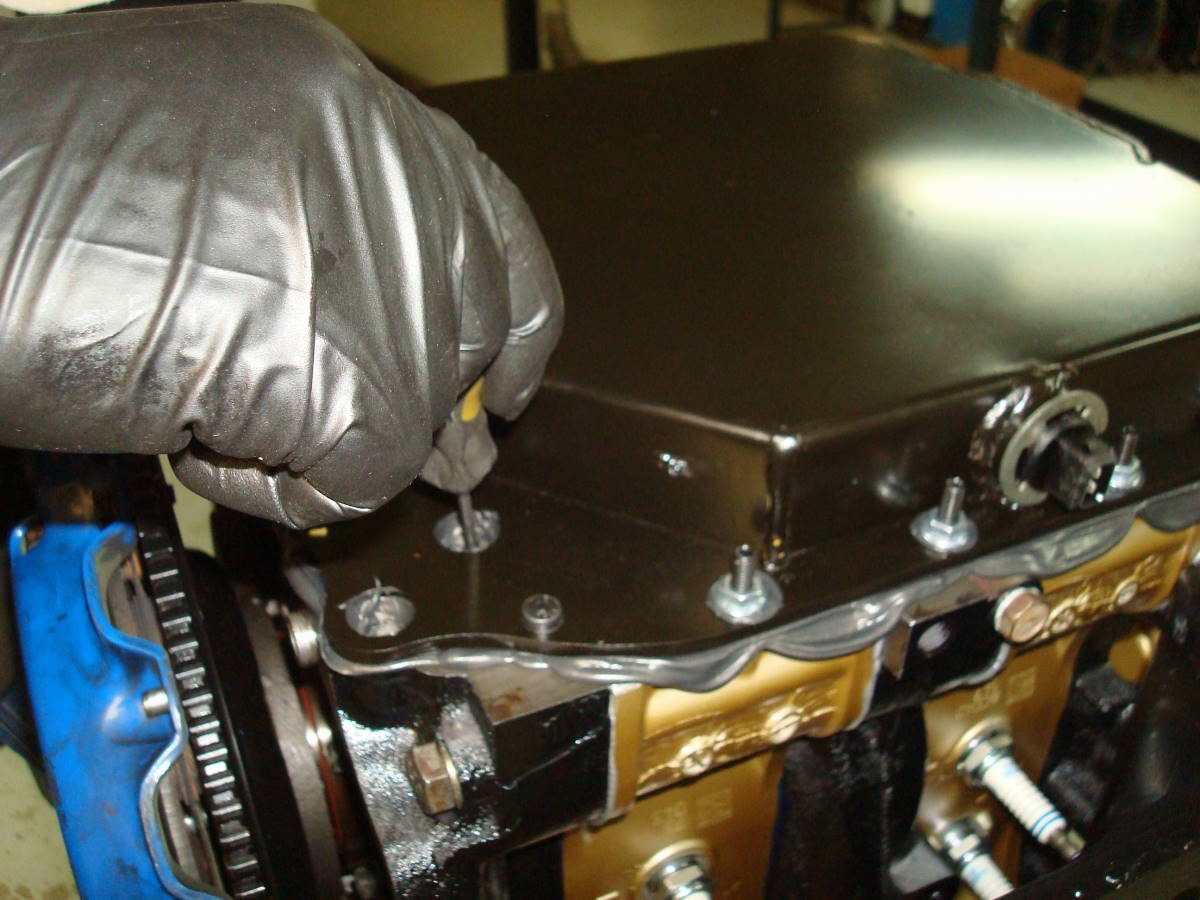
Installation
#2
|
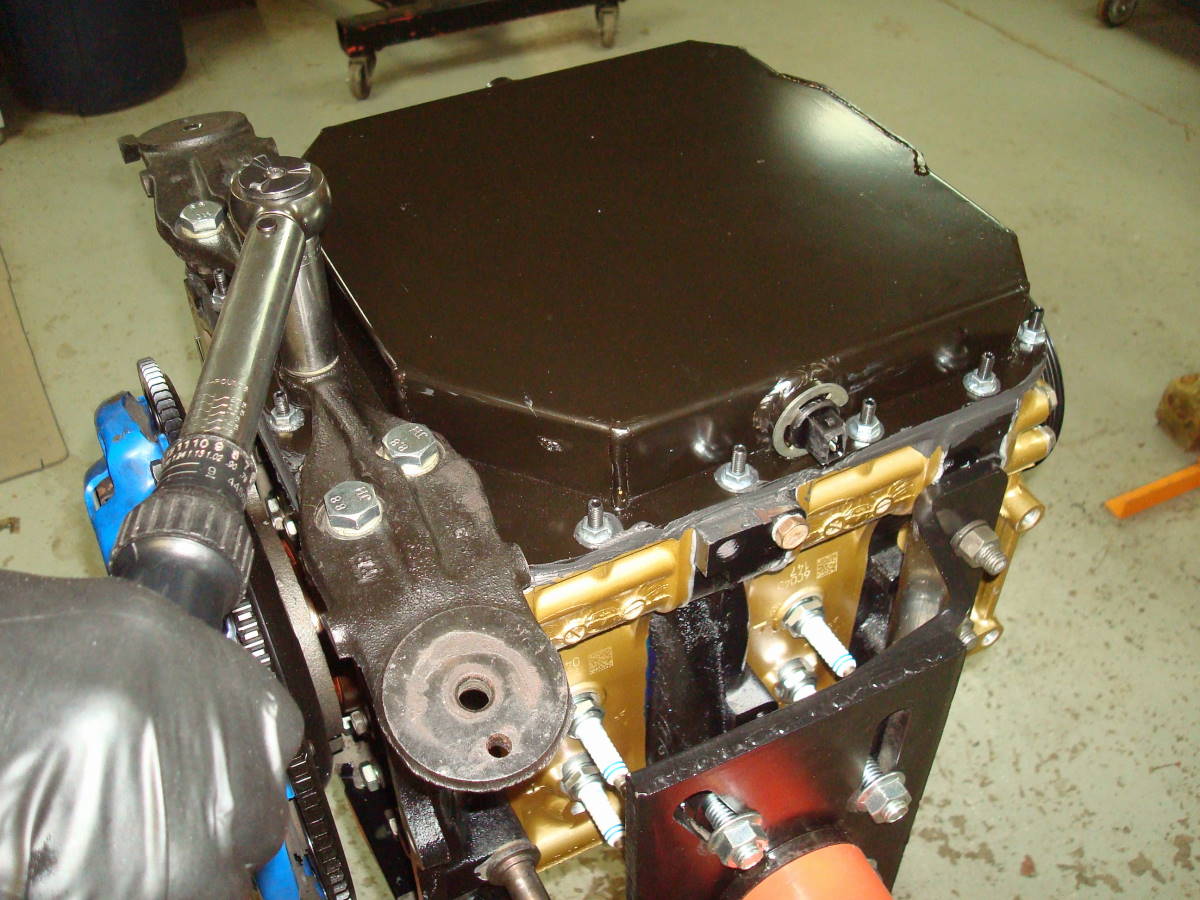
Installation
#3
|
Installation
#4
|
Installation
#5
|
 |
 |
 |
 |
 |
|
Installation
#6
|
Installation
#7
|
Installation
#8
|
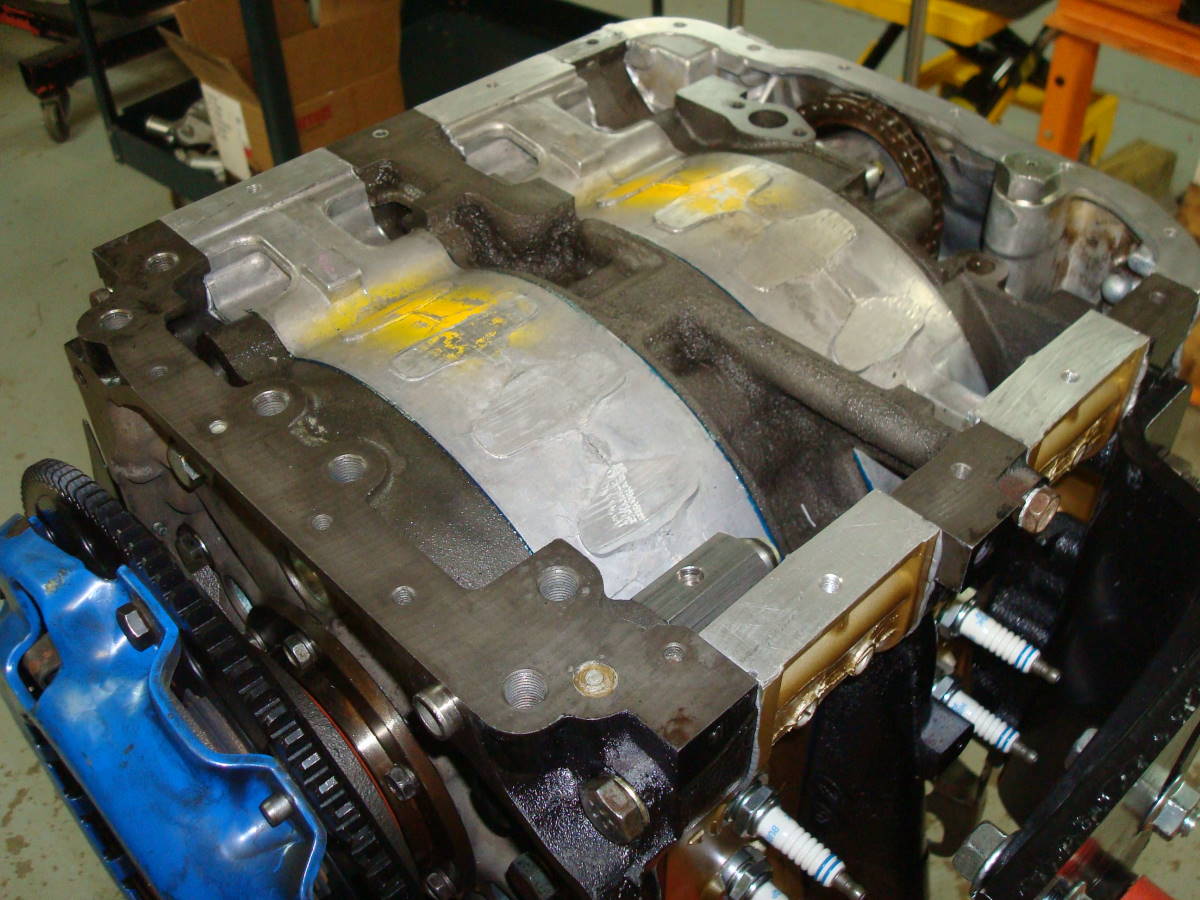
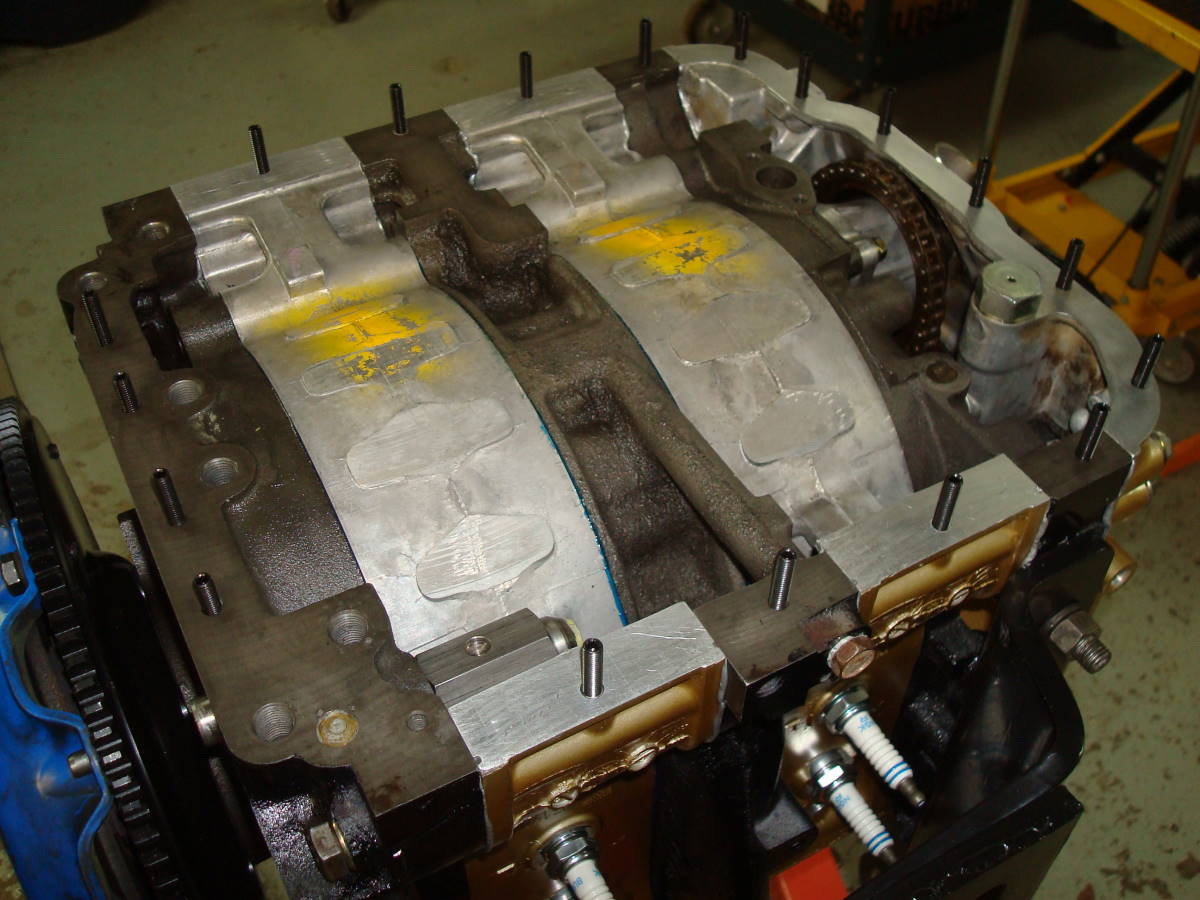
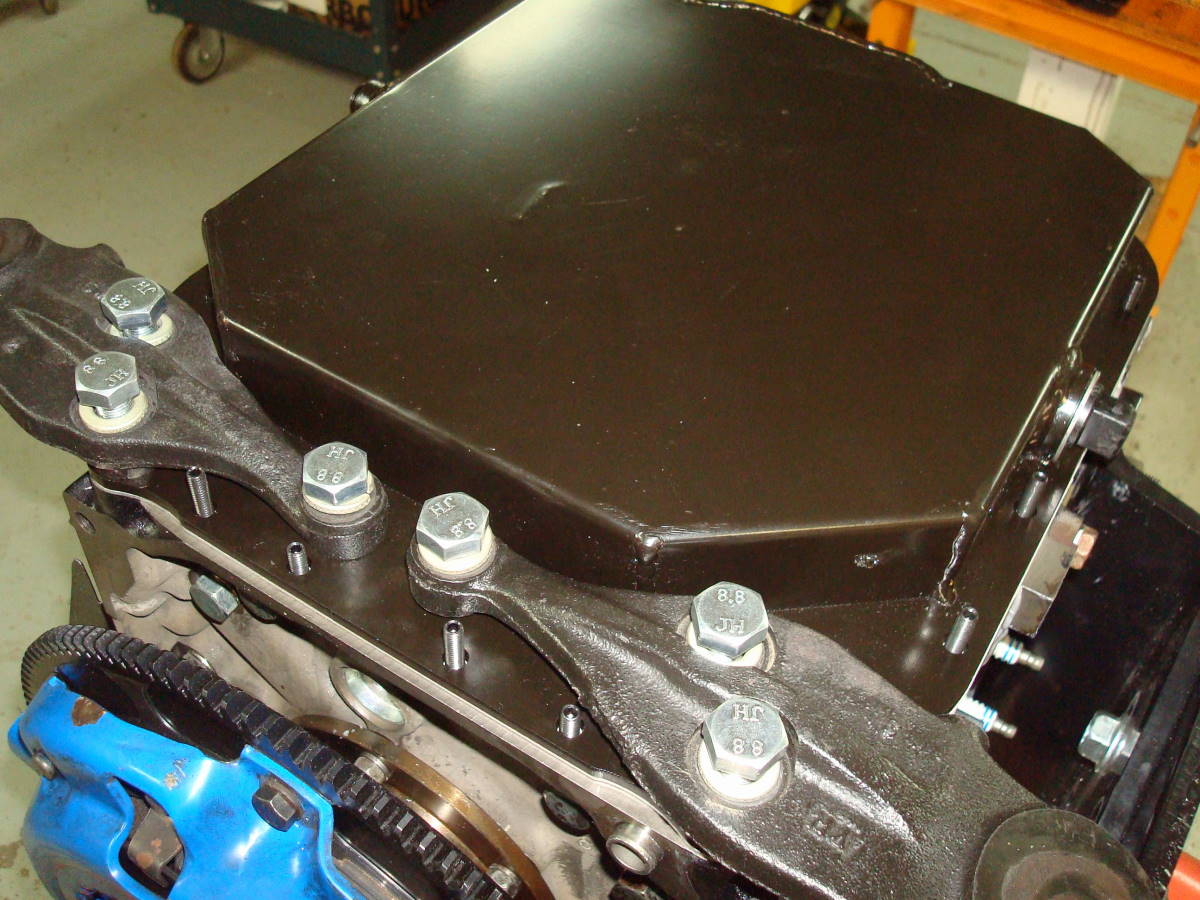
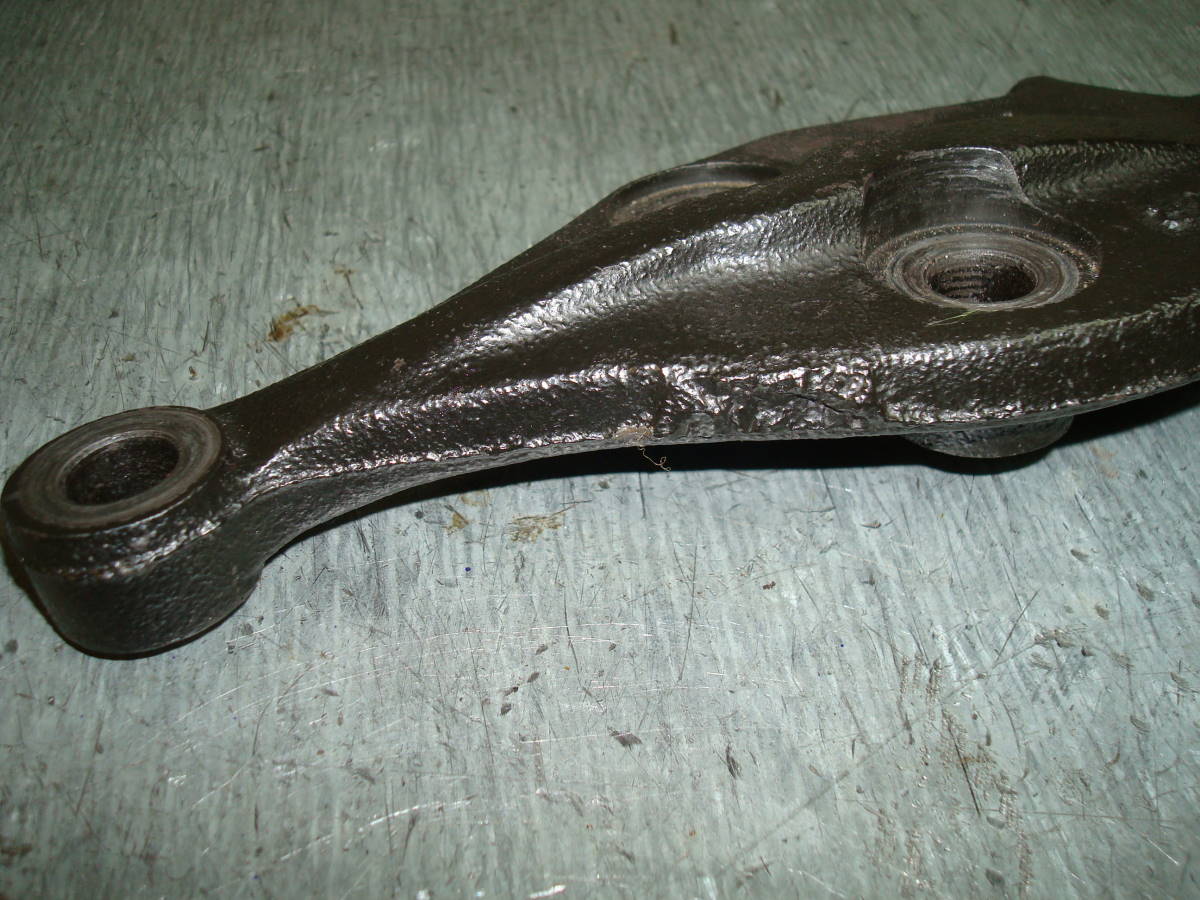
Motor
Mount Bracket Casting
|
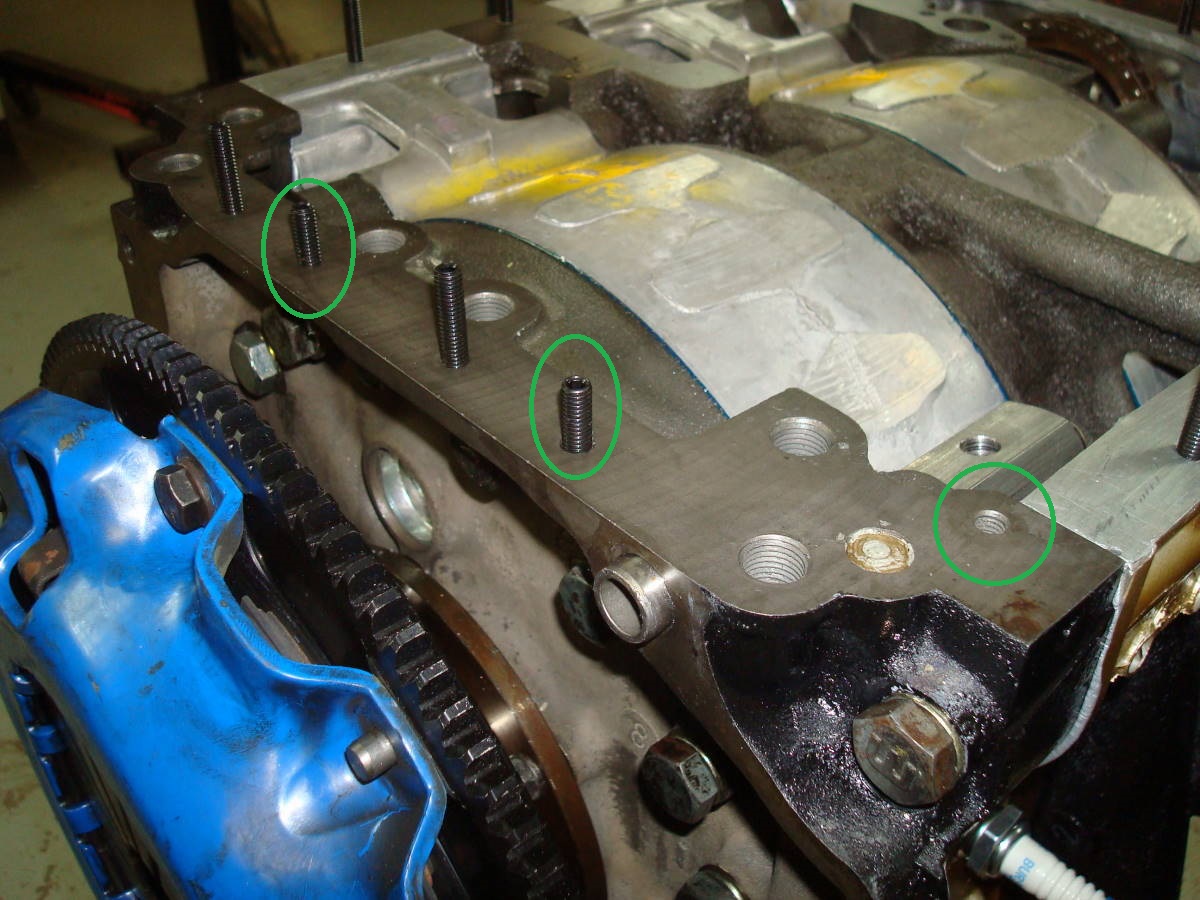
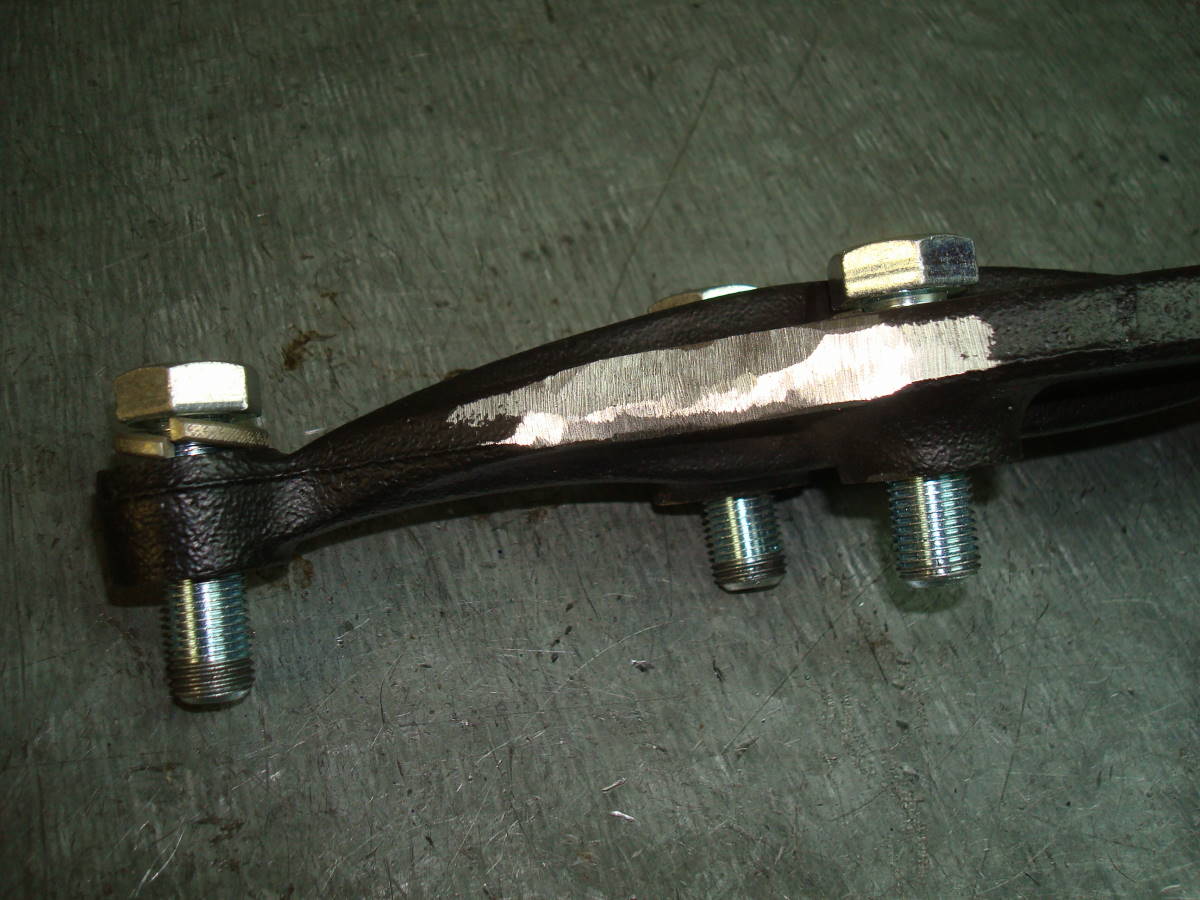
MM
Bracket Grinding
|
 |
 |
 |
 |
 |
|
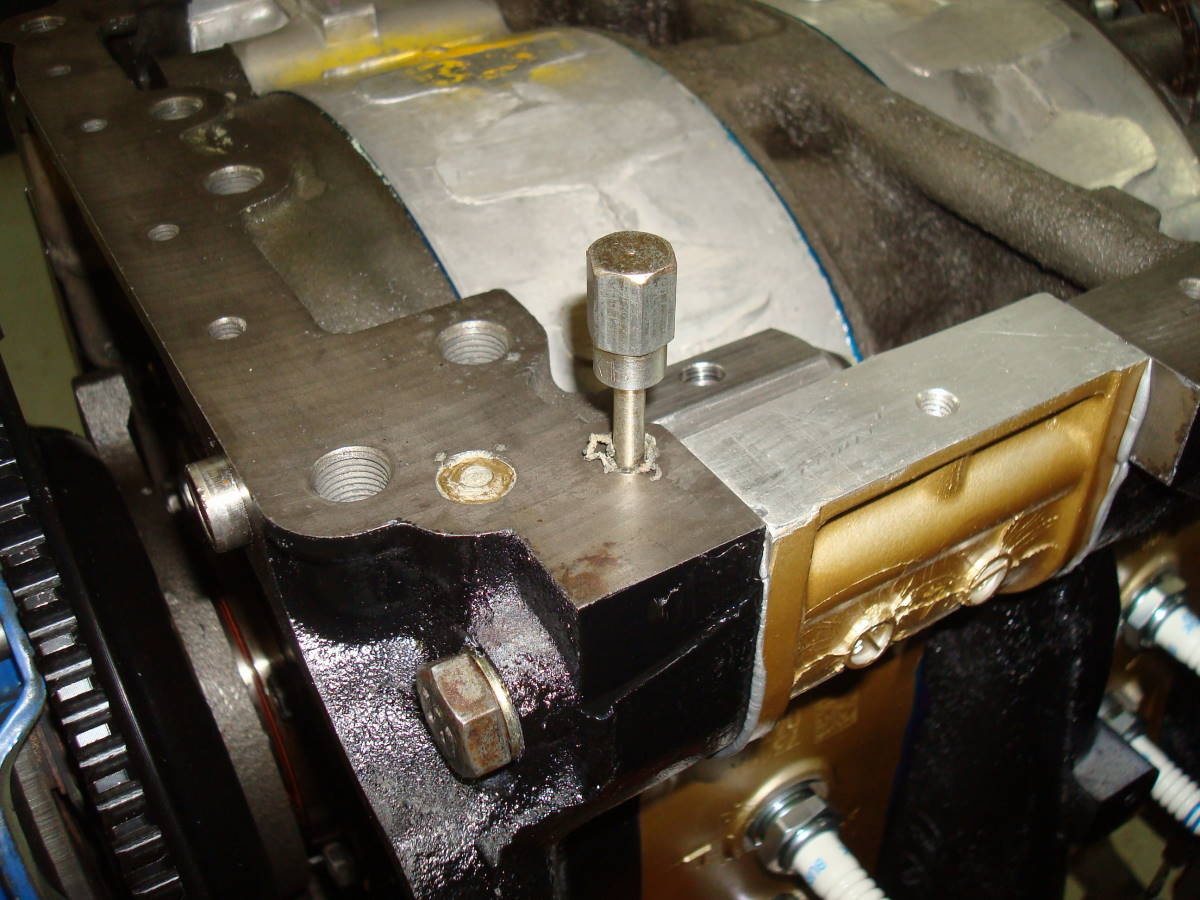
Bracket
/ Oil Pan Clearance
|
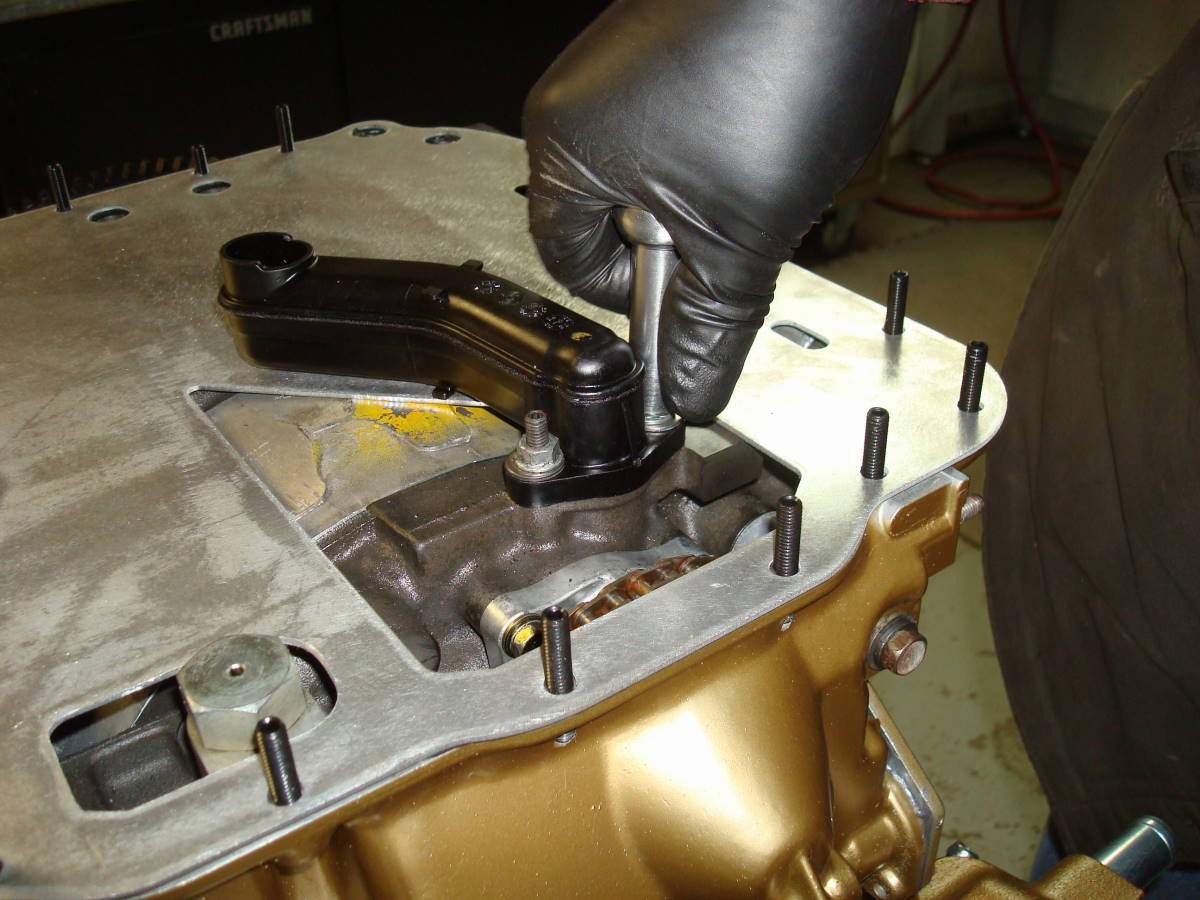
Installation
#9
|
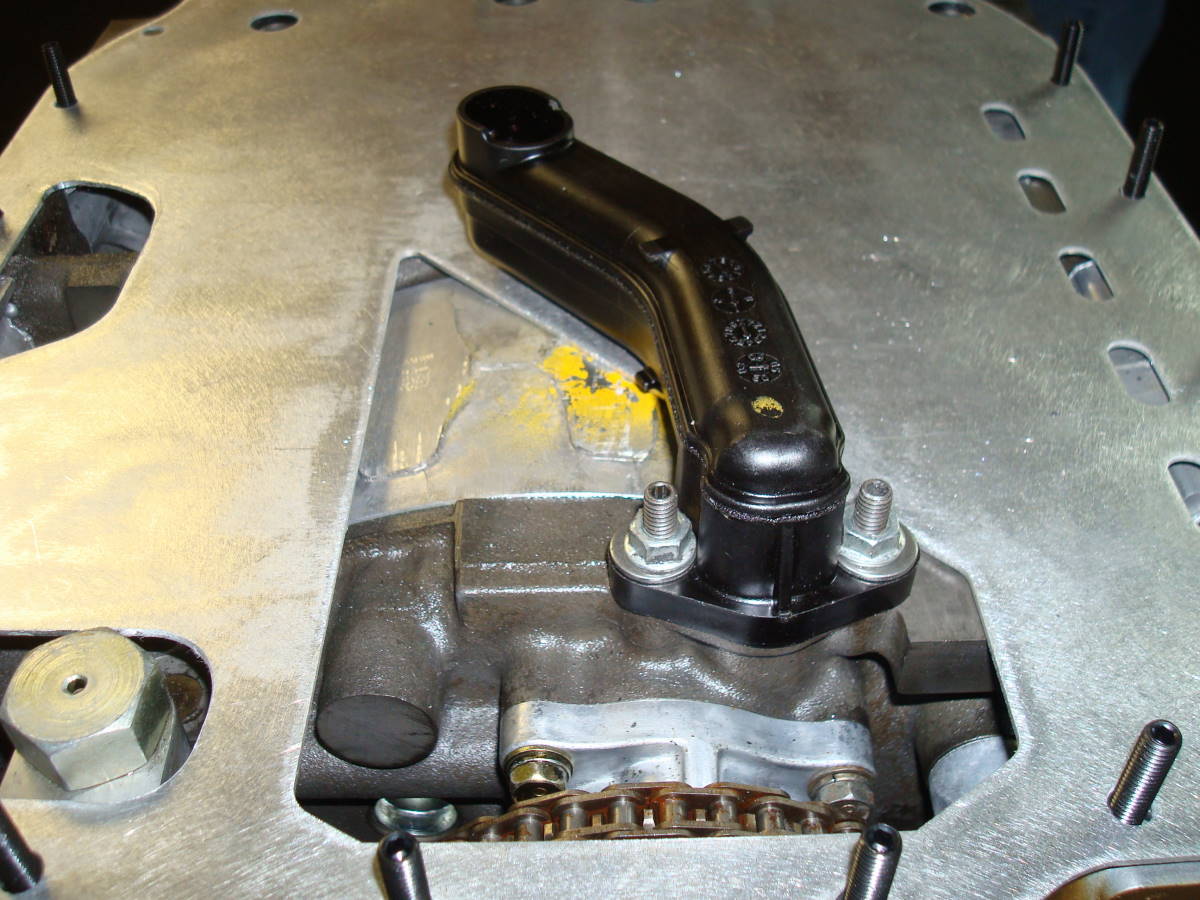
Installation
#10
|
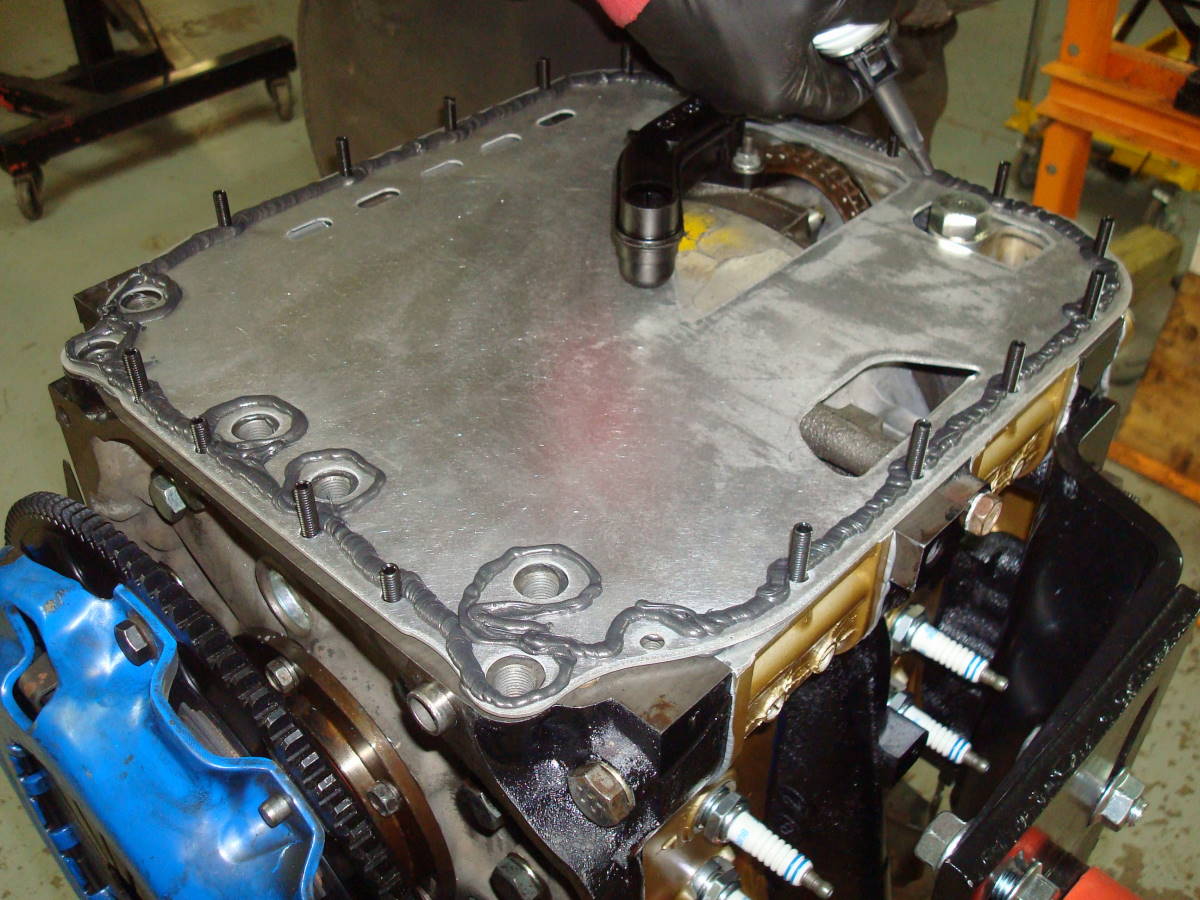
Installation
#11
|
Installation
#12
|
 |
 |
 |
 |
 |
|
Installation
#13
|
Installation
#14
|
Installation
#15
|
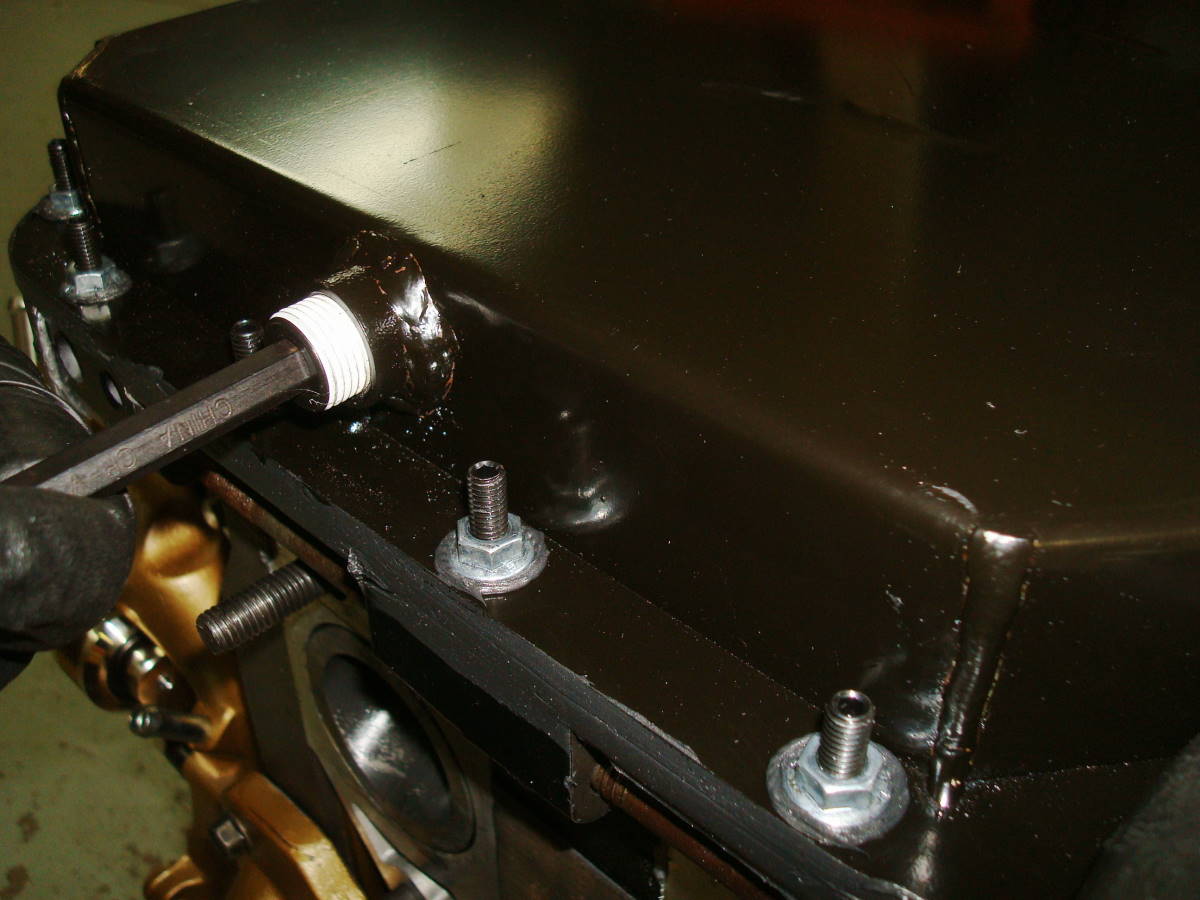
Installation
#16
|
Installation
#17
|
 |
 |
 |
|
 |
|
Installation
#18
|
Installation
#19
|
Installation
#20
|
Installation
#19
|
Permatex
Ultra Black
|
Procedure