Instructions for Installing Banzai Racing FD Polyurethane Motor Mounts
Please read carefully before attempting to install product
These
instructions are for installing mounts on engine when removed from vehicle.
Instructions for Installing Banzai Racing FD Polyurethane Motor Mounts
Please read carefully before attempting to install product
These
instructions are for installing mounts on engine when removed from vehicle.
Recommended setting for initial installation is to ensure that polyurethane is fully compressed, as the polyurethane will 'loosen up' during break-in period (approximately 1000 miles). Then adjust if needed.
 |
 |
 |
 |
|
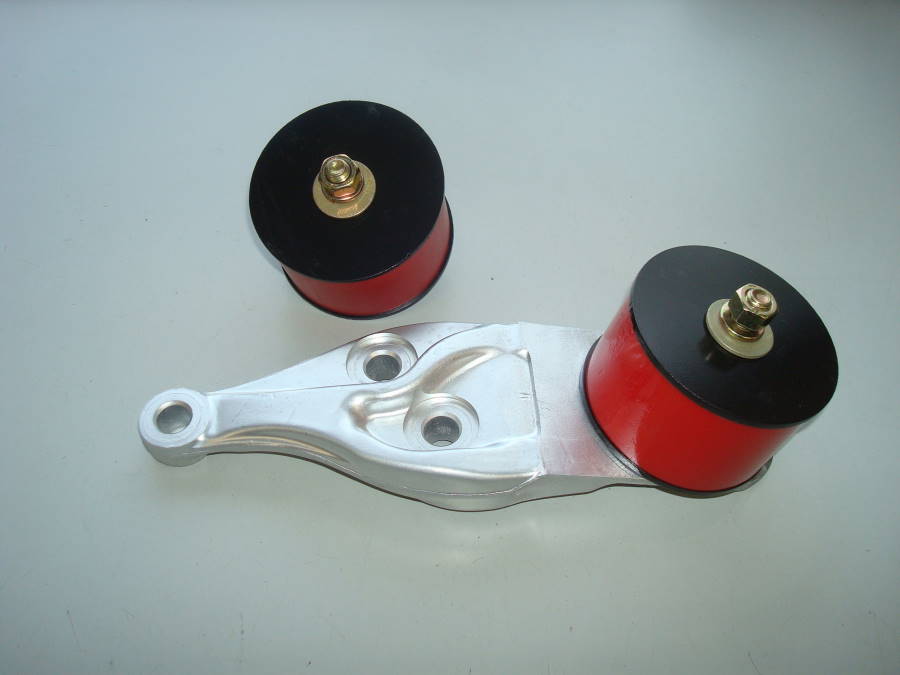
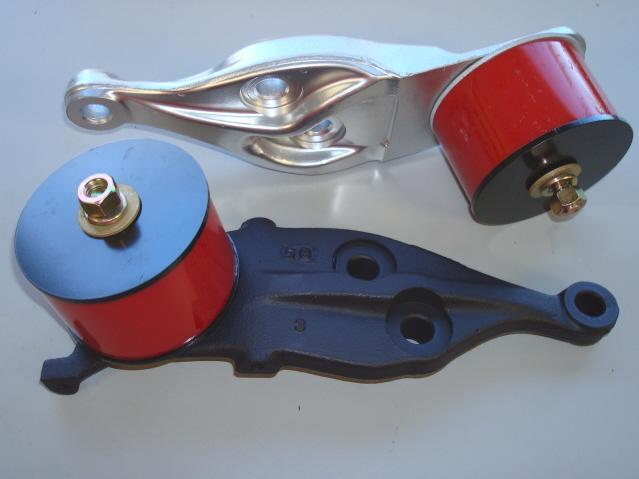
Assembled
on Brackets
|
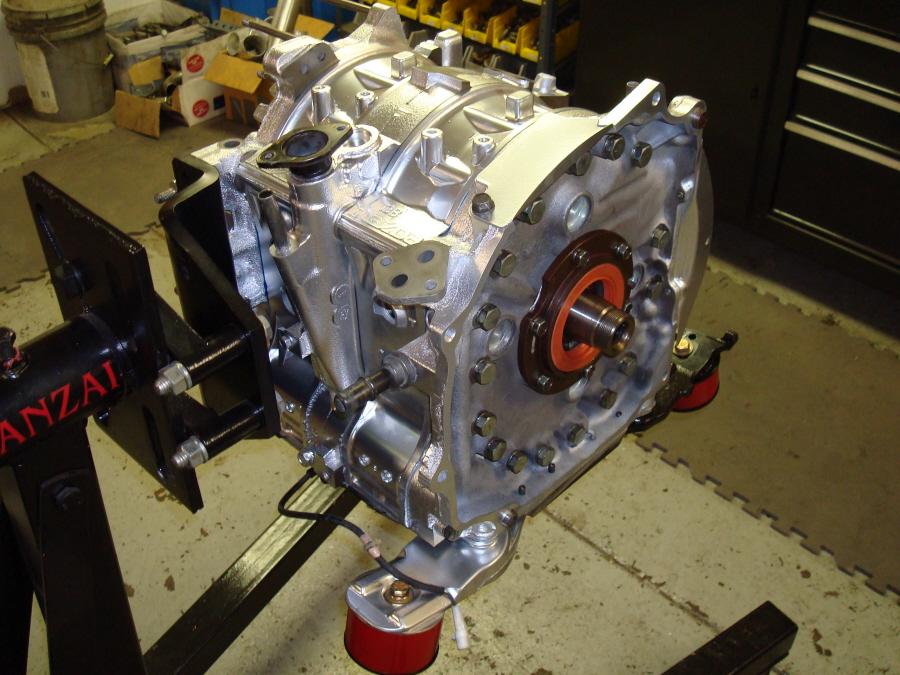
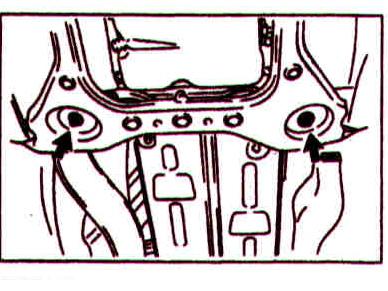
#1
Installed Bottom View
|
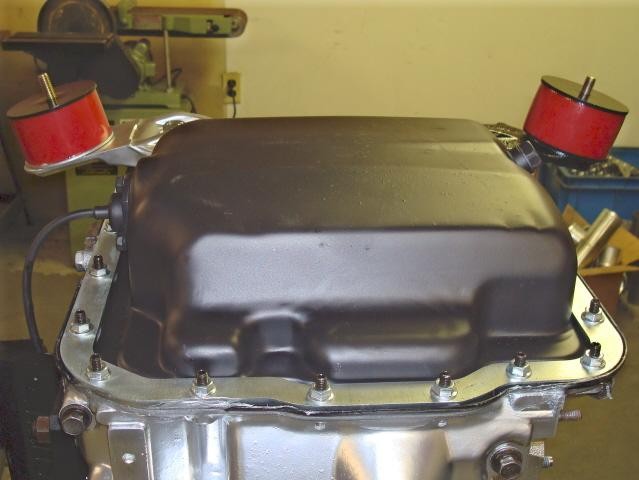
#2
Installed Top View
|
#3
Tighten Nuts
|
If you have any questions or concerns regarding installation of these mounts please contact us
|
List of parts in FD Motor Mount kit:
|
|
3"
Grade-8 3/8' Bolt (x2)
|
|
3/8"
Grade-8 Lock Washer (x4)
|
|
3/8"
Grade-8 Flat Washer (x4)
|
|
3/8"
Grade-8 Nut (x2)
|
|
Polyurethane
Motor Mount (x2)
|
|
Instructions
|
![]()