Dual Igniter for FC Power FC Installation How To
 |
|
Modified
Trailing Coil Pack
|
Tools Required:
- Wire Strippers
- Wire Cutter
- Soldering Iron & Solder
- Hacksaw
- 7mm Socket/Ratchet
Parts Required:
- 2 x FC Trailing Coil Packs
- Heat-Shrink Tubing
- Electric Tape
Procedure
DO NOT discard any parts until procedure is completed. The FD APEXi Power FC lacks the switching wire that allows the trailing coils to switch from T1 to T2. Installation of an additional FC Trailing Igniter will allow the ignition system to operate correctly. This procedure details the process of installing an additional igniter. Ensure that you use heat shrink tubing and electrical tape on all soldering connections.
 |
|
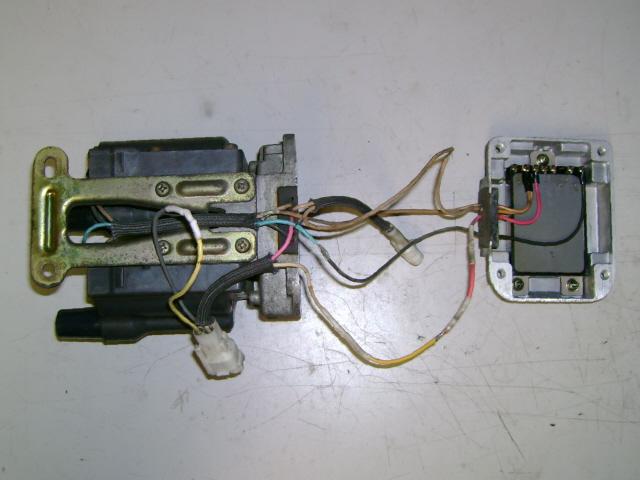
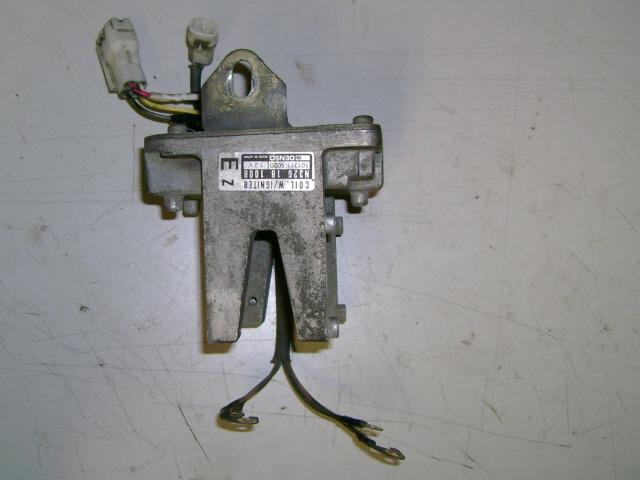
Pic #1
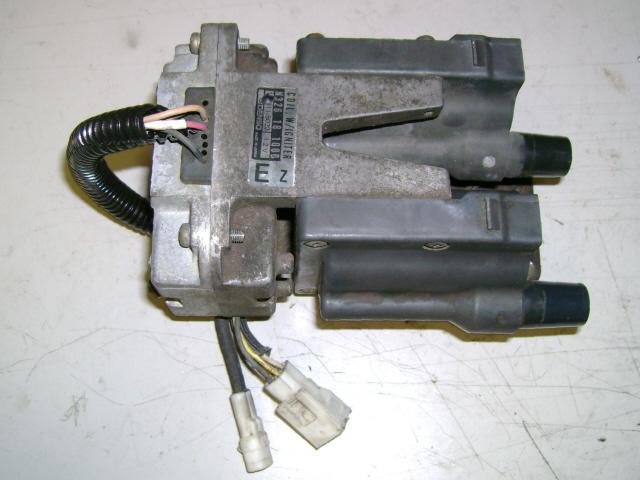
FC Coils
|
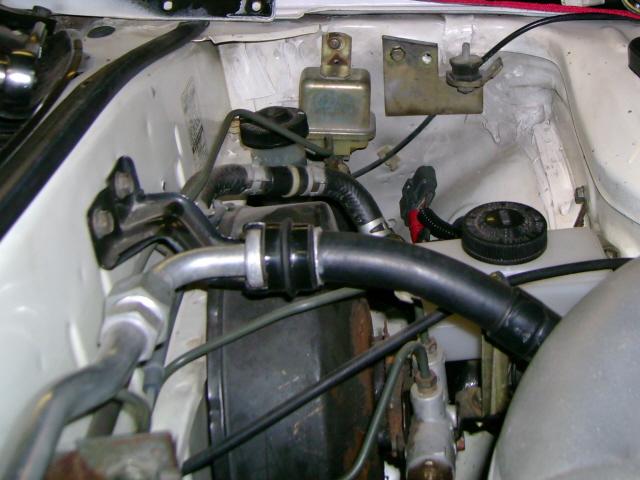
1) Remove Trailing Coil Pack from vehicle. You will need to have previously sourced a second trailing coil pack (Pic #1).
 |
 |
|
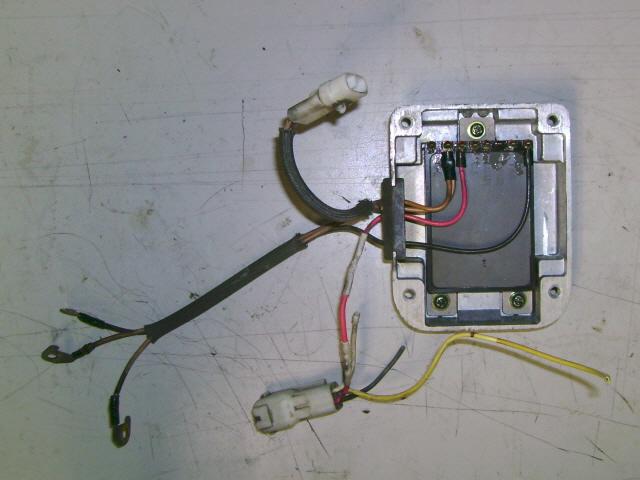
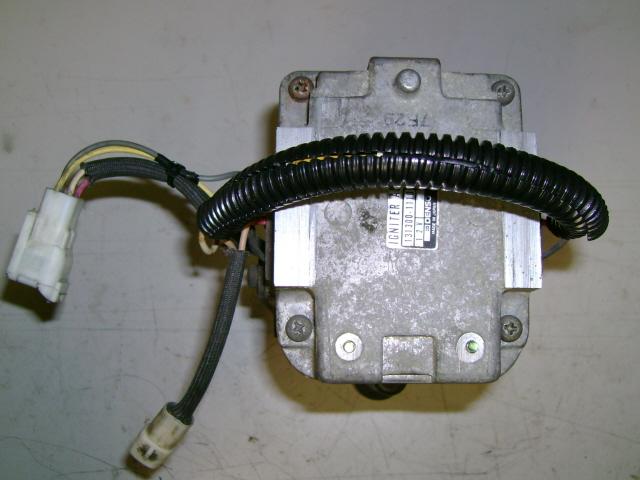
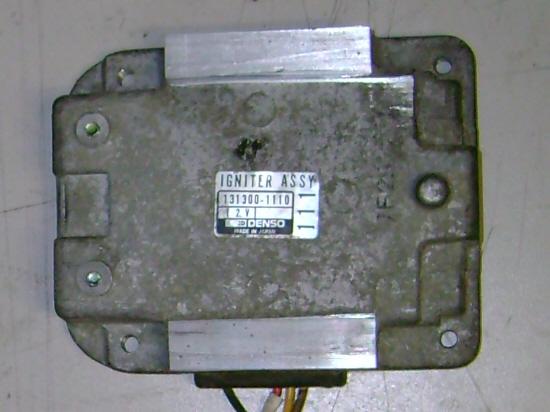
Pic #2
Igniter Before
|
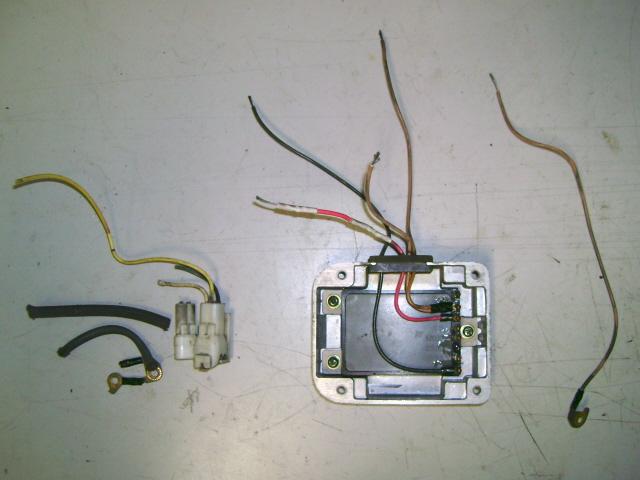
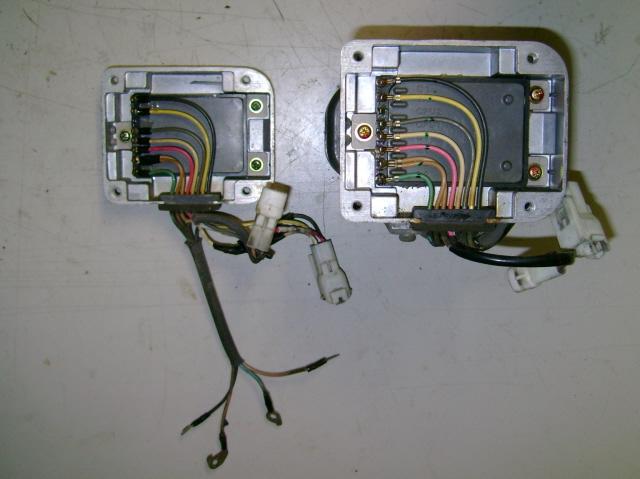
Pic #3
Igniter After
|
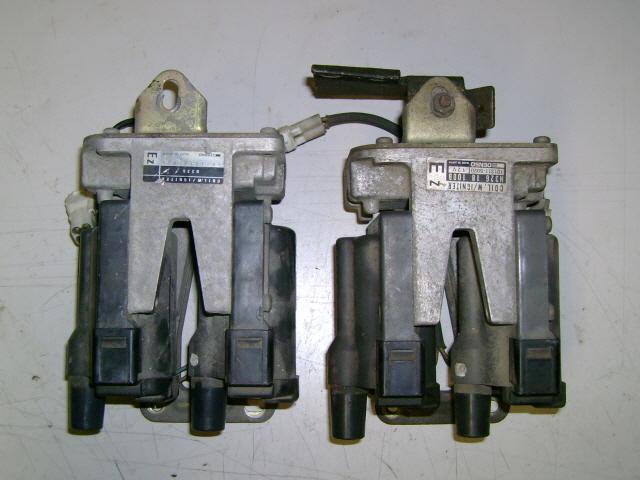
2) Remove coils and brackets from one of the coil packs (Pic #2).
3) Using a hacksaw or bandsaw, remove the "legs" from the igniter assembly (Pic #3).
---------------------------------------------------------------------------------------------------------------------------------------
 |
 |
|
Pic #4
Covers Removed
|
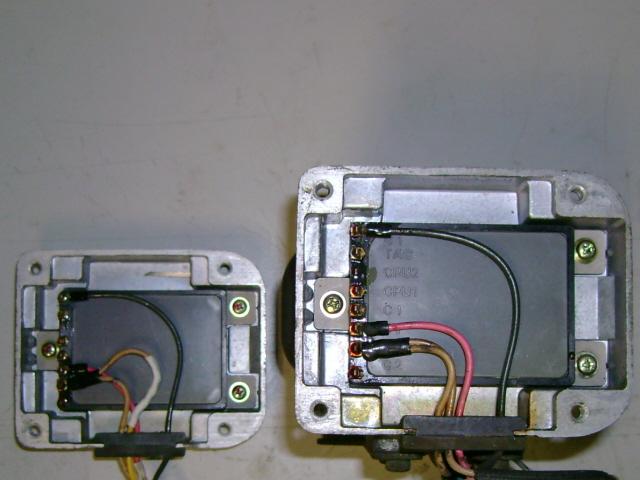
Pic #5
Remove Wires
|
4) Remove the igniter covers from both assemblies (Pic #4).
5) Snip the following wires from both assemblies (Pic #5).