20B
Oil Pan Brace Installation Instructions
 |
 |
|
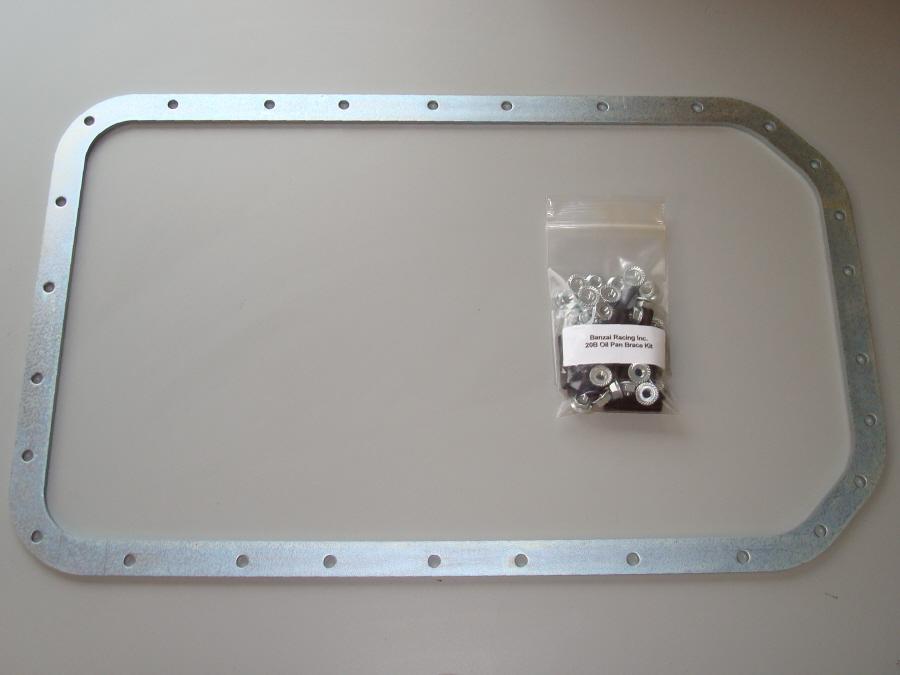
20B
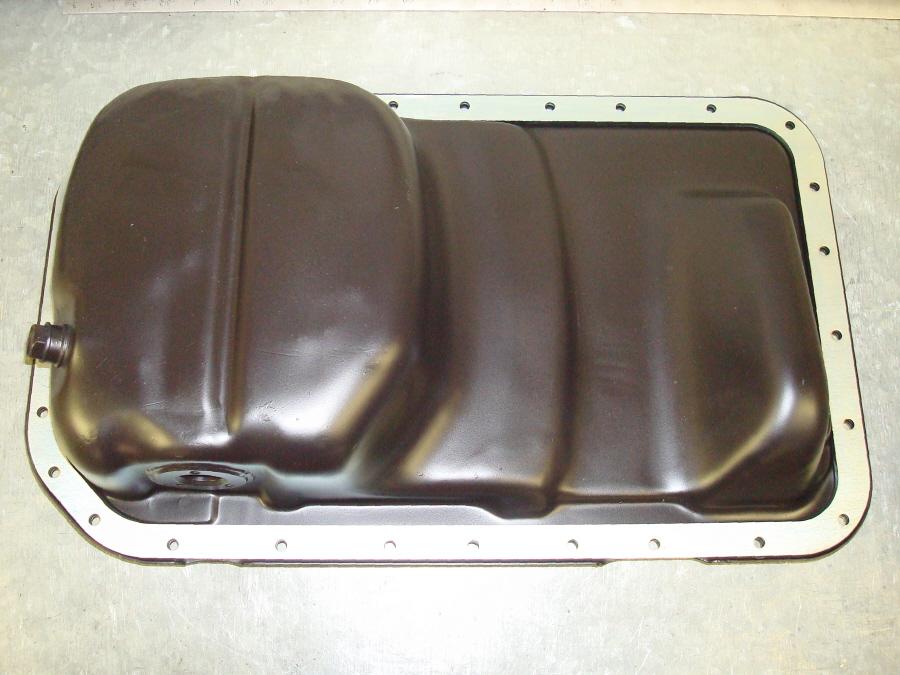
Oil Pan Brace Kit
|
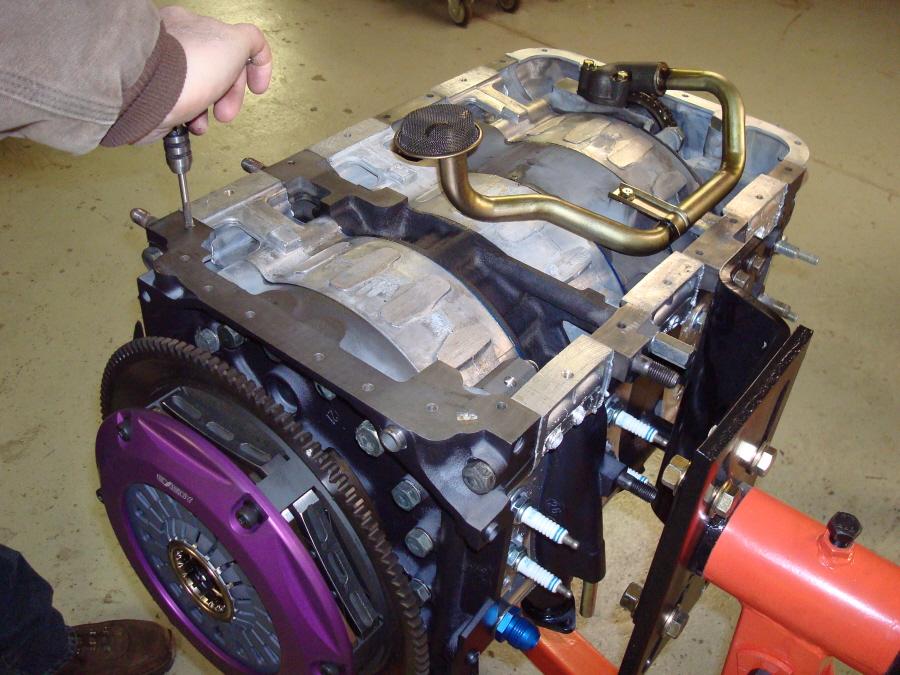
Oil
Pan Brace Installed
|
Tools
& Materials Required
- M6 x 1.0 Tap (recommended) or Pick
- 3mm Allen Wrench
- 4mm Allen Wrench (optional)
- Torque Wrench
- 10mm Socket
- Flat Head Screw Driver
- Dremel Tool or Die Grinder
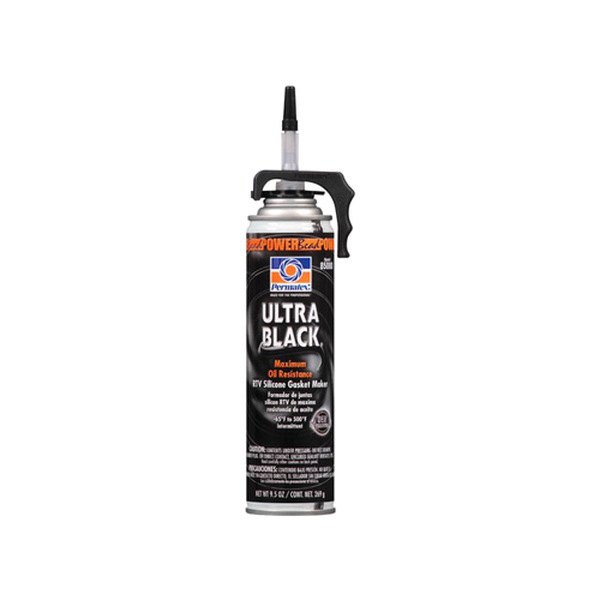
- Permatex 'Ultra Black'
Gasketmaker (or Silicone RTV)
 |
 |
 |
 |
 |
|
Pic
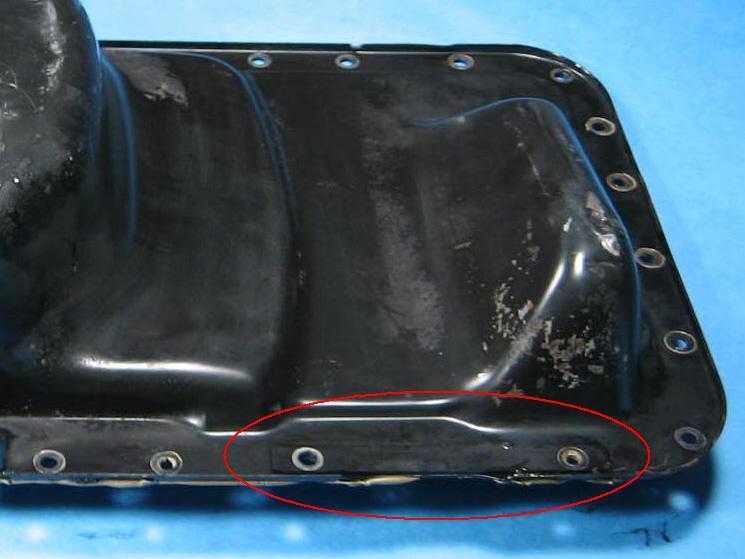
#1 Remove Torque Spreader Strip
|
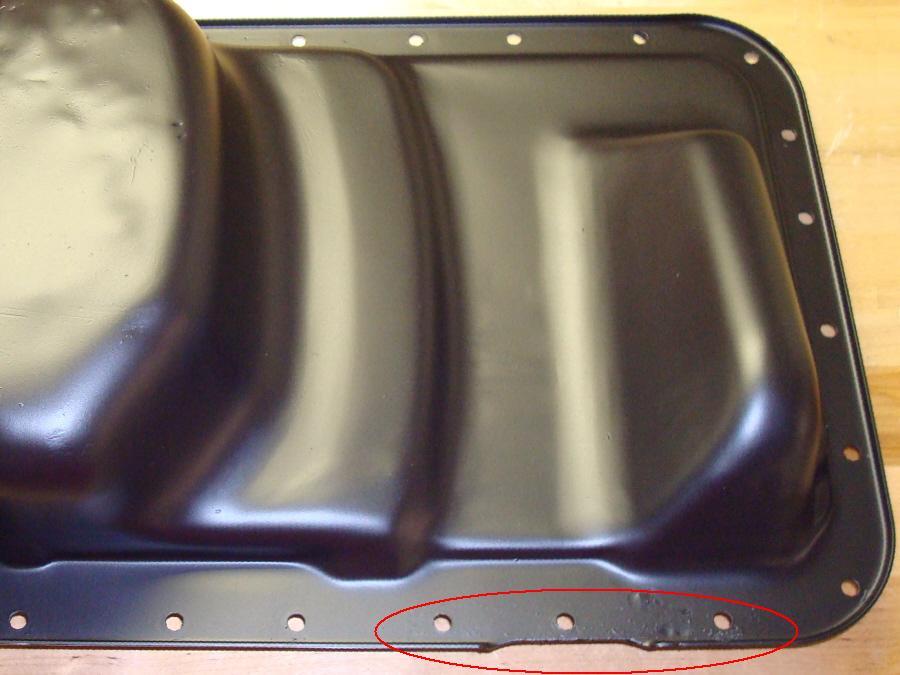
Pic
#2 Grind Spots Welds
|
Pic
#3 Clean Stud Holes
|
Pic
#4 Insert Studs
|
Pic
#5 NO Studs
|
 |
 |
 |
 |
 |
|
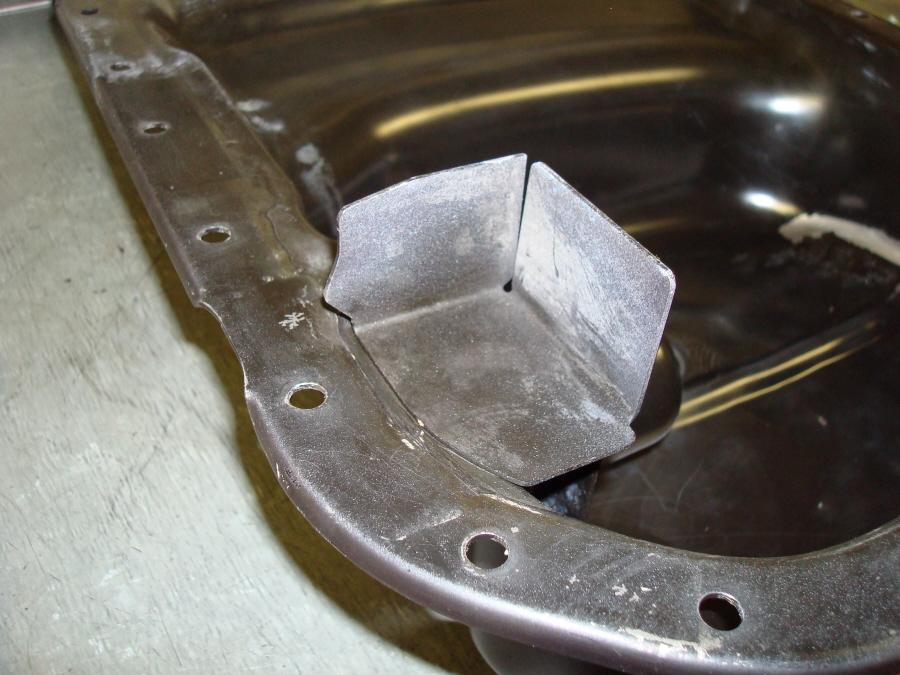
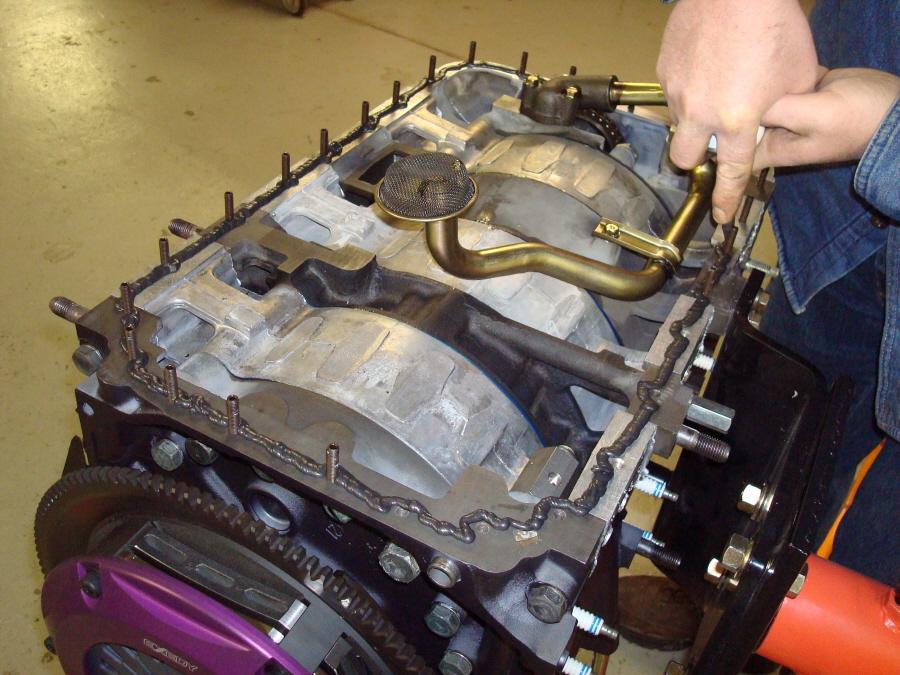
Pic
#6 Baffle
|
Pic
#7 Test Fit Brace on Oil Pan
|
Pic
#8 Apply Right Stuff
|
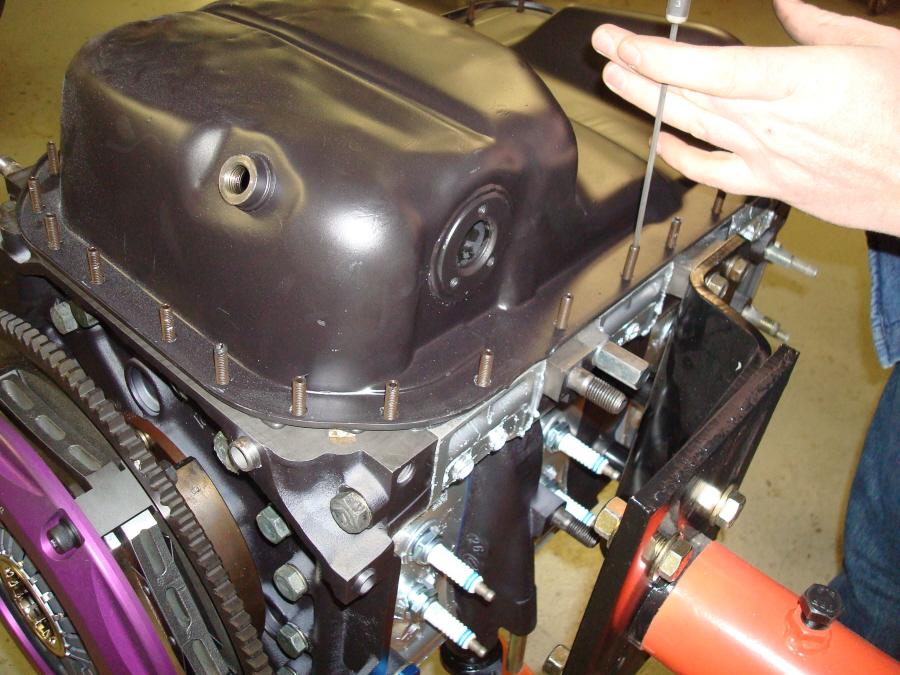
Pic
#9 Lower Pan on Engine
|
Pic
#10 Pan Installed
|
 |
 |
 |
 |
 |
|
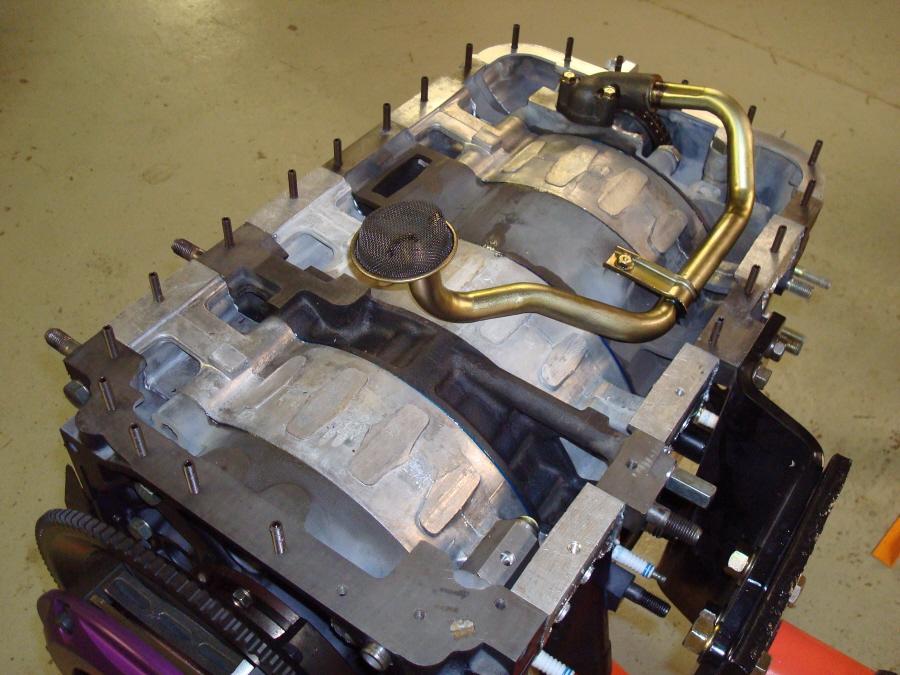
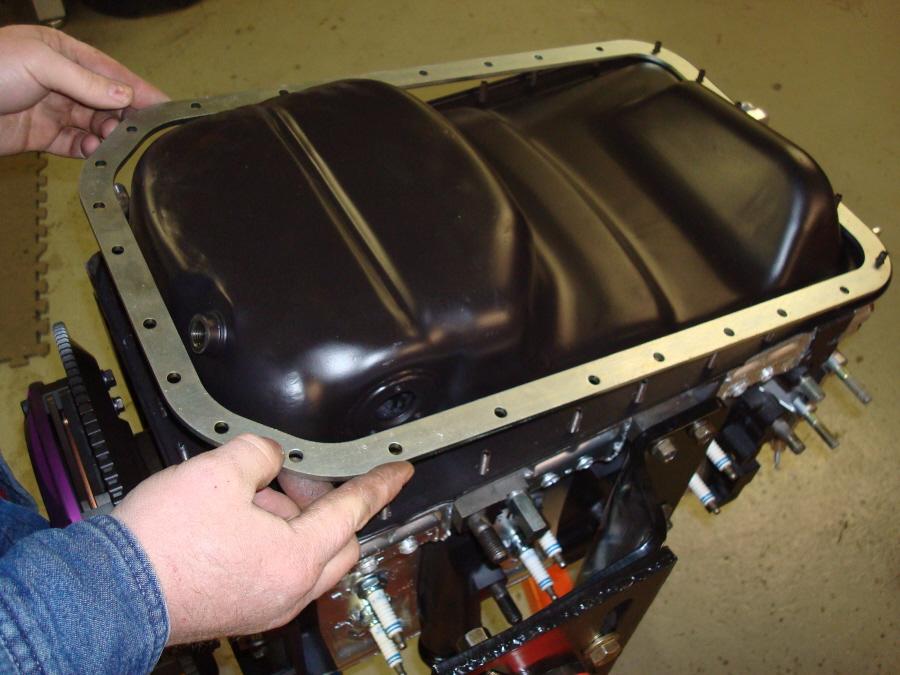
Pic
#11 Install Remaining Studs
|
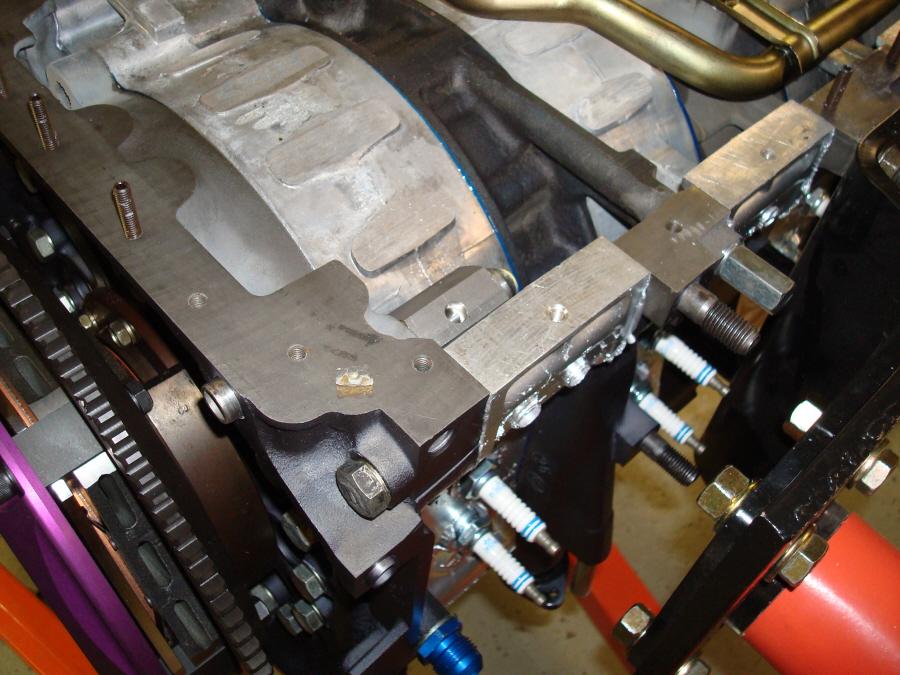
Pic
#12 Install Brace
|
Pic
#13 Install Nuts
|
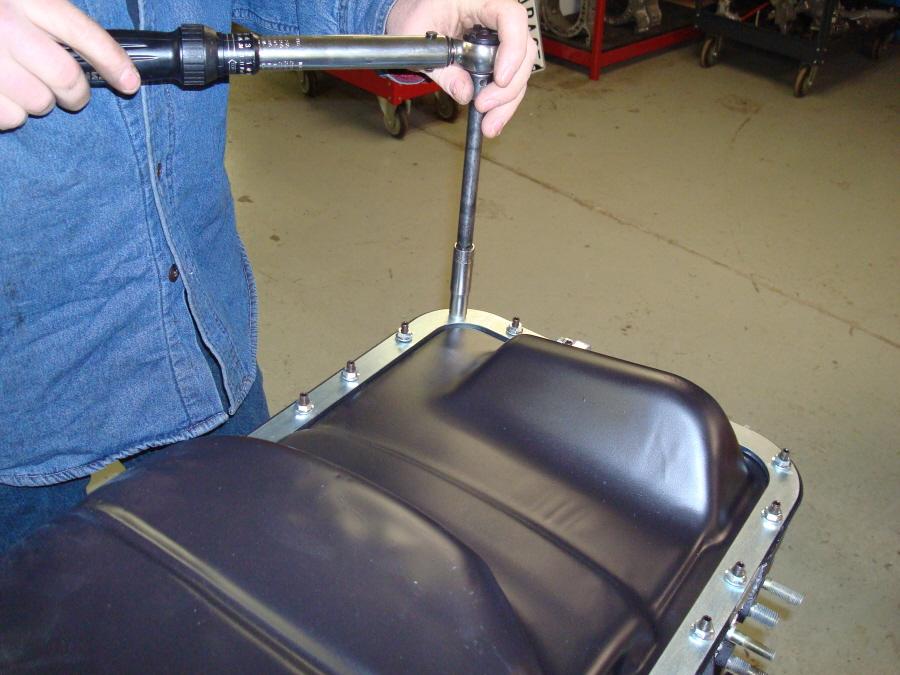
Pic
#14 Torque Nuts
|
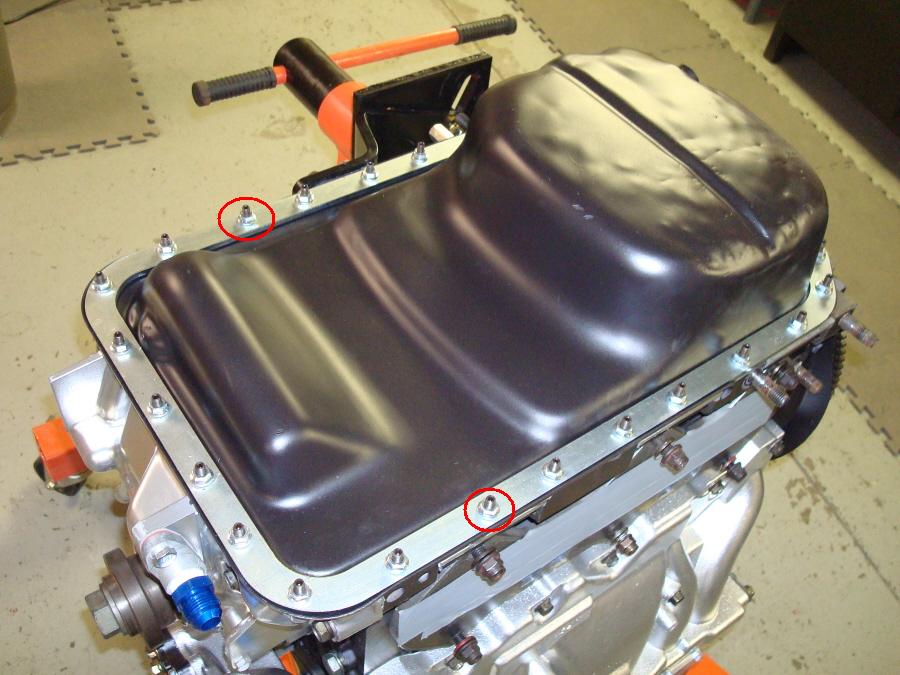
Pic
#15 Pan & Brace Installed
|
Procedure